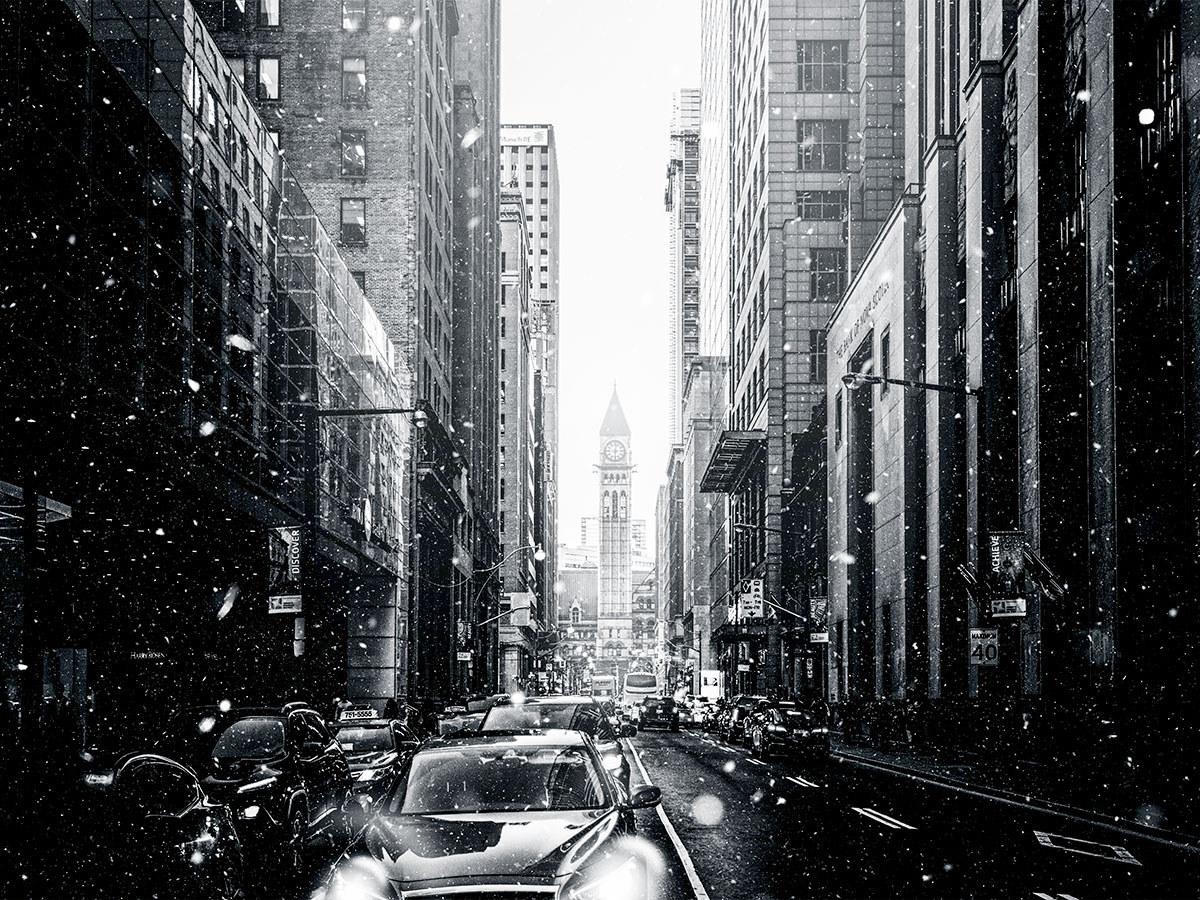
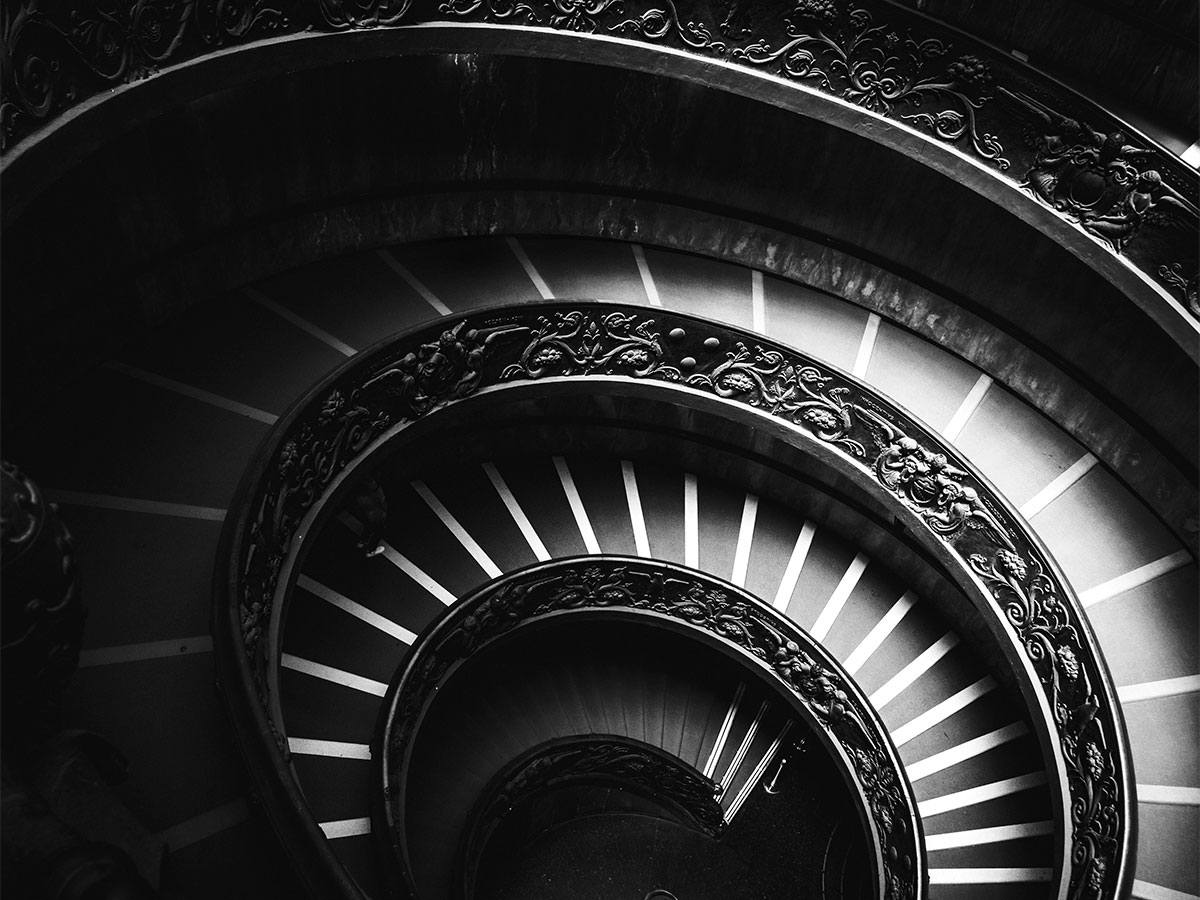
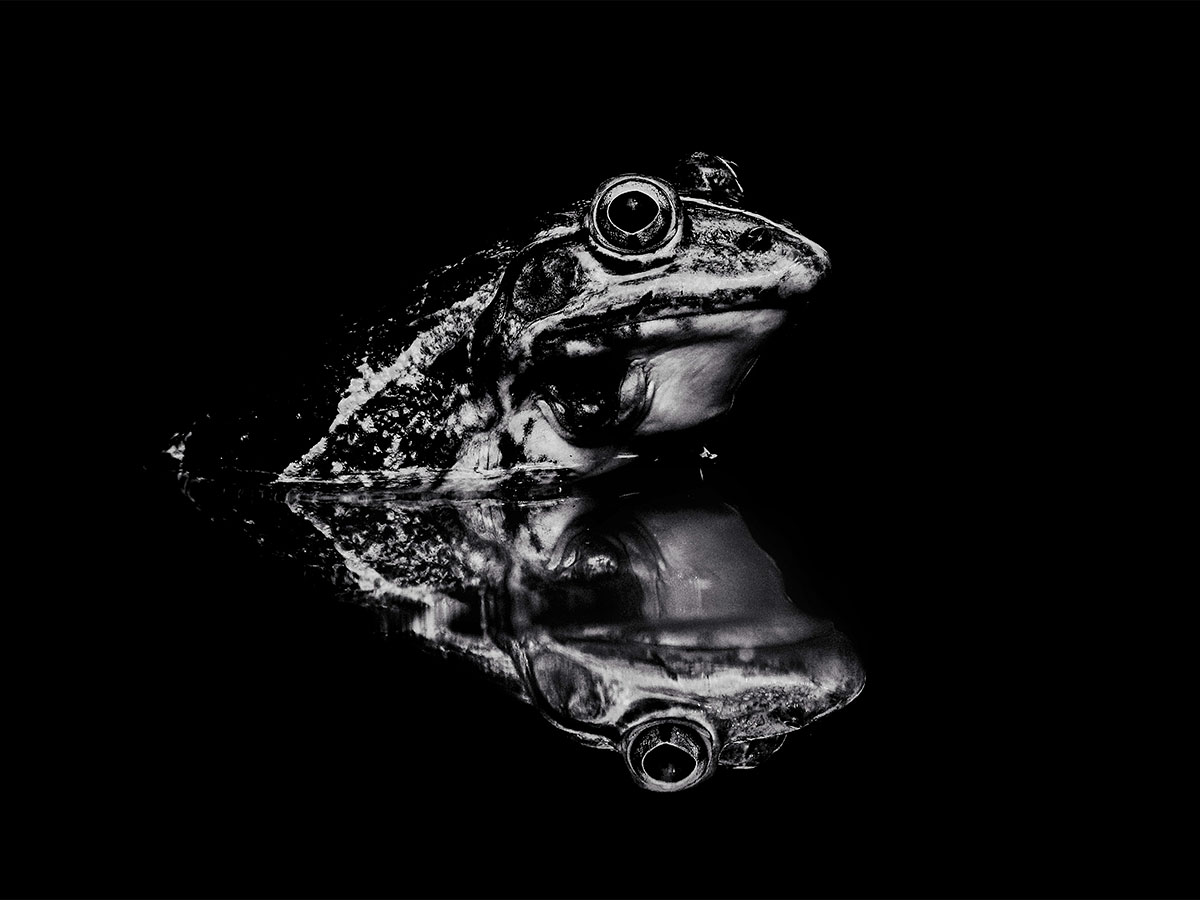
Black and white photography can be provocative and moody and nostalgic. It can span the range of emotions. Oddly enough, the longer one views a black and white image, the more intense these feelings can become.
“Black and white are the colors of photography. To me, they symbolize the alternatives of hope and despair to which mankind is forever subjected.” – Robert Frank
What is Black & White Photography?
Black and white photography is essentially monochrome photography. It excludes color and relies upon the use of neutral grey to represent a scene. It’s the varying tones of that neutral grey that characterize all colors that would otherwise appear in an image.

A Brief History of Black & White Photography
Black and white photography’s history is essentially a history of the beginnings of photography itself. The popularity of color images is a relatively new thing. Although Kodak introduced its Kodachrome (color) film in the 1930s, which was sought after by professional and commercial photographers, black and white remained the medium of choice for those who captured what’s referred to as “serious” photographs, e.g. politics, war, movements, etc…
Why did black and white photography maintain its dominance for decades after color photography was introduced? Black and white photography was less expensive to deal with overall, its necessary chemicals offered more stability than its color counterparts did, and, as mentioned above, black and white photography offered a very classic, artistic look.
In 1826, French scientist Joseph Nicéphore captured the first photograph ever. It was black and white. Twelve years later, a Frenchman named Louis Daguerre refined the photographic process. In 1871, English photographer Richard Leach Maddox invented the dry-plate, which refined the process ever further and after that, George Eastman from New York made a machine to commercially produce the dry-plates, which made them available to the public. Fast forward four years and Kodak introduced the first flexible roll of film, which transformed the world of photography forever.
Today, most every photographer digitally captures color images and converts them to black and white during post-processing. And today, we need to concern ourselves less with our subjects and composition, as those aspects of an image can be edited by increasing or decreasing the amounts of color in specific parts of each photo, therefore increasing or reducing contrast and tonal separation. Which of course increases or reduces drama.

Who Are Famous Black & White Photographers?
You’ll want to look into these people. They’re famous for various reasons in their own right. Ansel Adams, Henri Cartier Bresson, Robert Capa, Dorothea Lange, Fan Ho, Martine Franck, Harold Feinstein, Josef Koudelka, Matt Black, Damon Baker, Sebastião Salgado, and Elliott Erwitt.
What is Black & White Photographic Theory?
The theory is this: the blacks and whites in an image are opposing colors. The more dramatic their opposition, the more dramatic the image will be. If an image were generally and mostly neutral grey, the image’s impact wouldn’t be great. If the differences between tones in an image were severe and distinct, the image would more likely generate a more emotional response. In color theory, opposing colors create the strongest visual effect. It’s for this reason I mentioned above the benefits of editing individual colors in post-processing. By increasing or decreasing a color’s saturation, the conversion from color to monochrome will be more dramatic.
Tips for Perfecting Black & White Photography
As the title of this post suggests, I’ve got some very good tips for you regarding black and white photography. I’ve tried my hand at black and white for years and have enjoyed decent success. By this point, I’ve learned a few things. If you’re new to this style and need some help, please ask me any questions you’d like below this post.
I’m going to share six great black and white photography tips below. These are all very simple to master so they should be a lot of fun to work toward.

Analyze Your Subject
Shooting black and white is different. When taking black and white photos, you can’t haphazardly start pointing at and photographing anything you see. Even though you’ll likely edit your shots in post-processing (Camera Raw, Photoshop, Lightroom), you’ll still need to analyze your scenes before you capture them to decide if they’re worth it. For instance, it you take a photo of a subject that’s very colorful, that subject may look wonderful as a colored image, but it might look terrible as a black and white one. This is because many colors are similarly shaded (tone) and the distinction between them wouldn’t stand out at all after conversion to black and white, whether that conversion occurs inside your camera or during post-processing. Of course, you can use the color sliders in Camera Raw and Lightroom to alter the tone of those colors, but it’s always best to start off with a subject that wants to be photographed and end up as a black and white.
The ideal black and white subject has distinct tonal elements, meaning it’s got dark blacks and light whites. These inherent shades will add a lot of punch to your ultimate photograph.
Shoot in Both RAW & JPEG Mode
When you shoot in RAW, your camera captures and retains all the color data that was found in the scene. When you shoot in JPEG mode and use one of your camera’s internal black and white filters, you lose some data. There is value in losing some data though in the JPEGs if you retain it in the RAW versions. Upon review, the JPEG can give you a clear picture of what your camera sees. It can also tell you if it’s worth it to continue shooting that particular subject. Again, I want to emphasize that you can always make tons of adjustments in the HSL panel in Camera Raw, but it’s always best to shoot subjects that would naturally result in a more appealing image.
Take Advantage of Lens Filters
Oftentimes, when using lens filters, the photographer doesn’t necessarily know what the end result is going to be. This description pertains to when someone is shooting in color. The same is true when the intention is to convert the color to black and white. Lens filters (ND, Polarizing, Graduated ND, Color Filters) can offer some extraordinary results when it comes to this type of photography. Of course, you’ll need to get used to things when shooting with filters to come to know what to expect, but the goal really is to add to the contrast and tonal discrepancies that are found in any scene. Give lens filters a try to see what you can come up with.
Take Long Exposure Shots
We all know that time-lapse and long exposure photography can result in some stunning color photographs, but have you ever considered taking long exposure shots when it comes to black and white? With the goal of black and white photography being the accentuation of the various tones a scene offers, capturing the highlights of that scene over a few seconds could potentially produce interesting results. Especially for this very specific type of photography.
Work Your Magic in Camera Raw
Adobe Camera Raw offers some very powerful tools when it comes to the grayscale conversion of color photos. If the photo was captured in RAW mode, you’ll have tons of leeway when it comes to manipulation via the HSL sliders. Each color that was in the image can be controlled as a black and white tone. I’m sure you can imagine the implications of this. If someone has blue hair, you’ll have the ability to make that hair lighter or darker simply by the push of the blue slider. Of course, you’ll need to first see the colors that are present in the image to know which slider to push, but there are tools to assist with that as well. The Targeted Adjustment Tool being one of them.
Dodge & Burn in Adobe Photoshop
If you’ve ever worked with the Dodge Tool or Burn Tool in Photoshop, you know that those two tools can lighten and darken specific areas of an image with just the touch of a mouse button. The best part about these tools is that they’re completely customizable and controllable via the options bar at the top of the application. Imagine how much better you could make a black and white photograph look if you had the power to force lighter and darker tones in a sized and articulated manner.
These are my tips. I hope they help and if you have anything to add or any questions, please go ahead and type away down below.

Leave a Reply