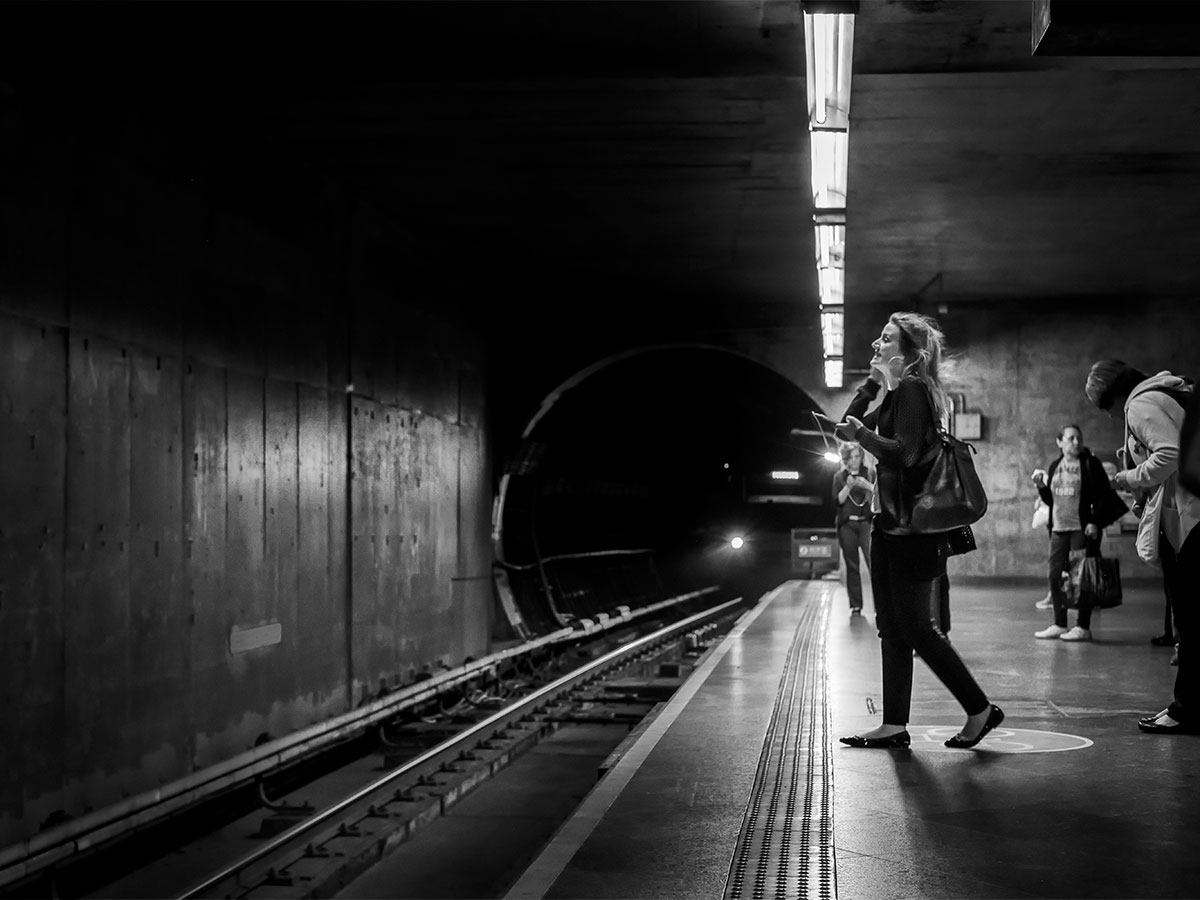
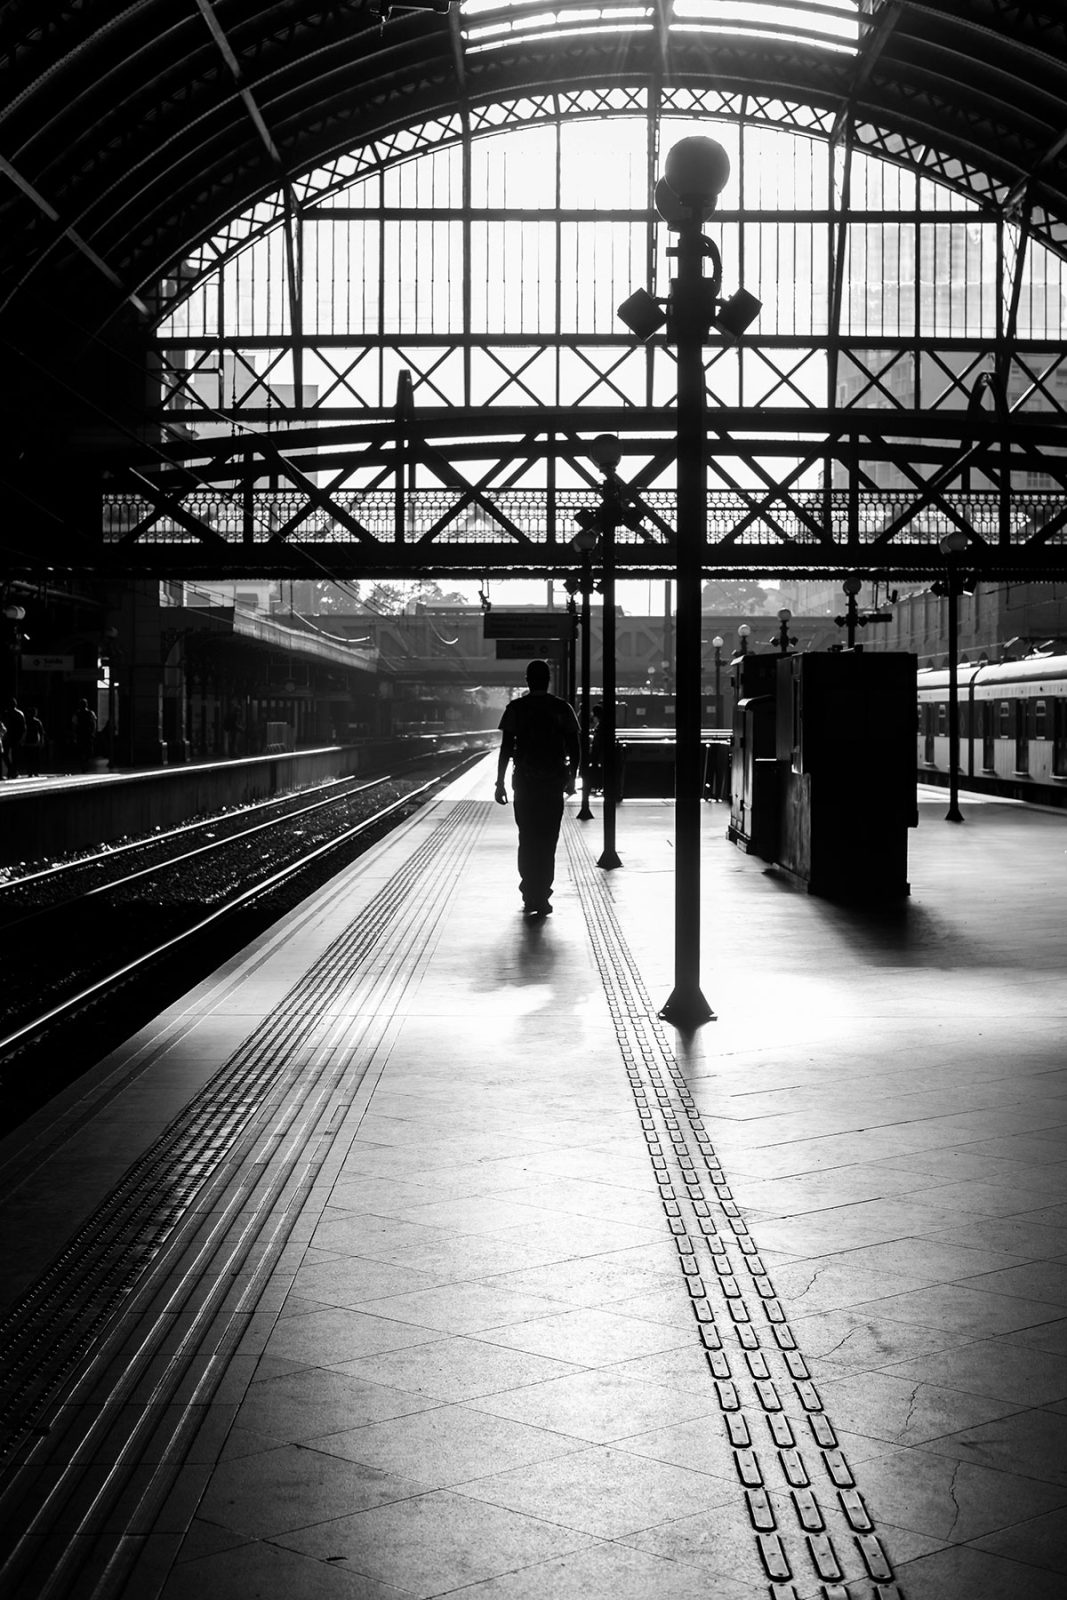
Any street photographer worth his or her salt will tell you their sport is more about people than it is about equipment. It’s about capturing everyday life and in order to do that, you need the right gear and to stay discrete. While the gear part is important, it’s only important because it’s going to help you do your job a lot more effectively than without. No one wants to see a huge 300mm lens pointing at them. They’re going to act strangely and may even ask you to stop taking photos of them. If you have a nice prime 35mm lens attached to your camera instead, chances are that most folks won’t even notice you standing there. My point is that in order to capture the essence of your location, you can’t disrupt it. You have to let it flow. You have to be a fly on the wall.
Why Street Photography?
Street photography is about the capturing of the everyday. The more “everyday” your scene, the more interesting. I’ve seen folks smiling at the camera while their photo was being taken and I have to tell you that I prefer candid instead. I don’t even like the person knowing the photographer is there. I like the raw daily routine; the grind. That’s what street photography is to me.

Down below, I’ll discuss what’s necessary to take the best street photography you can possibly take. I’ll talk about camera settings and gear as well as how you have to act in your environment. As I alluded to above, this type of photography is all about your surroundings, so in order to capture those surroundings in all their glory, you have to act like you’re not there.
What to Consider for Good Street Photography
There are two primary aspects you need to consider when shooting on the street. First, you need to decide if you want your shots to be sharp or if you want them to be artistically blurry for effect. Sharp, such as everything being in focus as if time were frozen for that moment, and blurry, as if you’re watching time slowly pass by in a blur. Second, you need to decide if you’d like your subjects to be isolated from their backgrounds or if you’d like them to blend into them. So, the first scenario would give you a photo of a person standing in the street perfectly clear while everything behind them has a blur to it and the second scenario has the same person standing there sharp, among many other people who are sharp as well. These two factors will decide how your camera should be set for the super-majority of all your efforts.
Shutter Speed & Aperture
If you haven’t figured it out by now, the first aspect that needs to be considered above has to do with your camera’s shutter speed and the second has to do with your lens’s aperture setting. From personal experience, I can tell you that most of the time, photographers set their cameras to aperture priority because it’s the depth of field they’re after. You get that through aperture size. Aperture also controls shutter speed, so you’re kind of doing two things at once. If you think about it, taking photos of people is important when engaging in street photography. If that’s the case, having the subject stand out with a large aperture size (f/1.8, f/2.8) is the way to go. If you’re taking photos of the city itself, such as cityscape shots from the top of a building or something, you’ll want to crank that aperture number up to something like F/8, F/11 or higher. That’s going to keep everything in focus, as it should be.

ISO, Noise, & Blur
If you find that you’re focusing more on the creative depth of field side with your aperture settings and your shots are coming out blurry because the low light situation is extending your shutter speed, you’ll need to set the ISO to Auto and then set your camera’s minimum shutter speed to something like 1/100 or 1/250 or even 1/500 of a second if there’s a lot of fast action. If you find that your photos have lots of grain in them because the ISO is shooting up too high, you can also set a maximum for that. Remember, the lower the ISO number the less noise you’ll have in your images, in most cases. It’s tough taking pictures of people who are moving about in low light situations and that’s why it’s so important to set your camera up properly. Of course, some of these settings only exist in cameras that are more expensive, pro level, but it’s worth it to take a look if yours has them. If not, you can meter your scene and go into full manual mode, but that’s a topic for another time. The goal here is to have your camera set up semi-manually, as if it has a brain, so you can focus on your photography. If you were messing with your settings the entire time when you were supposed to be shooting, all of your photography would pass you right by.
Full Manual Mode
If you’re shooting with a very specific style in mind, you’ll likely have to set your camera in full manual mode. This isn’t as scary as it sounds and it’ll give you the control you’re looking for. You can get the proper depth of field and the proper motion blur or sharpness as well as the right exposure by going manual. I’ll be writing a lot more about manual mode in the future.
Autofocus
Let’s talk about autofocus for a moment. The question usually is, do I shoot in single focus mode or continuous focus mode while taking street photography? Well, the answer is just like it would be with any other type of photography. If what you’re taking a photo of remains stationary, go with single mode and if your subject is moving, go with continuous. I’m partial to single focus mode because I’m a control freak and I’m not confident that my camera is going to focus on what I want it to focus on.
Camera Gear for Street Photography
When it comes to the gear you’ll use for your photography, you’ll have to think about what type of person you are. Do you like going right up to people and taking pictures of them uninvited? Do you like to talk to people? If so, make sure you’ve got a wide angle lens in your bag such as a 10-20mm zoom or a 24mm prime. If you’re shy and want to simply float around in the background while sneakily capturing people in your photos, think more about different lenses, such as 85mm prime or a 55-200mm zoom. Remember though, prime lenses, whether they are wide angle or more narrowly focused, will force you to become involved with the photography, which oftentimes results in better photos. Zoom lenses allow you to be somewhat lazy. Also, zoom lenses, when at a high mm, compress images, meaning that they make everything in your photos look like they’re close together, even when there’s a lot of distance between objects. Really though, if you’re using a camera with a cropped sensor, a 50mm f/2.8 is great and if you’re using a full-framed camera, something like an 85mm is great. These are good all around lenses.
That was a lot of good information. I think I covered just about everything, but there’s something I’m sure I left out. If you have any questions, please ask me below and if you have anything you’d like to add, add that below too. Thank you!

Leave a Reply