I’ve decided that I’m leaving the America’s Test Kitchen online cooking school. Not because I’m dissatisfied, but because I want more. I’ve made it almost all the way through their Italian Cooking course and from what I can gather, I’m ready to head out into the real world to dabble with some different types of recipes. Luckily for me, America’s Test Kitchen has a cluster of websites that offer over 1,300 recipes that were constructed by either professional chefs or real recipe creators. Many of the recipes that were coming up in the cooking school are on these other sites. The good news is, the cost to join these other websites as a member (to get recipe access) is much less expensive than the cooking school. Now that I know the basics, I can step on the gas.
One of the websites is called Cook’s Country. Give it a visit and take a look around. Perhaps you’ll be interested in joining too. In my opinion, it’s worth the money because each recipe is very thoroughly written and oftentimes, it’ll offer accompanying photos. The recipes aren’t the condensed versions that are available on so many websites out there. Each one really does teach a lesson. I think I can learn a lot.
The Recipe
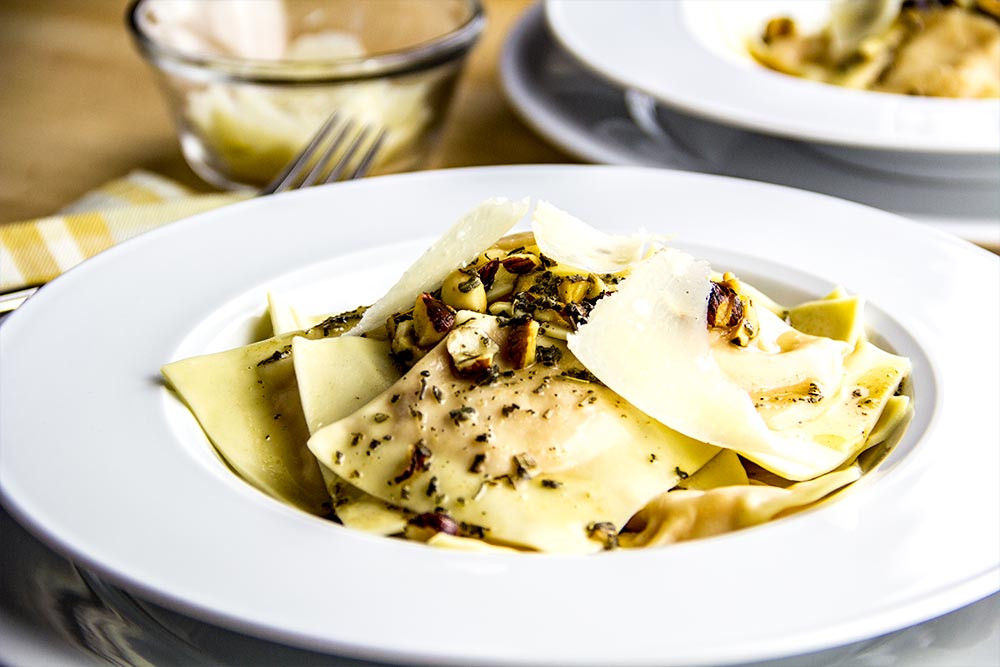
Today’s recipe comes in three parts. The first part is the ravioli filling. That’s a treasure in itself. If you choose to follow along with what I write below, I want you to remember that when it comes to these types of fillings, the sky’s the limit. My mind has been spinning all day with different ideas for what I can put in this style of pasta. For now, we’ll keep it basic and stay with squash. Cheese and herbs are what I’m thinking about for next time though.
I already covered the instructions for making homemade pasta in a different post. When I put this recipe together this afternoon, it was my third time making fresh pasta. I can tell you that it gets easier and easier every time I crank that handle. The best part about it is the ingredient list: 2 cups of flour and 3 large eggs.
The last part is the sauce. It’s super easy and takes just a few minutes to prepare. When it’s poured over the ravioli, it looks great and tastes even better. Trust me, I loved taking the photos below and I loved eating the dish even more.
Ingredients
Serves: 4-6
Pasta
To prepare the pasta, please read my post on how to do that. You’ll need it for this recipe. The pasta is to be rolled into sheets. I’ll explain what to do with it down below. I also advise making the pasta after the filling is complete. This way, you won’t need to store it and protect it from drying out.
Filling
1/2 Medium Sized Butternut Squash, Peeled & Cubed
4 Tablespoons Unsalted Butter
1 Tablespoon Brown Sugar
Regular Table Salt
Ground Nutmeg
2 Ounces Parmesan Cheese, Grated
1/8 Teaspoon Ground Black Pepper
All-Purpose Flour
1 Pound Fresh Pasta (read description above)
Sauce
8 Tablespoons Unsalted Butter
1/4 Cup Chopped Hazelnuts
1 Tablespoon Dried Sage Leaves
Regular Table Salt
2 Teaspoons Lemon Juice
1 Ounce Parmesan Cheese, Shaved
Step-by-Step Instructions
If you’ll notice, there isn’t an overwhelming amount of salt in this recipe, which your heart will thank you for. There is, however, some butter. If you’re on a strict non-fat diet, please take caution. If it’s any consolation, it’s divided up six ways, so it isn’t all that bad.
Prepare Ingredients
Lately, I feel like my middle name is mise en place. If it can be prepared beforehand, I think it should be. I always go through the entire recipe to pull out any task I can take care of ahead of time and do just that. With this recipe, things weren’t any different.
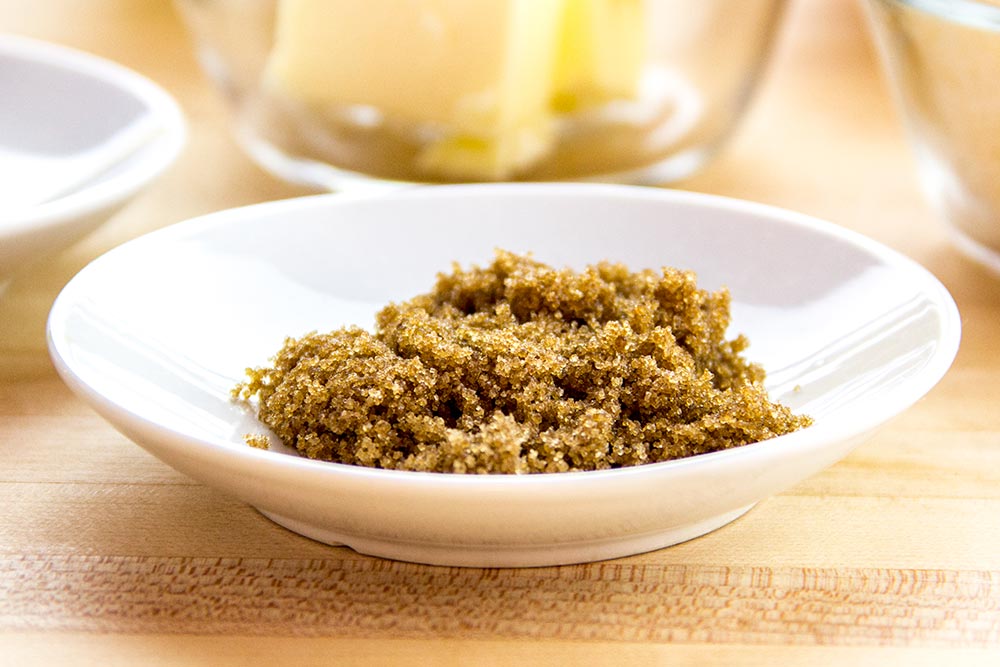
The first thing I did was to separate out one tablespoon of brown sugar and set it aside.
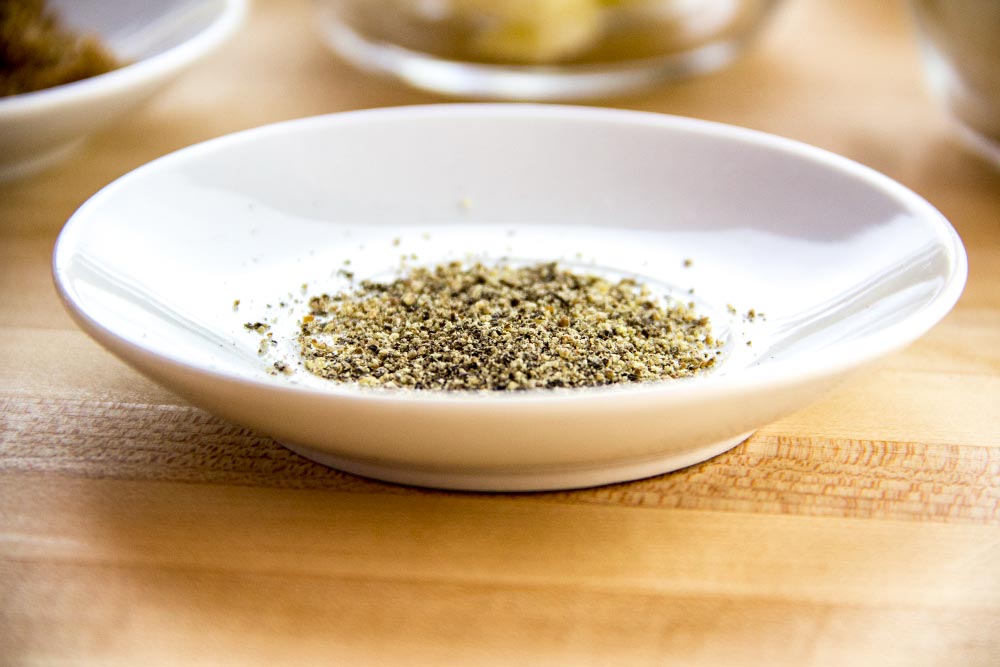
Then, I measured out 1/8 teaspoon of ground black pepper.
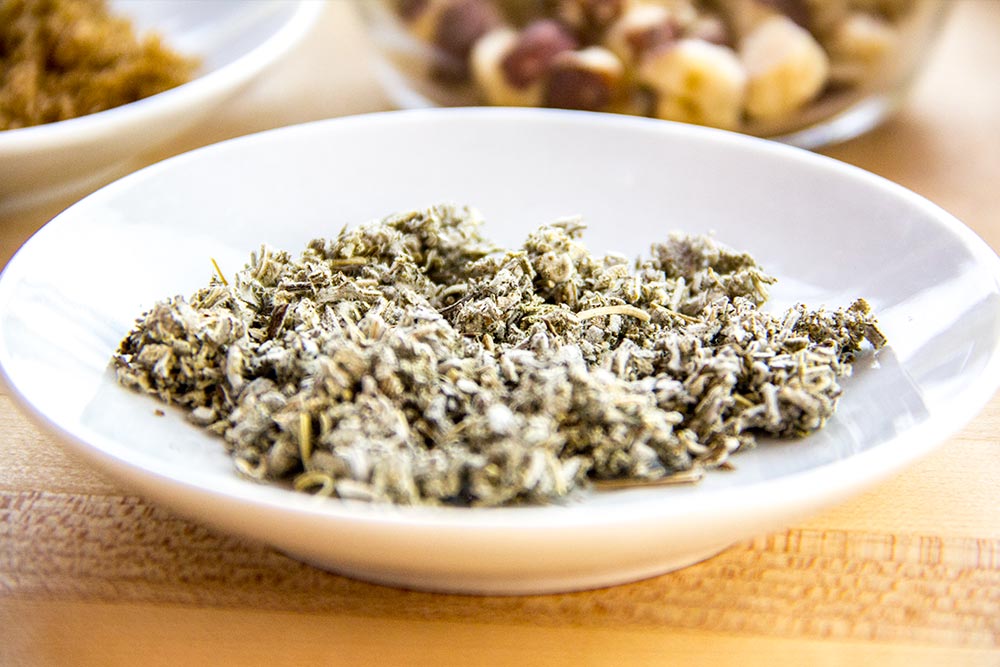
After that, I measured the 1 tablespoon of dried sage.
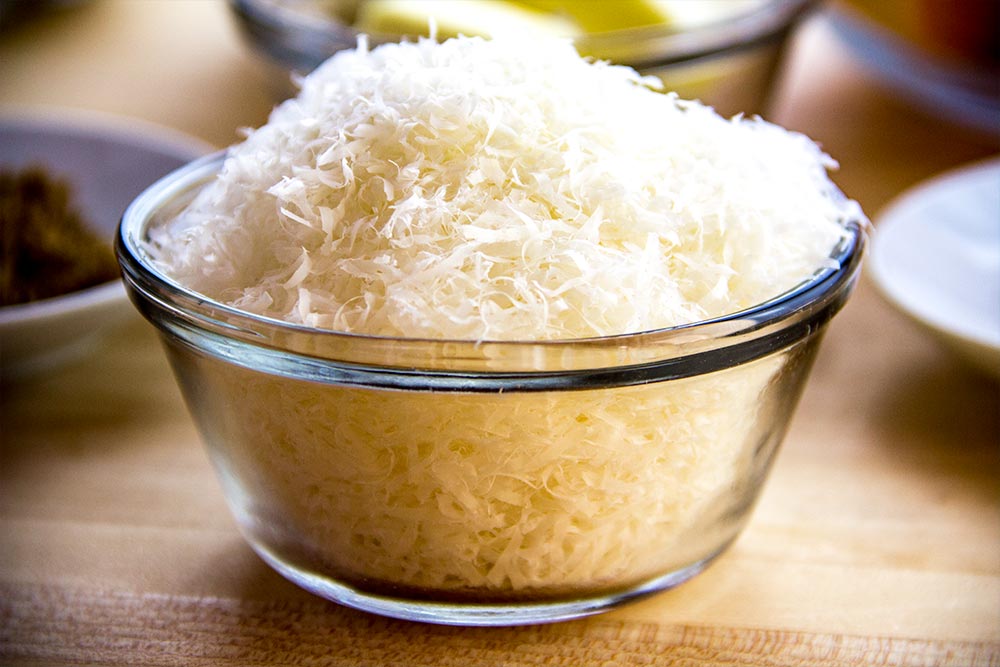
I grated 1 cup of Parmesan cheese.
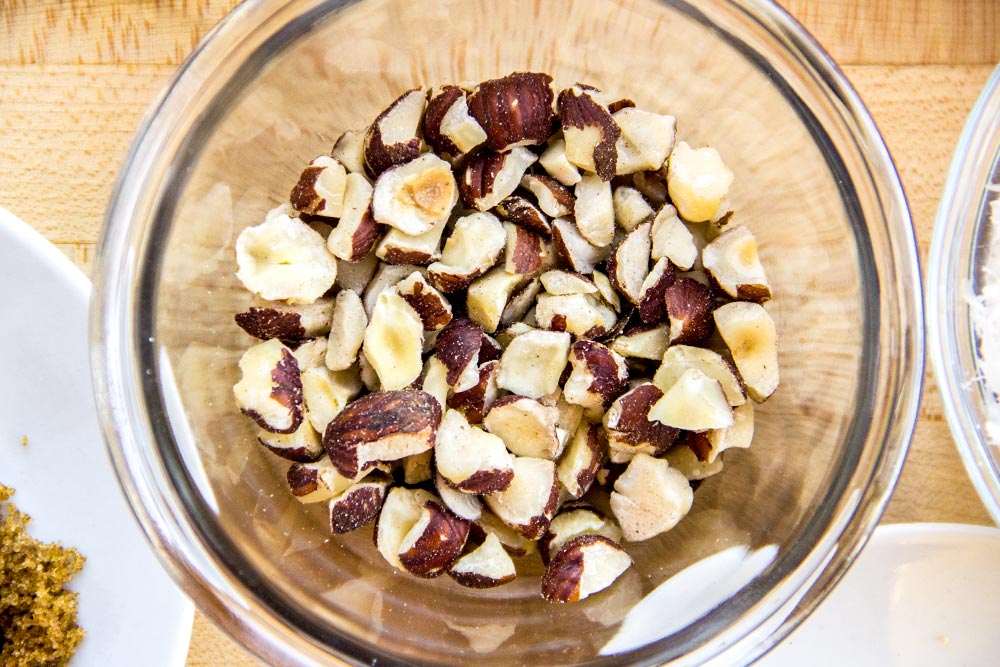
I measure out the chopped hazelnuts. I didn’t have to chop them because they came this way.
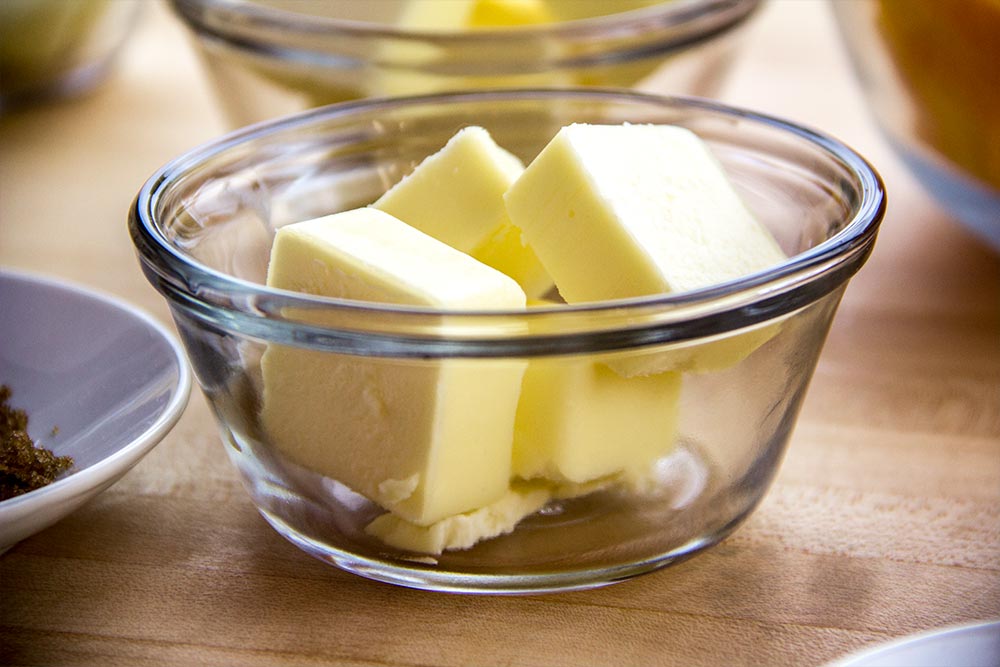
When I sliced the tablespoons of butter, I kept 4 tablespoons in one bowl and 8 tablespoons in another. This made life easier when it came to include them in the two different parts of the recipe that called for these amounts.
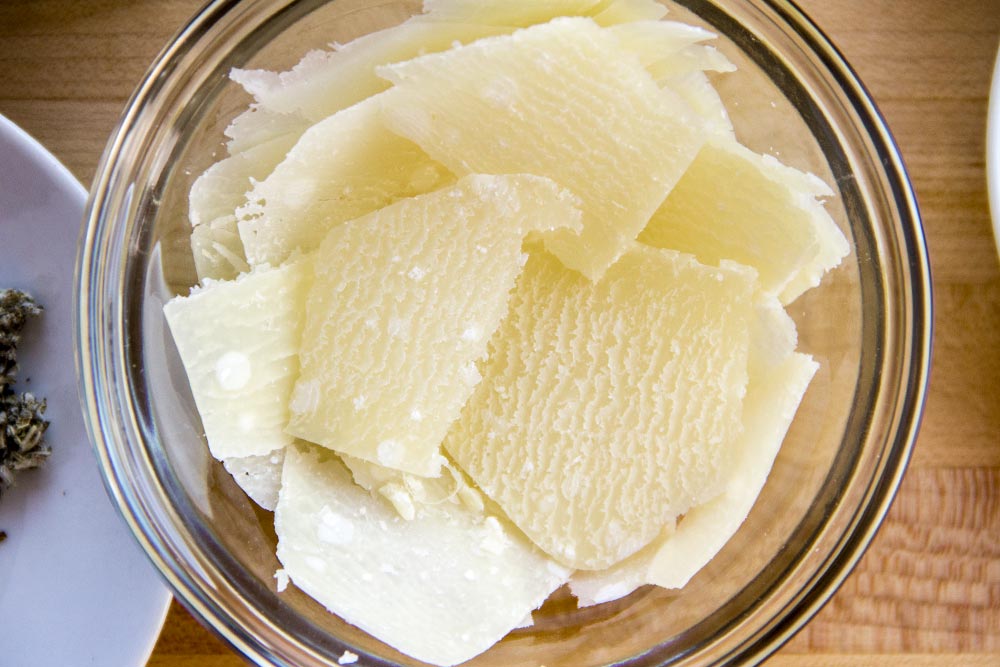
When that was finished, I shaved 1 ounce of Parmesan cheese.
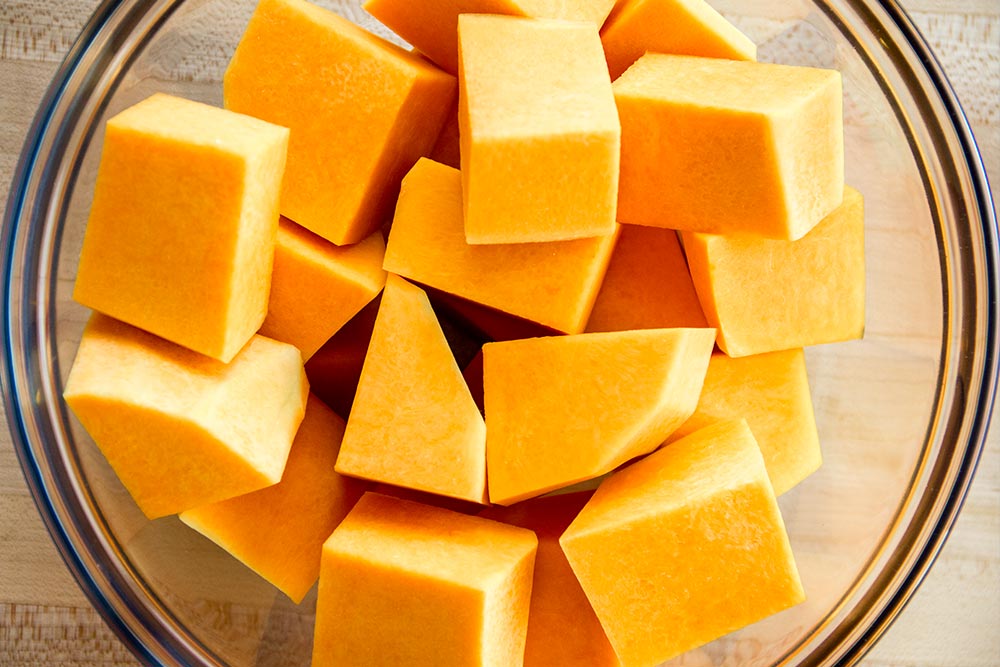
And finally, I peeled and cut the half medium sized butternut squash into 1 inch cubes. I put the cubes into a microwave safe bowl.
Cook the Squash
This part is really easy. The squash should already be in the microwave safe bowl. Cover the bowl with a piece of plastic wrap and place it in the microwave for 10 minutes on high. The squash should be soft when it’s finished, meaning, a fork should easily slide into it.
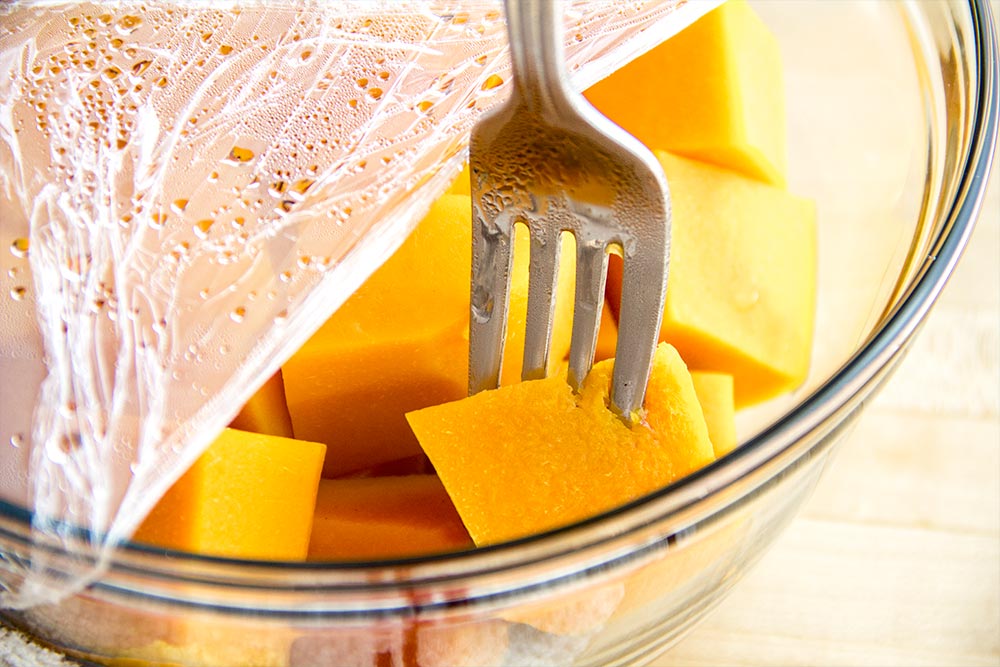
If it isn’t soft enough, cook for a few more minutes until it is. I want to offer a word of warning here: the bowl will be hot inside the microwave. Please use gloves or a towel to remove it. It’ll also steam when you peel back the plastic wrap. Do so with care.
Add Ingredients to Food Processor
Go ahead and add the cooked squash to your food processor. Also, add 4 tablespoons of the unsalted butter, 1 tablespoon of the brown sugar, 1/4 teaspoon of salt and a pinch of ground nutmeg.
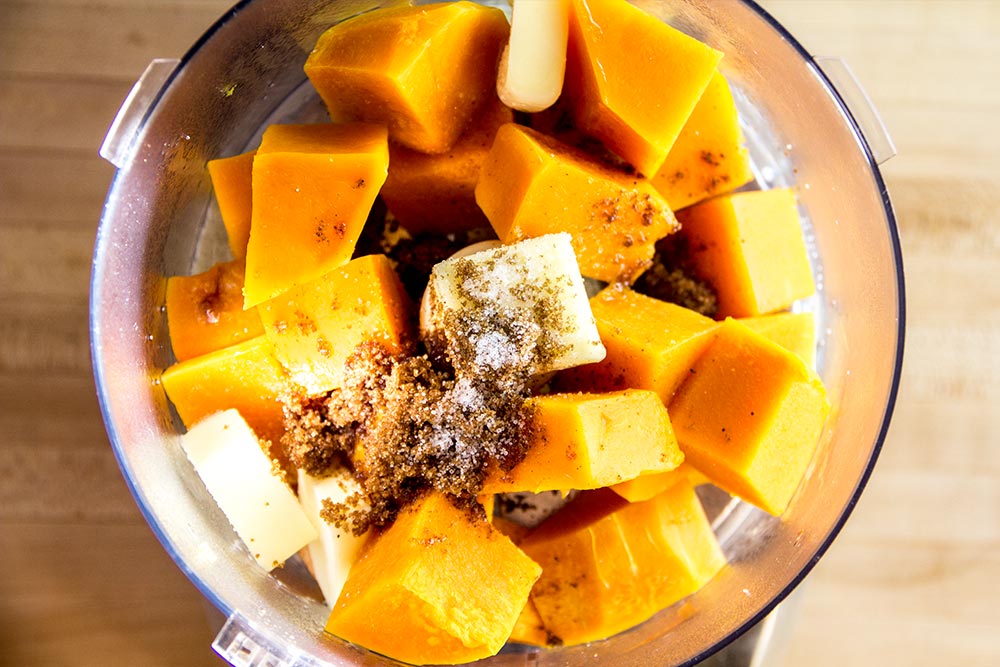
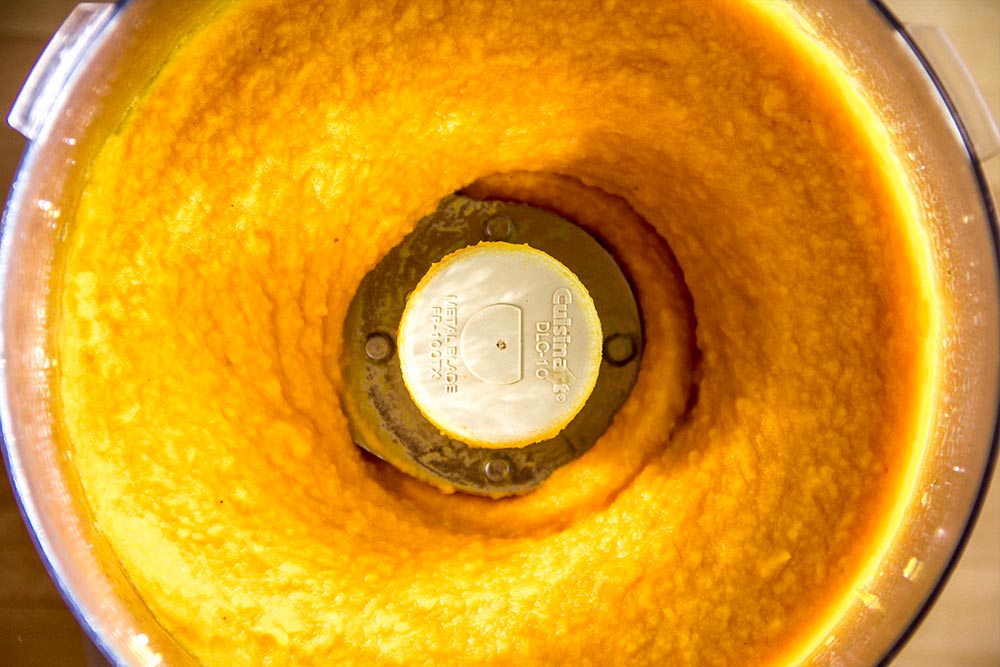
Now, process until smooth. If you get lucky, this will take about 30 seconds. I had to stop a few times because some of the squash and butter was floating on top of the rest. I moved things around a bit and continued until it was finished.
Transfer to Bowl & Mix
When the squash is smooth, transfer it to a bowl with a rubber spatula. Once that’s done, add the 1 cup of grated Parmesan cheese to the bowl, along with the 1/8 teaspoon of ground black pepper.
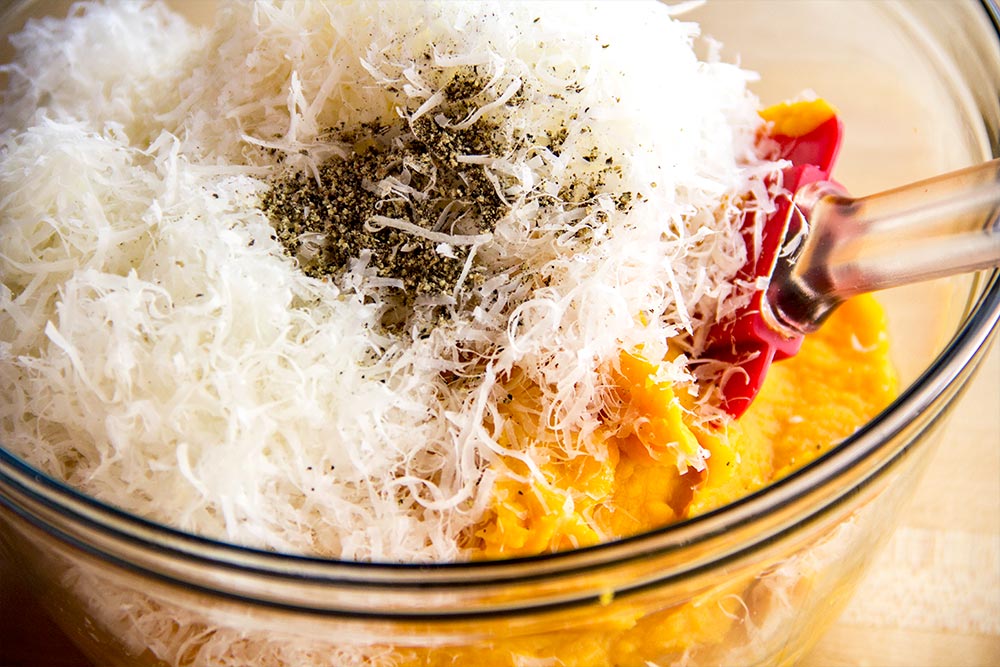
Mix it until it’s well combined and then chill in the refrigerator for about 15 minutes.
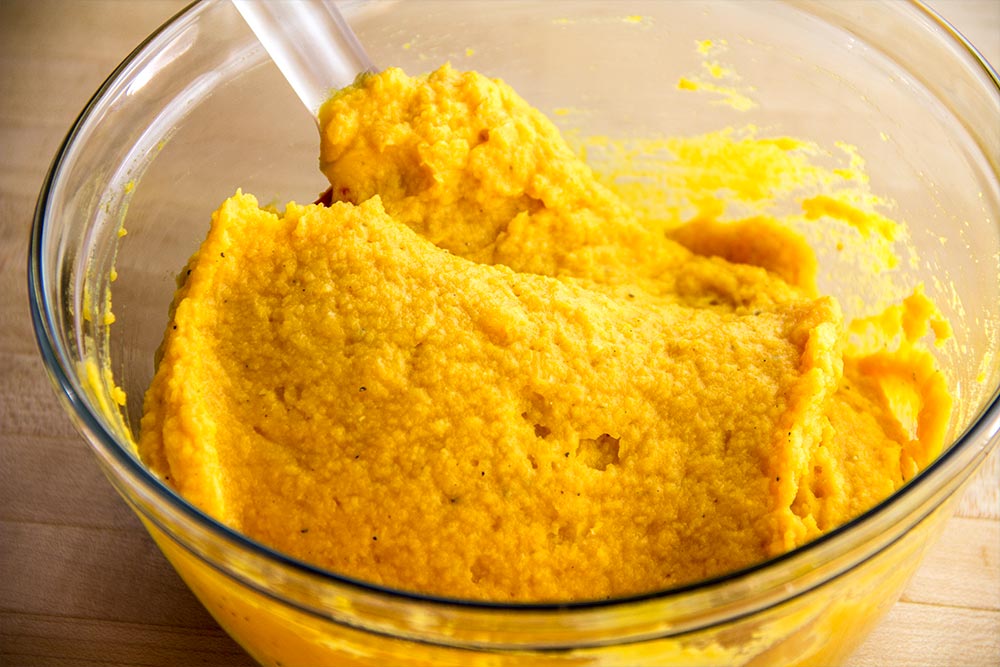
Believe it or not, the filling is finished.
Prepare Pasta
Using the instructions from my homemade pasta making post, I put together 1 pound of pasta dough. I divided the dough into 6 pieces, just like the recipe instructs. When 1 piece was rolled into a sheet, I added the filling to only that one. I kept the other 5 pieces covered with plastic wrap until they were needed, so they wouldn’t dry out. I found that this method is easiest and won’t stress you too much.
The continuation of the instructions below assumes that you have the pasta dough made and that one sheet is laying out in front of you on a flat surface.
Place Filling on Pasta
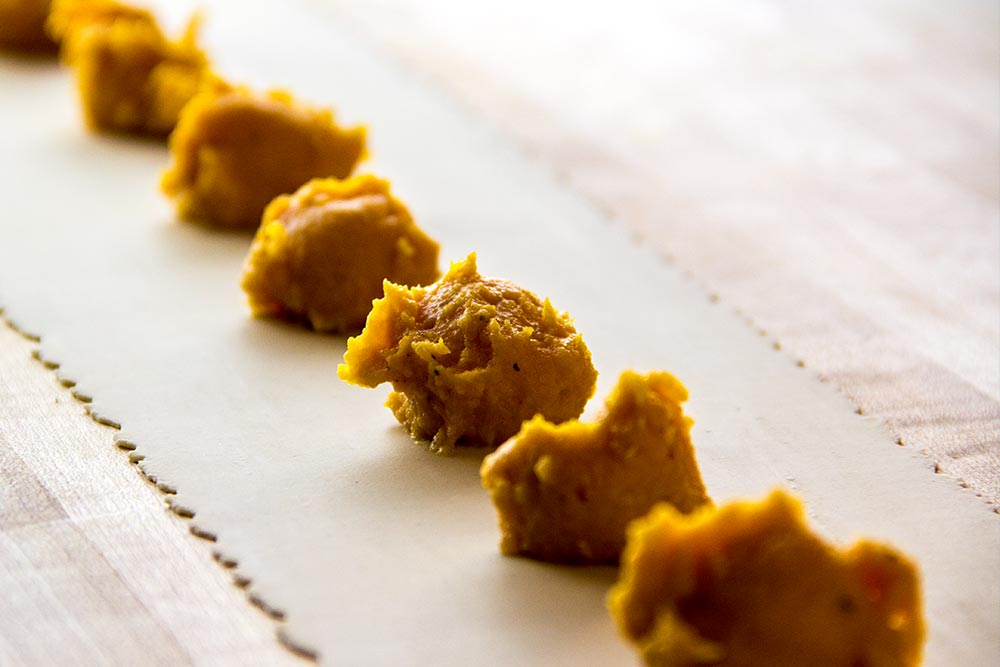
With the pasta sheet out in front, add 1 teaspoon sized dollops as a line at its center. Each dollop should be 1 1/4 inches apart from one another.
Fold & Cut
When no more dollops can fit on this first sheet of pasta, go ahead and fold the sheet in half, length-wise. Then, press down everywhere the filling isn’t. The goal here is to seal the filling in so it doesn’t leak out when the pasta is cooking later on. Don’t go nuts, just seal in the filling. Starting to look like ravioli, isn’t it?
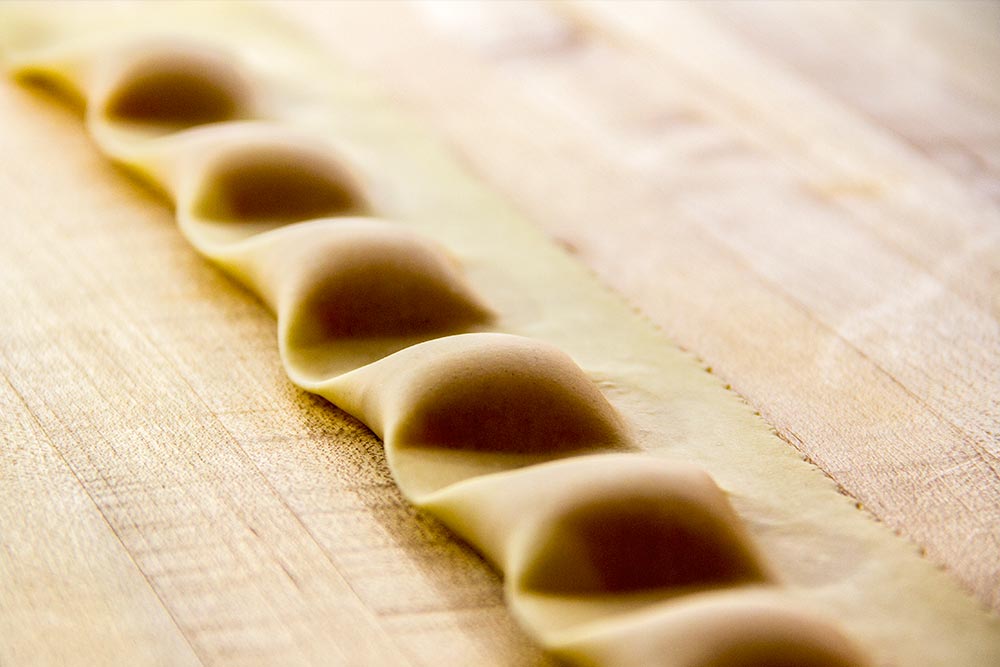
Once that’s finished, trim the long edge of the pasta with a pizza roller or knife. Also, cut a line between each mount so each ravioli is separate from the others.
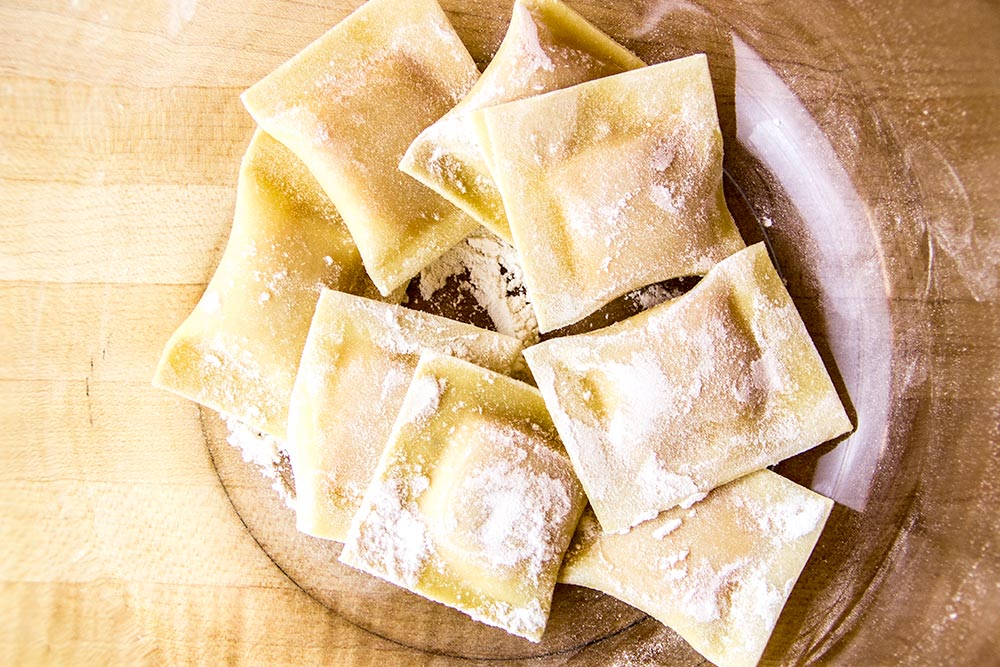
Repeat the above steps with each sheet until you either run out of pasta or you run out of filling. I ran out of filling first.
Storing the Raw Ravioli
I attempted to store the ravioli I cut in a large bowl with some all-purpose flour sprinkled here and there. That idea didn’t work. The raviolis stuck together and made adding them to the water an activity I’d like to avoid in the future. The best method of storing ravioli of this type is to sprinkle flour on a baking tray and then add the ravioli to that. Then, cover everything with a damp towel. That should make life much easier come cooking time.
Add Ingredients to Skillet
For this part, I used my 12″ All-Clad skillet. I added the 1/4 cup of chopped hazelnuts, the remaining 8 tablespoons butter, the 1 tablespoon of dried sage and 1/4 teaspoon of regular table salt.
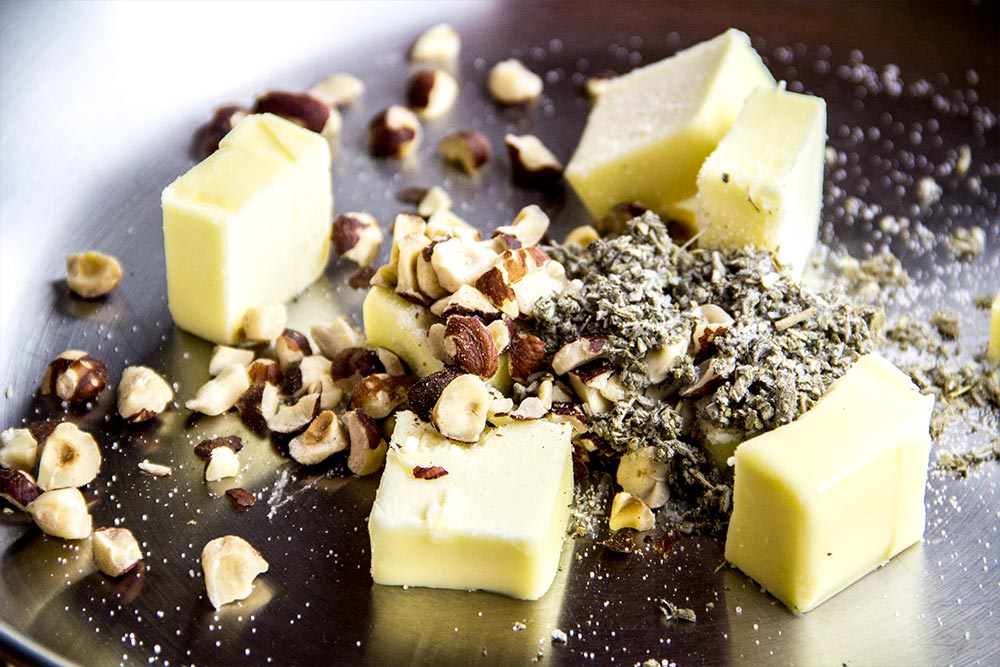
I heated everything on medium-high until the butter turned light brown. To accomplish this, I continuously stirred the mixture for about 3-5 minutes.
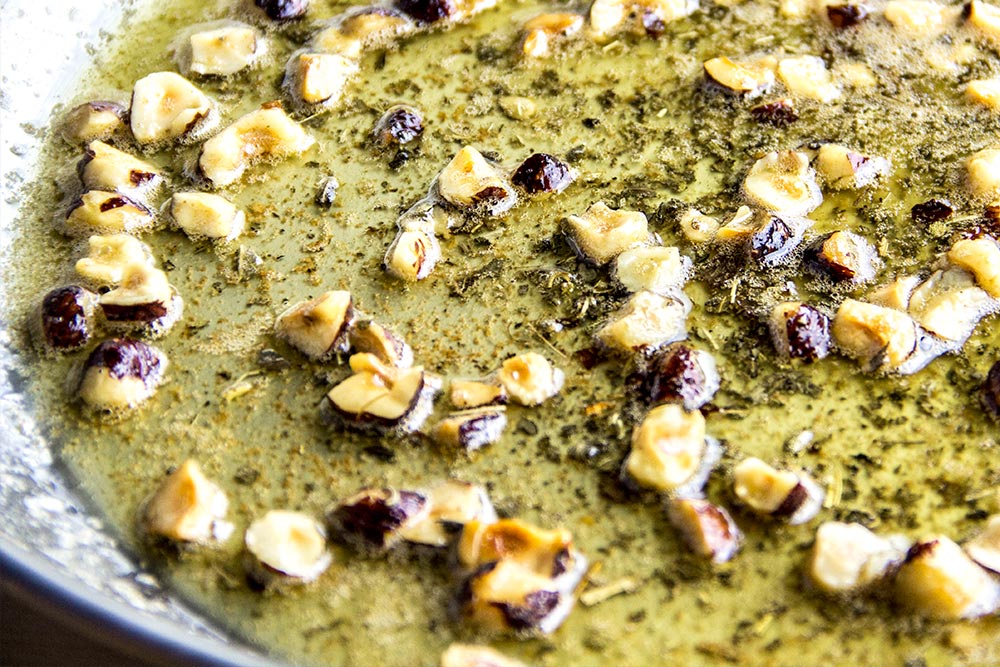
Once it was finished, I added 2 teaspoons of lemon juice and removed the pan from the heat.
Boil Water, Add Pasta, & Cook
At this point, go ahead and boil 4 quarts of water in a large pot with 1 tablespoon of regular table salt. When that’s rolling strong, add half of the ravioli. Reduce heat for a gentle boil and wait 1 or 2 minutes for the raviolis to float. When they do, remove them with a slotted spoon and place on a serving plate. Then, cook the other half of pasta the same way.
Cooking fresh pasta really doesn’t take long at all. There’s a huge difference between fresh and dried pasta that you’ll taste when you sit down to enjoy this dish.
Add Sauce & Serve
If you’re going to bring the entire serving plate to the table, go ahead and add 2 tablespoons of the ravioli cooking water to the sauce and mix in well. Then, add the sauce to the serving plate, top with the shaved Parmesan and enjoy. Personally, I finished the sauce the same way and added the ravioli to a few bowls. After that, I added the sauce and cheese directly to them.
The Final Product
Here is the finished dish. Awesome, if I don’t say so myself. I highly encourage you to give this one a try.

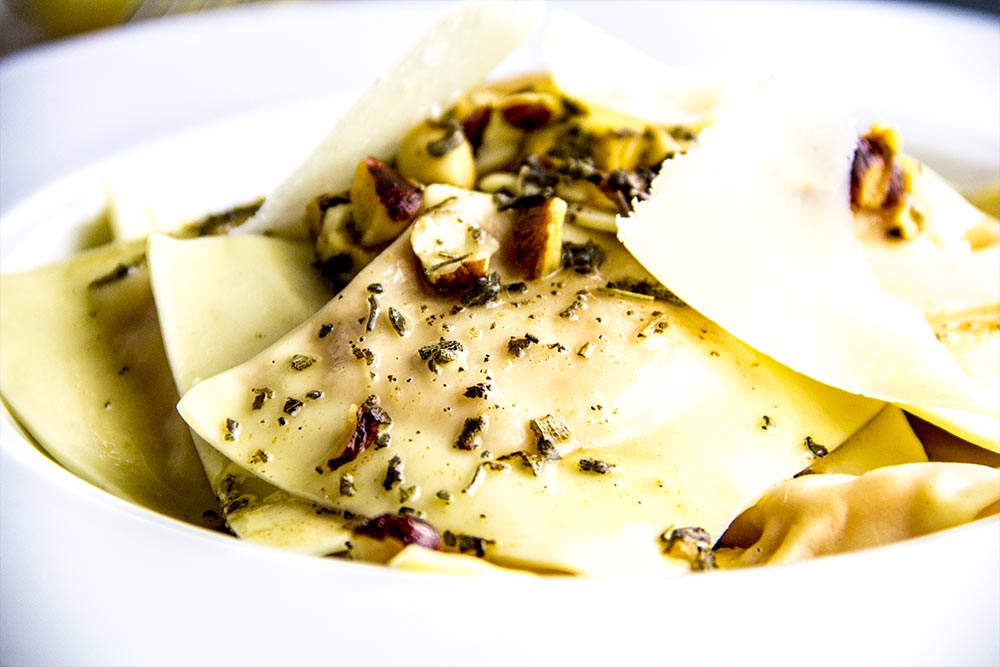
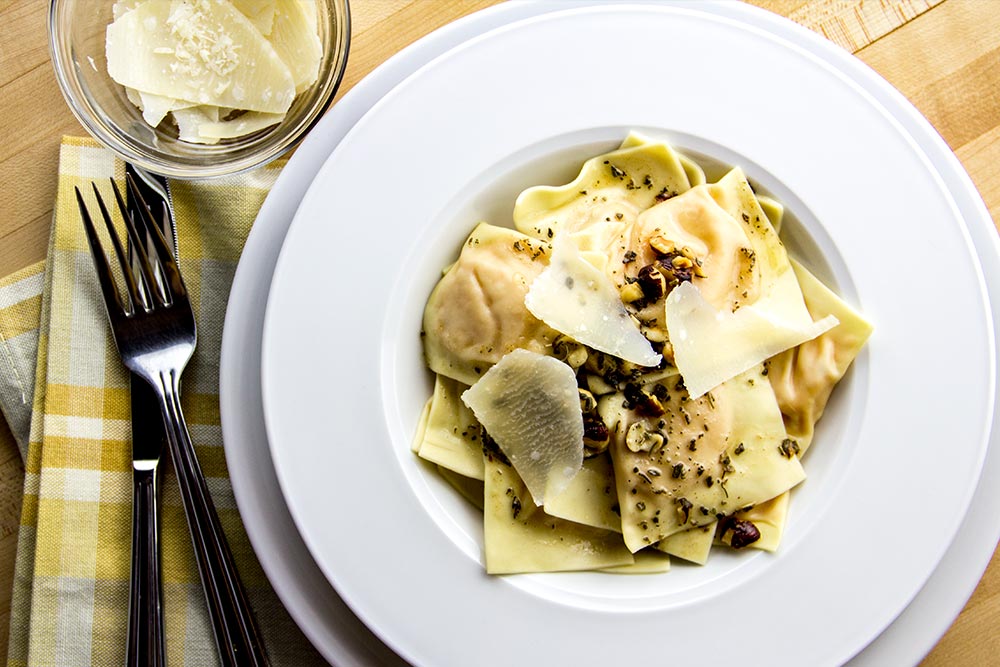
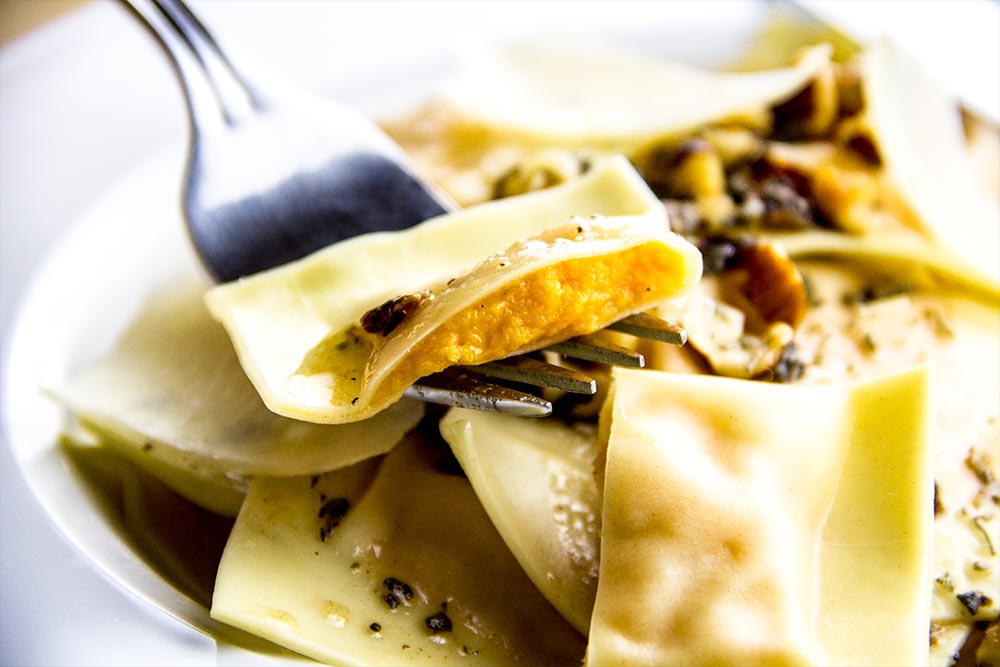
Once again, I’d like to thank America’s Test Kitchen for this incredible recipe. You’ve truly outdone yourselves.
——
If you’ve enjoyed today’s post and found it helpful, please share it with a friend. Also, if you’d like to continue reading and would like my posts sent directly to your email inbox, simply sign up for my newsletter. I’ll send each and every post directly to you. Thanks!

That looks so good. I would have to buy the pasta sheets. No longer have a pasta maker. I’ll try it,let you know.
Please do! I’d be interested to see what you think.
Jay