If I had to guess, I’d say that one of the most fun things about photography is browsing through all of the gadgets that are available for us to use. Whether this browsing be online or in a physical store, it’s all the same. When someone is into photography and has chosen to make it a part of his or her life, there’s no shortage of really cool stuff to buy.
What’s So Special About Camera Lens Filters?
Let me ask you something. Have you ever taken outdoor photos to find that they looked nothing like all those beautiful photos you see online? Have you ever wondered what trick those “pro guys” employ to get the photos they do? Have you ever wondered if you needed new equipment to get those types of photos? That it was the equipment that was at fault? I mean seriously, why is it that I can stand in the middle of a field taking a picture of the same tree that I just saw in a magazine and my photo looks like garbage and theirs looks wonderful? Why, why, why? I suppose that’s the eternal question.
For all you beginners out there, I’m going to tell you something. A few months ago, I was sitting on a ski lift chair, descending from one of the highest mountains in Maine, next to a wonderful couple who loved to take photographs. Everyone on the lift had cameras in their hands. I had mine and I was snapping away. The woman next to me was holding an iPhone and she was using that as her camera. Every time she would take a picture, I would look at it. Then I would take a picture of the same thing she just did and mine wouldn’t look nearly as good as hers did. I’ll tell you this; I wondered what was going on. Why was a cell phone taking nicer photos than my much more equipped Canon DSLR?
It’s not the camera that’s the problem. Let’s get that straight. Maybe it is in some cases under some circumstances. These would be edge cases such as high speed or some sort of massively high dynamic range situations. For regular shots though, it could be something as simple as the time of day or the lighting you’re scene is experiencing. These things might account for why your photos aren’t looking as good as the ones you see from the pros out there. The question is though, how can you stand next to someone with the same or similar camera, or you even having a better camera, and they’re beating you at every turn? How in the world do they do it? I’ll tell you the dirty little secret that’s not talked about all that much. Camera lens filters. Some are built in and some must be attached physically.
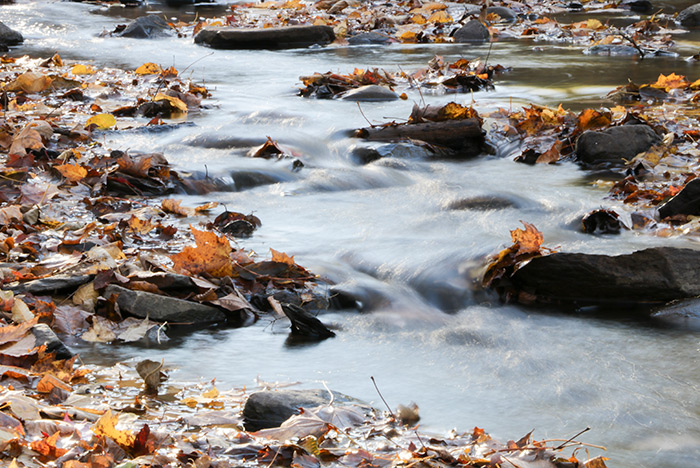
This whole topic came to light about a month ago. A good friend of mine was trying to take some smooth water shots near a local stream. She attached her camera to a tripod and placed the tripod near the stream. She then set her shutter speed for something really slow, such as a few seconds. Her goal was to get one of those shots where the water looks like silk. I’m sure you’ve seen them. When she asked me why her photos looked so bright, I responded that her camera was letting in too much light. We looked at her camera settings and discovered that there was indeed an issue.
Here’s what I saw. My friend’s shutter speed was set to a few seconds, like I said. I can’t remember the exact setting, but it was either three seconds or five seconds or something like that. Because of that setting, I knew right away that the camera would need to have a very small aperture and a low ISO, just to compensate for all the light the shutter was letting in. When I looked at the aperture setting, I found that it was actually pretty small, at something like f/11. I then took a look at the ISO setting. That was 100, which was as low as it was going to go with her camera. since she was in Shutter priority, her camera automatically made those other two settings.
We talked for a bit about what was going on. She asked me what could be done if the camera has already made all the necessary adjustments that were possible to keep the light out. “How do you keep even more light out?” she asked. “Put some sunglasses on the end of the lens,” I replied. I’m not sure she understood what I was talking about, so I quickly pulled up a page on Amazon.com. “Lens ND filters would do the trick,” I told her. If you aren’t aware, ND filters are used to cut the light that’s let into the end of a lens. They’re shaded, like sunglasses are, hence the suggestion I gave. “And look,” I said. “There’s an entire set of 10 for only around $30. That’s a pretty good deal. They’re not the best or what a professional would use, but they’d be perfect for you to use.”
By the way, this is how my friend’s photos were coming out. They were overexposed. There was just too much light coming into her camera and there was nothing she could do about it.
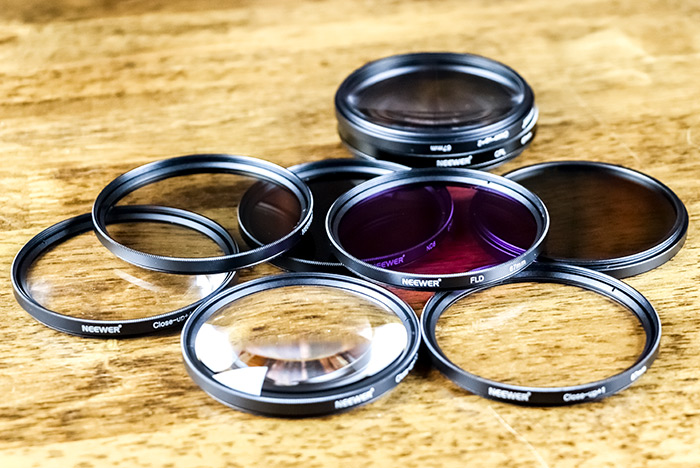
I’m writing this post for those of you who don’t know anything about lens filters. When I first heard about them years and years ago, I was flabbergasted. I was like, “You’re trying to tell me that you can twist little pieces of glass on the end of an already impressive lens and get all sorts of wonderful results from them? That’s incredible.” I’m still floored at the change lens filters can make. And the best part is, beginner sets are so cheap. Right now, you can pick up a set of these Neewer lens filters on Amazon for about $36. That’s for 10 filters! You can’t beat that. I don’t care what anyone says. It’s a great set to start out with. As you move on in your photography career, get better and learn more, feel free to spend all sorts of money. But for now, go with the less expensive set and then give them to a newbie or sell them on Ebay when you’re finished with them.
At this point, I think it would be best if I explained what these filters actually do. There are a few different kinds, so the options are expansive.
Magnifying Filters
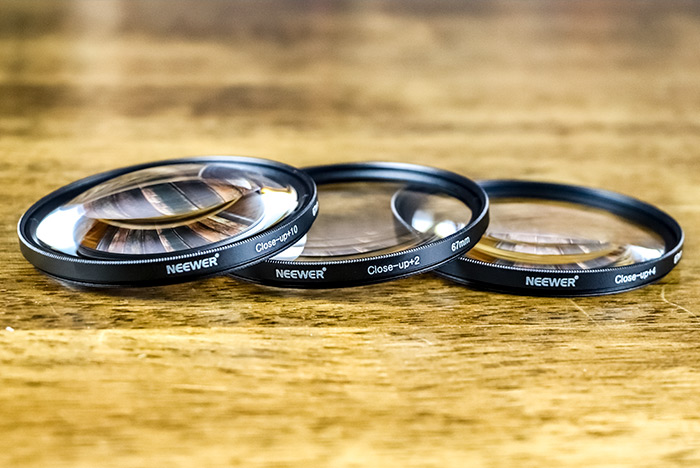
I guess you could call these filters “eyeglasses for lenses” if you can call ND filters “sunglasses for lenses.” These filters are also known as “close-up” filters. They come in many different strengths and they allow you to capture photos that you would never have been able to capture without their use. Well, I suppose you could have purchased a macro lens, but let’s be real. We’re beginners here. Macro lenses are expensive.
Magnifying lenses allow you to bring your camera much closer to a subject than without their use. Back when I first began using them, I’d find myself in the woods for hours, sitting on the ground, leaning up against one dead log after another. It was the moss I was after. I used to bring my lens so close to that moss and then zoom in just a bit. I got so close I could smell it. I took some wonderful photos back then, all because of these filters. I had a set of four that cost just a few dollars. And the best part about the set that I had was that they were stackable, meaning, one could be screwed into another for a ultra magnified view.
Remember, these filters won’t replace a true macro lens if you want to take very high quality photography. They will, however, introduce you to the possibilities.
Neutral Density Filters
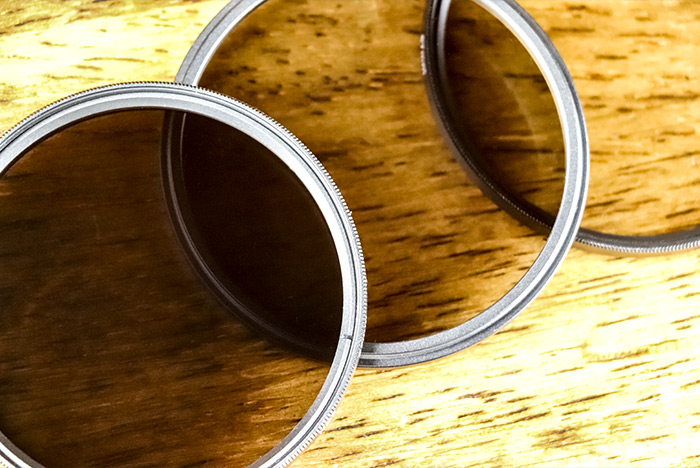
These are the ND filters I was referring to above. Screw one of these on the end of your lens and you’ll have much better luck taking those long exposure shots than you’d have without one. Also, if you suffer from flashes of light in the studio, these can help as well. They physically block light from coming into the lens, so they’re perfect for so many types of photography. If you’ve got a full frame camera and like to go out in the middle of the day for your photo shoots, you’ll likely want to take varying strengths of these lenses along. Those full frame sensors love to gobble up light and ND filters help keep images from being overexposed.
Protective UV Filters
If you go up to any experienced photographer and look at the end of their lens, you’ll likely see a filter that’s clear and not very noticeable at all. What’s surprising for many is that you’ll see a filter at all. What’s less surprising is that you’ll see a UV filter. If you asked the photographer why they have that filter attached to their lens, they’ll tell you that it’s to protect the glass. They’ll also tell you that it helps keep glare to a minimum, but really, most of them will share that the filter has protected their expensive lens in one way or another through the years. Whether it be from dropping the lens itself or from falling in the woods with camera in hand, an inexpensive filter like this can be worth it’s weight in gold. Literally. This filter protects the lens glass from dirt, scratches and moisture. It’s a must under dirty, muddy and windy conditions.
On the photographic side, UV filters can tame really clear skies. These types of skies can introduce a blue cast into photos and UV filters keep this cast to a minimum. It’s just one of those lenses you want to use all the time for one reason or another.
Polarizing Filters
I find this type of filter the most interesting out of all of them. This is for a few different reasons. First of all, these filters are adjustable. They twist on your lens. The effect they give depends on how much you twist them. The effect is completely visible, so it’s not like you can’t see it. It’s plain to the eye. Second, these filters can add a magical touch to your photos. Really. They can do some unique things that you didn’t think possible. Just the other day, I was taking some photos of a few trees and I was using one of these filters. With one shot, the trees looked green and normal. What you’d expect them to look like. For the next shot, I turned this filter and the trees had a much more brown/orange hue. It was so cool. I still haven’t decided which style I like best. They were both good.
Polarizing filters reduce reflections and saturate colors. They can add depth to an image. And as I said above, they rotate so you can get the perfect shot. If I weren’t using any other filter, I’d use this one almost all the time outdoors because they’re simply so good at keeping down glare, making skies blue and just bringing out the colors of the scene.
FLD (Florescent Light Daylight Filters)
You’ll know these filters when you see them. They’re pink. They stand out. This type of filter was extraordinarily popular back in the days of film cameras. Most cameras back then were set up for daylight photography. When a photographer went inside to take photos under florescent lighting, they get a weird looking color cast. Because of this, they needed something to compensate for that color cast to make the resulting picture look normal again. This filter does that.
Today’s cameras have either manual or automatic settings for white balance, so we really don’t have to concern ourselves with issues like this anymore. The camera does the compensation itself. Today, most photographers use this filter for some sort of special effect. It turns photos pink. Personally, I would incorporate any special effect like this during post-processing, but to each his own. This isn’t the most popular filter on the planet, but I think it’s important for you to learn about it because you’ll see it all over the place when you’re out there looking for filters or filter sets.
I hope this brief overview of camera lens filters has helped. On the next sunny day, I plan on going outside to take a few sample shots with and without filters for you, so you can see what’s going on with each of them. At least with the polarizing, magnifying, and ND filters, anyway. I’ll add those photos to this post. If you have any questions regarding this section, please let me know down below. Thanks for reading!
Here’s another perspective on camera lens filters…
Neewer Complete Lens Filter Accessory Kit
There are certain things in this world that I truly love. Camera lens filters are one of those things. I love lens filters.
Basically, lens filters are a potentially very inexpensive way to take photos that look professional. I like to think of them as the secret sauce that makes the shot a hundred times better. A regular lens can produce images that look somewhat naked. Adding a lens filter fixes that. They reduce glare, add depth, and reduce overabundant light. For such a small amount of money, they may very well be the best investment a budding photographer can make.
If you aren’t aware of what lens filters are yet, please take a look at these next two photos. I recently picked these up and they’re just wonderful. They’re cheap too at only $36 for the entire set. They have tiny threads and screw right onto the end of your lens. You’ll need to look at the diameter of your lens before you buy, but that’s easy. The measurement is written right on it.
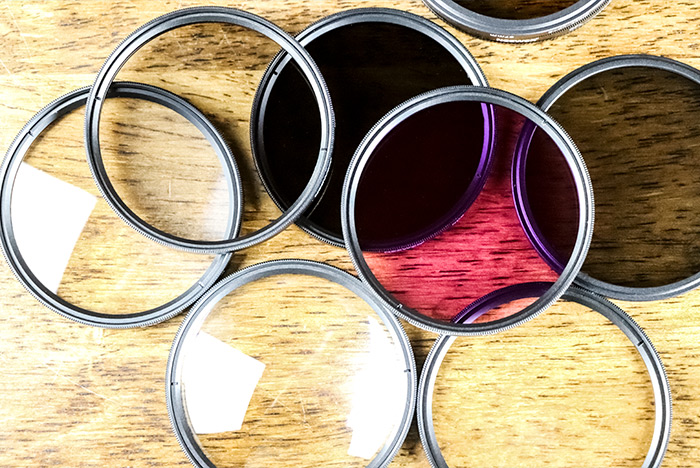
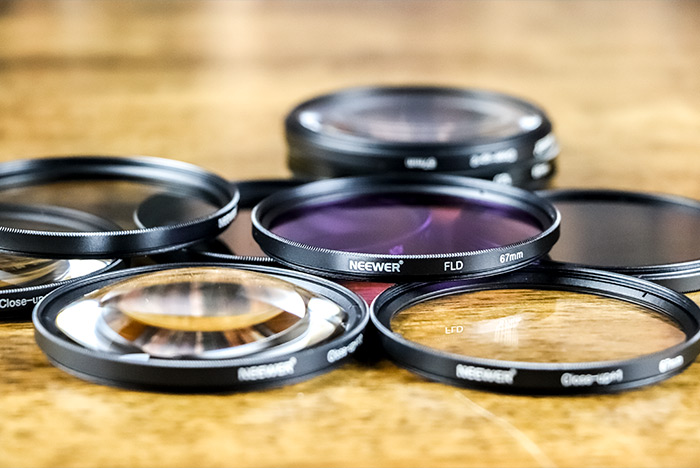
Very briefly, I’m going to cover what each type of filter does. If you’d like to add anything to this thread regarding filters or your own experience with them, I really wish you would. Simply reply down below.
Magnifying Filters
These filters let you get really close to an object to engage in something like macro photography. They say these filters don’t actually make the object larger, but that they allow you to get closer. You may already know that each lens only lets you get so close to something before it won’t focus anymore. Well, these filters break that barrier and let you get really, really close. With them, you can take pictures of hair in a butterfly’s nostril.
UV filters
Back in the days of film, these filters were important to keep out the UV rays from daylight. Today, most photographers use them as an inexpensive way to protect the glass on their expensive lenses that sit right behind the filter. In all reality, that’s what you’d probably use this filter for as well.
ND (Neutral Density) Filters
These filters reduce the amount of light that comes through your lens. If you’re taking long exposure shots in daylight or if you have a full frame sensor in your camera, you’ll most likely need to add one of the available strengths of this type of filter to your lens.
Polarizing Filters
The coolest of them all. These filters twist and allow you to adjust the look you’re going for. They can slightly alter the colors in a scene and even add depth. You’ll likely notice skies looking bluer and that reflections on water don’t bother you nearly as much as they used to. If there is one filter to buy, this is the one.
FLD Filters
I’m actually not even sure why these filters are sold anymore. They’re pink in color and they used to be sold in the days of film to color correct for indoor photography under florescent lighting. Today, digital cameras have white balance adjustments that take care of that for us. Some say that these filters are used for a pink effect in some situations, but I don’t really buy it. You can add any effect you want in post-processing. This is the least important filter in the bunch.
What’s the Best Way To Photograph Reflections on Water?
This section is a bonus…
Whether you take photos of reflections in the water during the daylight hours or in the dark of night, you need to assess the scene. If you’re working in the sunshine or during the day and the water is still and placid, you can go ahead and take the photo as you would any other. Set up your exposure, keep the camera still and shoot. If the water is choppy during the day and you would like to smooth it out with the understanding that the reflections on the water will become hazy and diminished, you can do that too. Simply switch your camera to Shutter Priority mode, slow down your shutter speed to a few seconds and snap away. Just remember that you’ll need to block a lot of the light that’s making its way to your sensor one way or another or else you’ll end up with an overexposed shot. To do this, you can decrease the size of your lens’s aperture or decrease your camera’s ISO value. Most likely though, you’re best bet is to take advantage of a neutral density lens filter. This type of scenario is exactly what these filters are used for.
If you’d like to take some night shots and capture the reflection of a shoreline, buildings or bridge on some still or mildly choppy water, you’ll definitely need to slow down your shutter speed as well. The process is the same as what you’d follow for any other type of night photography, but in cases where reflections on the water are a special consideration, you want to make sure you’re down as close to the water as possible. That way, you’ll have as much of the reflection as you can get in your shot. Also, you’ll need to assess how much light is available to your camera in your surroundings. If not much at all, slow the shutter speed way down to one, two or even four minutes. Believe it or not, you can still get some wonderful reflections in this type of dark. If you’re photographing a cityscape or a bridge that’s got lights on it, you can use a shutter speed that’s set between typically five and 15 seconds. Experimentation is the key. Also, keep your ISO as low as it will go (typically 100) and set your aperture anywhere from f/8 to f/11. This will give you some sharp depth of field and it will also allow for that slower shutter speed.
Photography is all about light. You need to first think of your goal and then set your camera up around that. Once you get the hang of all the settings on your camera, you’ll be out there taking photographs all day long. And the reward will be worth it. If you’d like to learn more about photographing reflections on water at night, please check out my post on the topic.
So there you have it. A fast and dirty overview of camera lens filters. Tell me what you know down below and please share any advice you have. Thanks!

Leave a Reply