Nature photography is suited well for the creepers, the slow walkers. Those of us who wander through the woods with camera in hand, just waiting for something beautiful to appear. I’ve done this so many times I’ve lost count. It usually occurs during mid-autumn on those 50° days while the leaves are falling from the trees. It happens during other times too, but none as frequently as during the fall.
What is nature photography? It the type of photography that encompasses many other types and nestles them under its own umbrella. Think landscape, wildlife, plants, close-ups of natural scenes and textures. It’s wide ranging, but to me, is basic and it’s what’s done while walking through the woods.

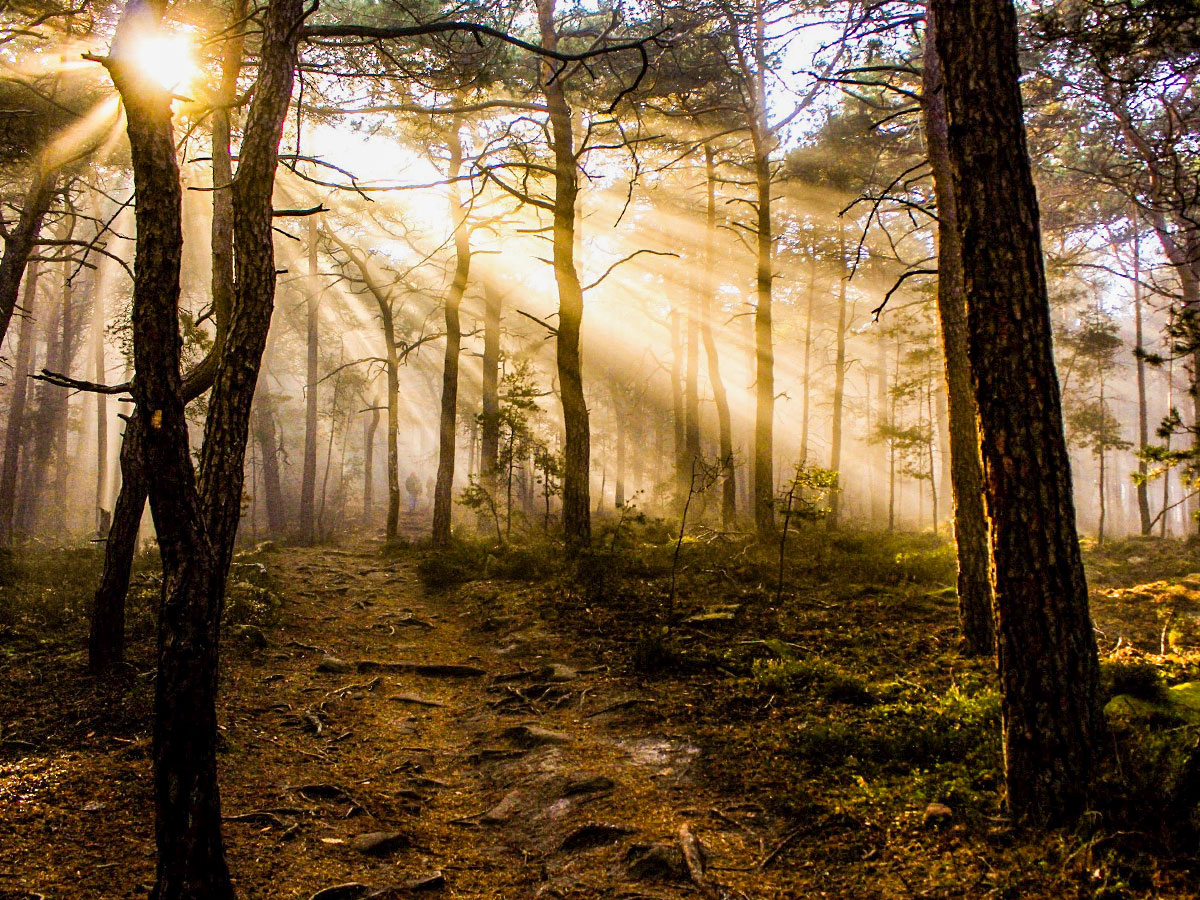
It seems like whenever I need to practice photography or if I just want to go out to see if I can take some shots to share online, I find myself in the very woods I mentioned above. Being surrounded by trees and photographing is oftentimes perfect for those days that aren’t what others would typically call ideal for photo shoots. Perhaps there’s some drizzle or rain falling from the sky or it’s cloudy or foggy; basically, nature photography is perfect for those times I just want to slow down and hunt around for interesting things I might’ve not noticed before. Streams and rivers, moss on a log, interesting tree bark, and arrangements of the trees themselves. All these things can be excellent subjects in their own rights and I encourage more of you to get involved with walking through the woods with a camera, if it’s one of those things you haven’t already engaged in.

In this post, I’d like to discuss a few topics that might help out with your own nature photography. I’ve been doing this a while and have learned some things. I’ve gotten stuck and have come back inside to review what I’d call “lousy” pictures. A lot of what I’ve learned has helped me circumvent a variety of problem situations and has improved my results tremendously. Down below, I’ll let you in on some of my tips and tricks to make your nature photography better.
Use a Tripod
I’ll tell you right off the bat, you’ll need a tripod when photographing in the woods. If you plan on getting up close to take pictures of mushrooms and moss, it’s important to keep your camera very steady. Also, if you plan on taking long exposure photos of a running stream or water of some kind, you pretty much can’t do that without a tripod.
Create a Plan
The first thing you’ll need to do is think about what you’d like to shoot. This might seem obvious, but I can’t tell you how many times I’ve gone back in the woods and came out empty handed. I didn’t find success until I at least went in with some sort of a goal. I like running water and I like moss that’s either on the ground or on rotting wood, so that’s what I’d oftentimes go in for.
Get in there and find your subject. Then, compose your shot. Find some framing, center your subject or use the rule of thirds to set it off to the side.
Long Exposure Running Water
If you’re going to be taking some long exposure photos of running water, there are rules to follow. First, you’ll need to use an ND filter if there’s lots of light in your scene. Too much light making its way through your camera lens for too long can quickly overexpose a photograph. ND filters do a good job of reducing light. Multiple filters may need to be stacked upon themselves if it’s very bright outdoors.
You’ll also need to think about your settings. Using only shutter priority isn’t good enough. You’ll need to control aperture as well if you’d like both your foreground and background to be in focus. From experience, I can tell you that you can benefit from an aperture size (the physical size) smaller than F/8 to reduce light and a shutter speed of around one second. the long shutter speed will let lots of light in, but the smaller aperture helps keep some out. The benefit of the smaller aperture is a more “in focus” shot as well.
Two things I want to tell you about when taking long exposure water photos, such as small brooks and streams during the day. Neutral density (ND) filters are great because they cut the light, but you can also use a polarizing filter to remove any reflection from the surface of the water. I’ve done this and the results have been awesome.
If you’re shooting on a day that’s overcast, try to hide the sky from your shots. The sky will likely be bright white and can really get in the way when it’s peeking through the trees. It’ll cause areas of your photos to be overexposed.
When deciding if you need foreground interest in your photos or not, think about what you’re actually photographing. I’ve seen many photos where there have been rocks or logs or something like that to create a beautiful foreground and then the true subject in the background. I like that idea and it works well. Those foreground objects help to frame the photos.
When photographing running water though, you need to remember that the water is actually the interesting thing and by obscuring it too much, you’re doing it a disservice. It’s oftentimes best to allow the water to flow all the way to the bottom of your images.
I personally like to take my photos of running water upstream. Although, I’ve taken them downstream as well and they’ve come out well. My point is, don’t get too worked up when it comes to the direction the water is flowing. Sometimes your hand will be forced and you’ll need to shoot one way or the other because of debris or something else. Don’t worry about it. Just follow the rules and take your pictures. The water will lead the viewer’s eyes where they need to go.
Consistent White Balance
When photographing in the woods on a cloudy day, be sure to shoot in RAW mode so you can easily adjust your white balance later on during post-processing. Also, try to choose a preset white balance while out in the field as opposed to leaving it up to your camera to decide. Flip through the different white balance settings and take some sample photos. Choose the one you like and keep that setting. This way, you’ll have consistent images across the board throughout your session.
Getting Low With Small Subjects
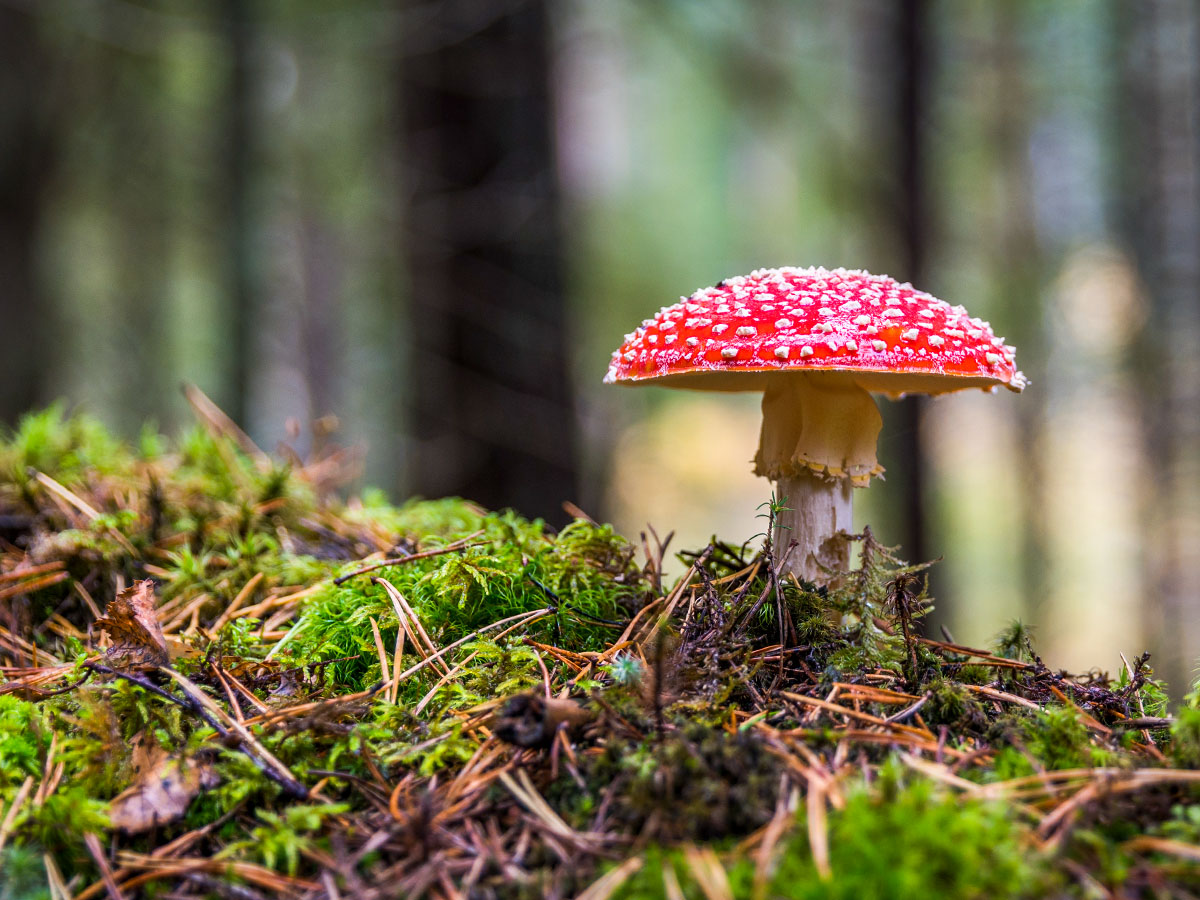
One of the things I really enjoy when photographing in the woods on a cloudy, rainy day is mushrooms and moss. The reason for this is because they’re relatively easy to make look good. I’m able to get down on the ground and set up my gear. I can slowly and deliberately change my settings from one shot to the next and review them to see what I like the best. It’s sort of zen.
When photographing small subjects that are close to the ground, plan on getting down there with them. Yes, you’ll be using your tripod, but you’ll need to set it up in such a way as to keep your angles at the top of mind. Angles and aperture. Aperture is strong when you’re close up, so make good use of your depth of field preview button.
The last thing you’ll want is to set up tons of shots of moss and have them seemingly look good on your camera, but then look lousy when you get them home on your computer. Use that depth of field preview button to get an accurate picture of what’s going on.
Focusing on Close Up Objects
When taking these types of close up shots, make sure you put your camera in live view so you can use the zoom feature to get the most crisp focus possible. Manual focus is perfect for this. Also, use the available lighting to your advantage. While it likely won’t be coming strongly from one direction on a cloudy day, you can always use a flashlight or a reflective panel to create the illusion of some strong light that stems from underneath, the sides, or above. This is a great trick to use to bring your images to the next level. Smaller reflectors work particularly well for this type of close up photography.
The Golden Hour
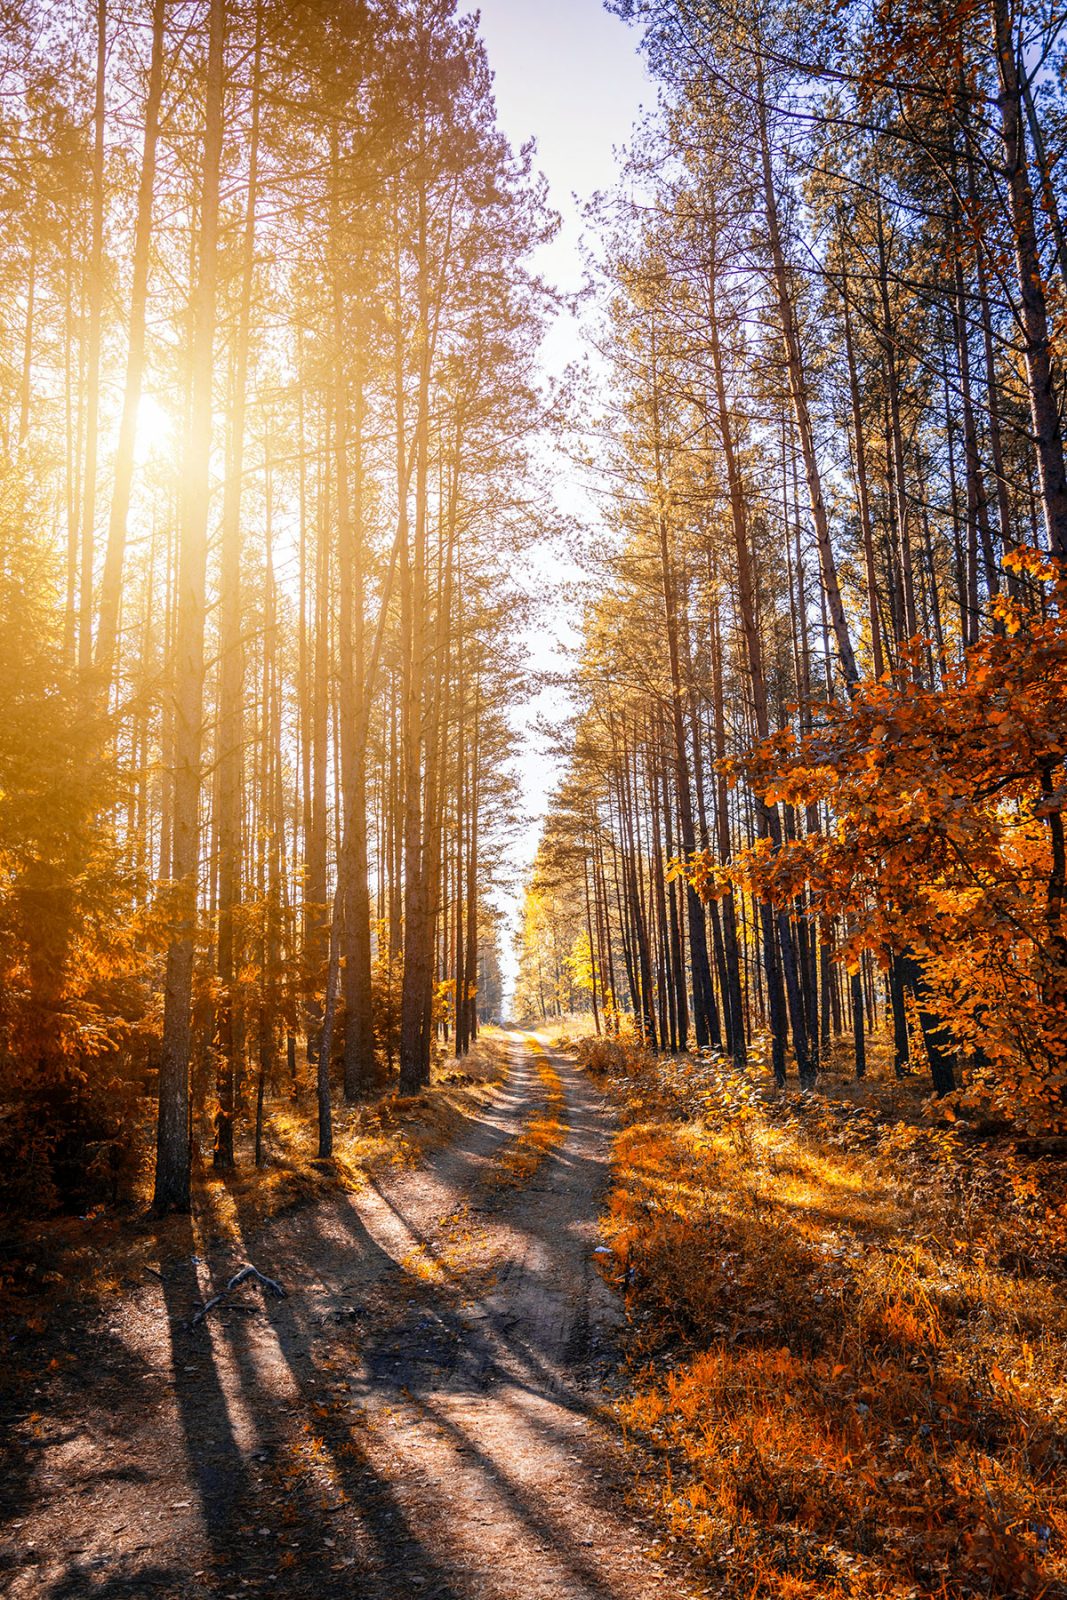
By all means, if you’re enjoying your nature photography on a sunny day, wait for the lighting to look its best. This is usually an hour or two after it rises in the morning and an hour or two before it goes down for the night. This time is called the “golden hour” and it can make an ordinary photograph look extraordinary. So much of photography is all about how good the lighting is, so take advantage of it.

I think I got everything in here. If you have any additional tips or tricks or if you have any questions regarding what I wrote above, please join in the conversation below. Thanks!

Leave a Reply