I had way too much fun taking photos of this cake. No really. It was extremely entertaining. You’ll see why at the end of the post. Lots of neat pictures.
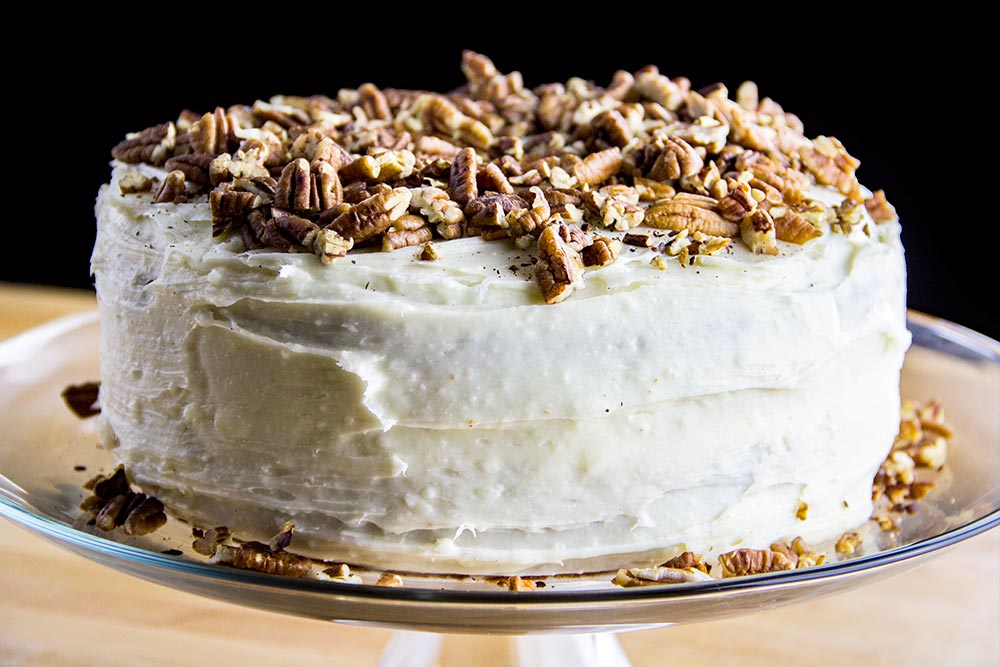
I’ve been looking at the Hummingbird Cake recipe that’s been sitting in my email box for a few weeks now. Laura sent it over and informed me that it held some sort of significance. I believe she mentioned something about it being a spring recipe and that it had a story to it. The reason I didn’t jump on it right away is because I’m not a confident baker by any means. Although, the muffins I made came out rather well. Still, I didn’t think I was up to making a double-decker cake that needed frosting spread all over it. From what I’ve heard, this area of baking can be temperamental.
After thinking about it for a while, I decided that I should give the recipe a try. If it didn’t come out the way I wanted, Laura and I could simply eat it and give it another try some other time. Luckily, my efforts were rewarded by a wonderfully delectable cake that was worth every ounce of effort.
If you’re wondering what a Hummingbird Cake is, you can read about it here. If you don’t feel like clicking through, I’ll paste the good part below.
Hummingbird cake is a banana-pineapple spice cake common in the Southern United States. Ingredients include flour, sugar, salt, ripe banana, pineapple, cinnamon, pecans, vanilla extract, eggs, and leavening agent. It is often served with cream cheese frosting. The cake has been a tradition in Southern cuisine since the mid-20th century. The first known publication of the recipe, as written by L.H. Wiggin, was in the February 1978 issue of Southern Living. The cake won the Favorite Cake Award later that same year at the Kentucky State Fair.
I think that’s kind of cool. I like spicy and sweet things.
The Recipe
Laura found this recipe on Spicy Southern Kitchen. The author, Christin, did a great job of explaining the background of the cake as well as some of its finer points. In her variation of the recipe, she included allspice. Since we didn’t have any allspice on hand, we substituted with nutmeg and clove. Let me tell you, clove is awesome. I’m going to try to find more places to use it.
This is a rich recipe. It’s not for the faint of heart. There’s lots of sugar and lots of butter, but there’s also lots of flavor. In the instructions below, I’ll be sure to include some hints for issues I found during my construction of this masterpiece. Those hints should make your life a bit easier.
Ingredients
3 Cups All-Purpose Flour
2 Cups Granulated Sugar
Regular Table Salt
1 Teaspoon Baking Powder
1 Teaspoon Baking Soda
1 Teaspoon Ground Cinnamon
¼ Teaspoon Nutmeg
¼ Teaspoon Clove
1 ⅓ Cups Vegetable Oil
4 Teaspoons Vanilla Extract
3 Large Eggs, Beaten
1 ¾ Cups Ripe Banana (3-4 Bananas)
2 Cups Pecans, Toasted and Chopped
8 Ounces of Canned Crushed Pineapple, Undrained
2 Sticks of Unsalted Butter, Softened
6 Cups Powdered Sugar
2 (8-Ounce) Packages of Cream Cheese, Softened
Step-by-Step Instructions
For this recipe, I suggest you read the following instructions through thoroughly. There are a few places where an ingredient that was already used needs to be used again. I can think of two right now: the vanilla extract and the pecans. In the ingredient list above, I gave totals so they are easier to shop for. But below, you’ll need to be aware that only some of something is used and then the remainder of it is used later on.
Pre-Heat Oven
Go ahead and pre-heat your oven to 350 degrees. Also, for this cake, you’ll use the center rack position.
Butter & Flour Pans
Now, thoroughly butter two 9 or 9 1/2 inch cake pans. The pans I used were 9 1/2 inches. After they are buttered, sprinkle some flour over them so they are completely coated. The flour will stay loose, so you can just shake the pans around and dump whatever is left over back in the flour container.
Combine Dry Ingredients
In a large stand mixer bowl, add the 3 cups of all-purpose flour, the 2 cups of granulated sugar, 1 teaspoon of regular table salt, 1 teaspoon of baking powder, 1 teaspoon of baking soda, 1 teaspoon of ground cinnamon, 1/4 teaspoon of nutmeg and 1/4 teaspoon of clove.
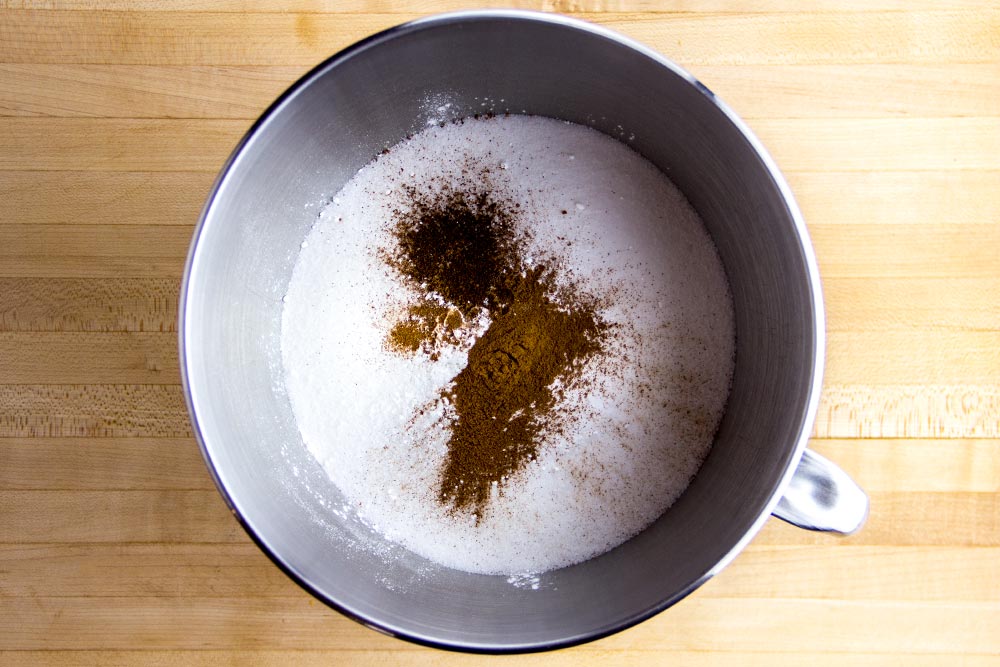
With a rubber spatula or wooden spoon, combine these ingredients.
Add Wet Ingredients
Now, add in the 1 1/3 cups of vegetable oil, 2 teaspoons of vanilla extract and the 3 lightly beaten eggs.
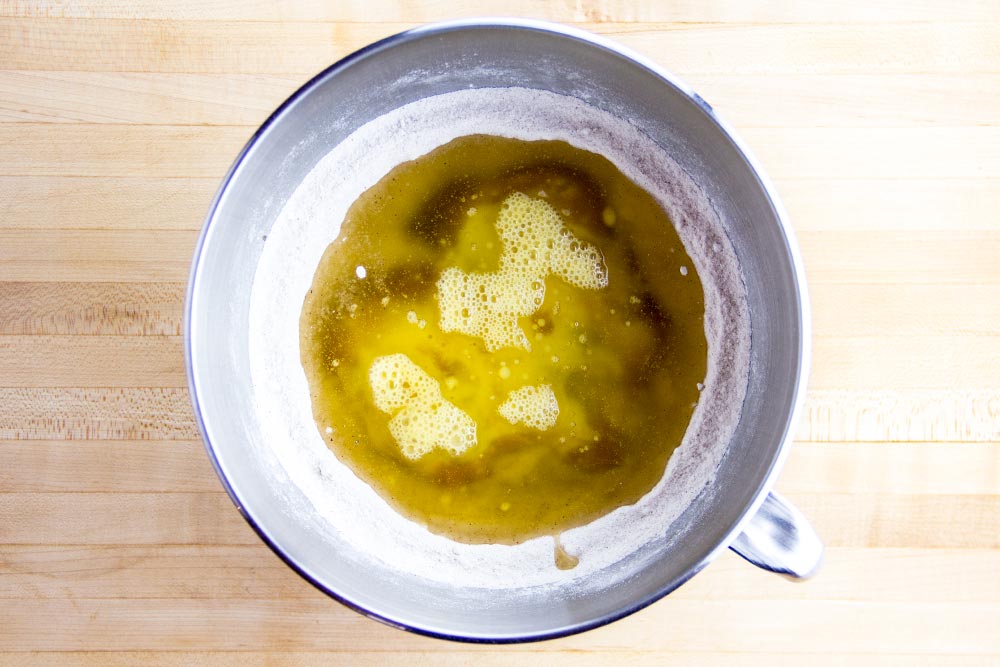
Place the bowl in your stand mixer and combine all the ingredients.
Add Fruit & Nuts
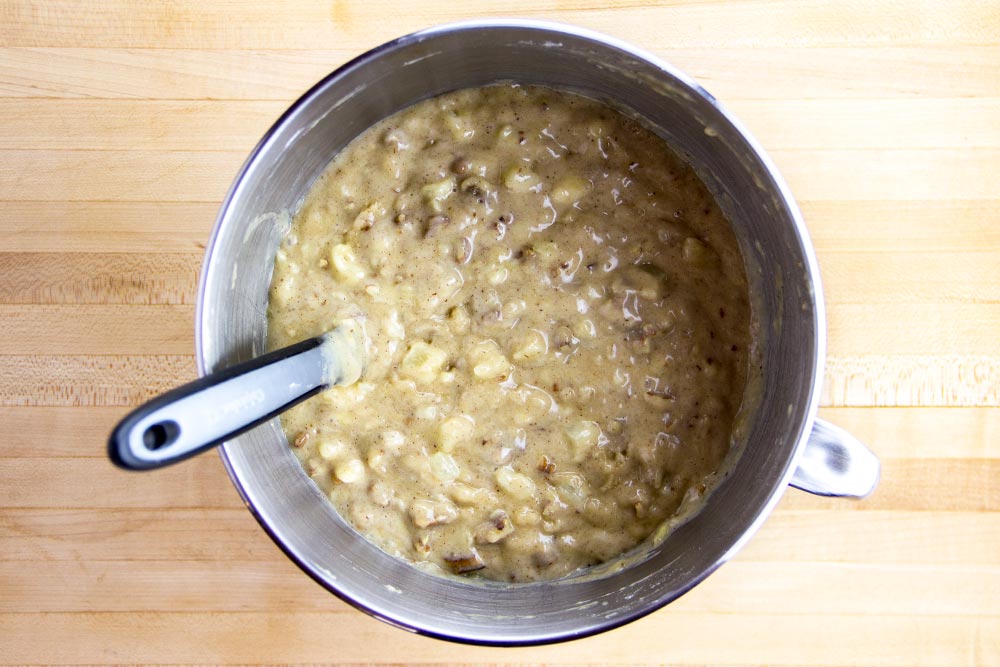
After everything has been well combined, go ahead and add in the 1 3/4 cups of mashed banana, the 1 cup of toasted and chopped pecans and the 8 ounces of undrained canned crushed pineapple.
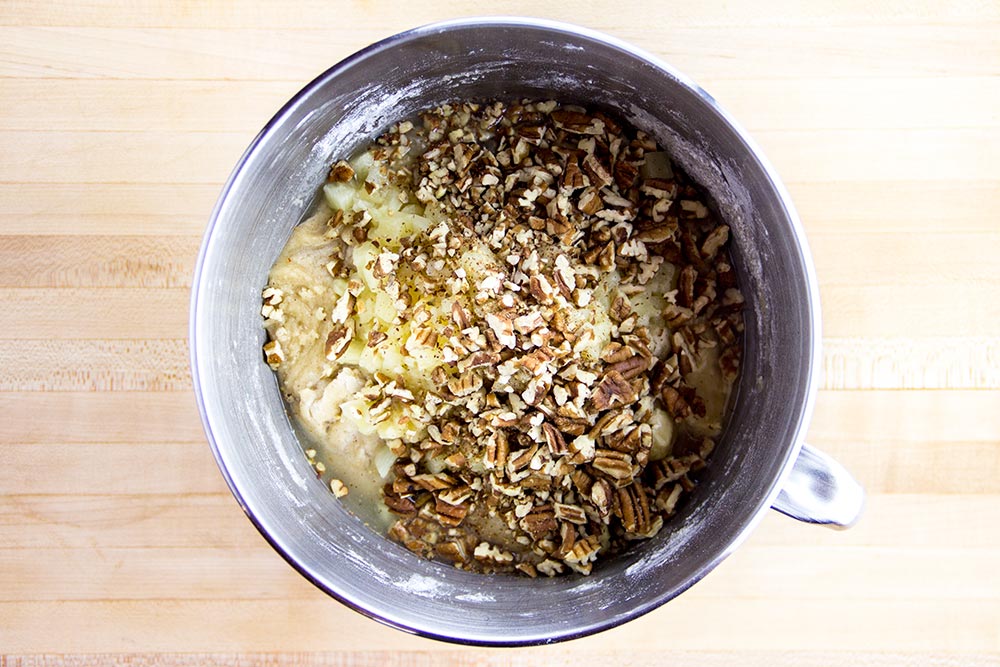
With your mixer, combine these ingredients in as well. When everything is said and done, it should look like the photo below. Notice the consistency.
Add Batter to Pans
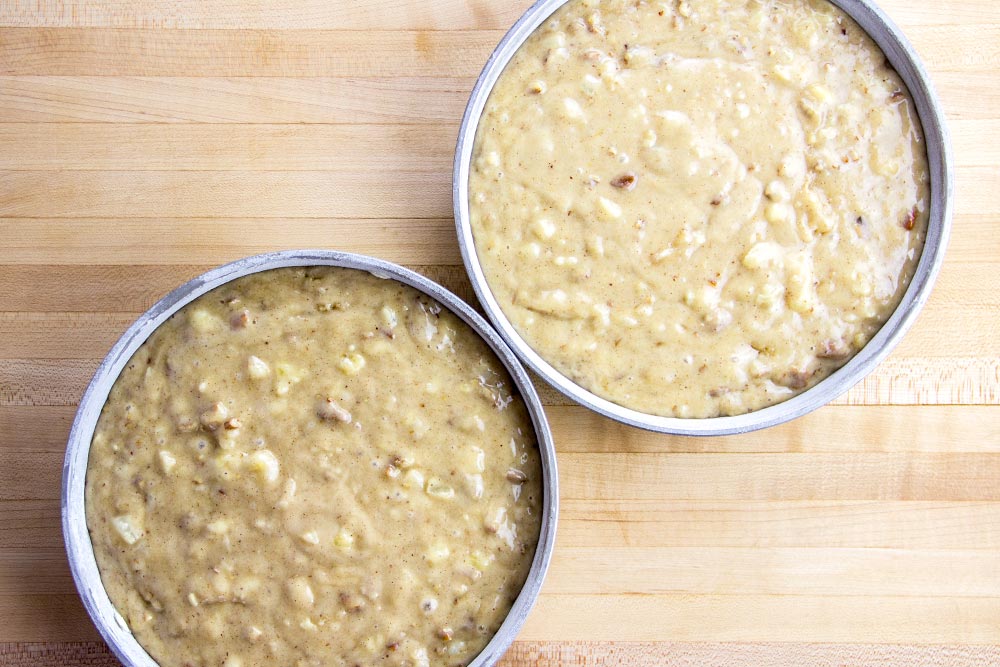
I’ve seen Hummingbird Cakes that have up to 9 layers. The recipe we used called for 3. Since we only have 2 cake pans, that’s the number we decided to use. What concerned me was having the batter not cook all the way through because of the thicker layers. I can tell you that it did cook through, but it took some creativity.
If you use 3 pans, you can cook the batter in the oven for about a half hour and everything will be fine. As long as you liberally take advantage of the toothpick test, it should be good. If you decide to go with 2 pans, you’ll need to cook the batter about 10 minutes longer. Now, when you do this, there’s the risk of browning the top too much. If you look at the pans after a half hour and insert a toothpick, only to find batter still sticking to it, you’ll need to keep on baking. To resist further browning, I lightly covered both pans with a nice piece of aluminum foil. That protects everything and when this tip was taken advantage of, our cakes were perfect when finished.
Anyway, for this step, divide your batter by the number of pans you plan on using and fill each one with that amount.
Bake Cakes
Please follow my instructions in the previous step for baking your batter. As stated, for 3 pans, bake for about 30 minutes. For 2 pans, bake for about 40 minutes, but use foil as a protector against over-browning. Also, use the toothpick test often.
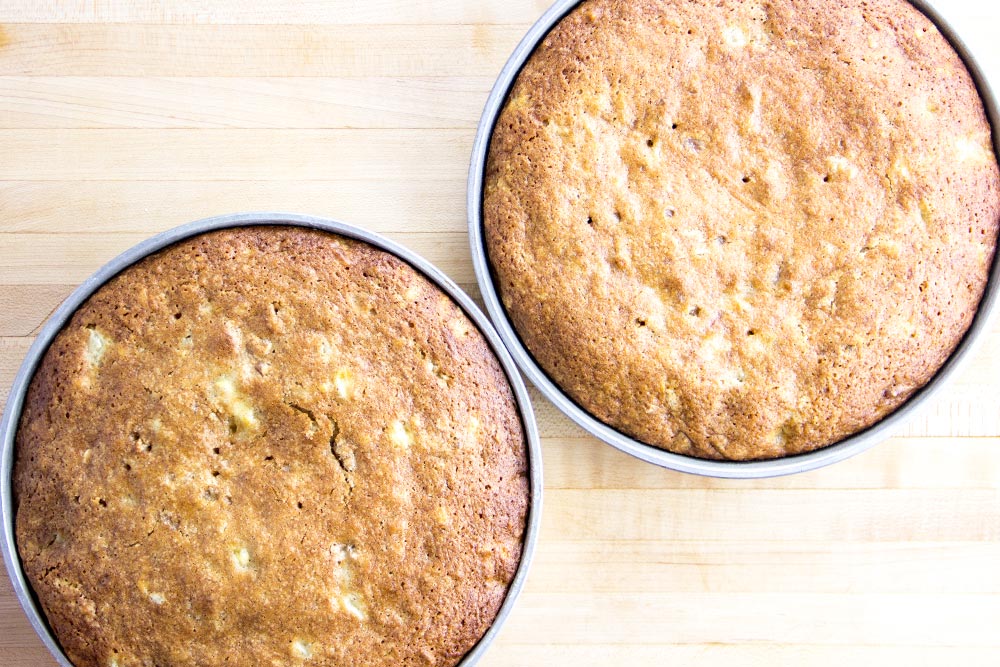
When finished, remove pans from oven and let cool for at least 20 minutes.
Make Frosting
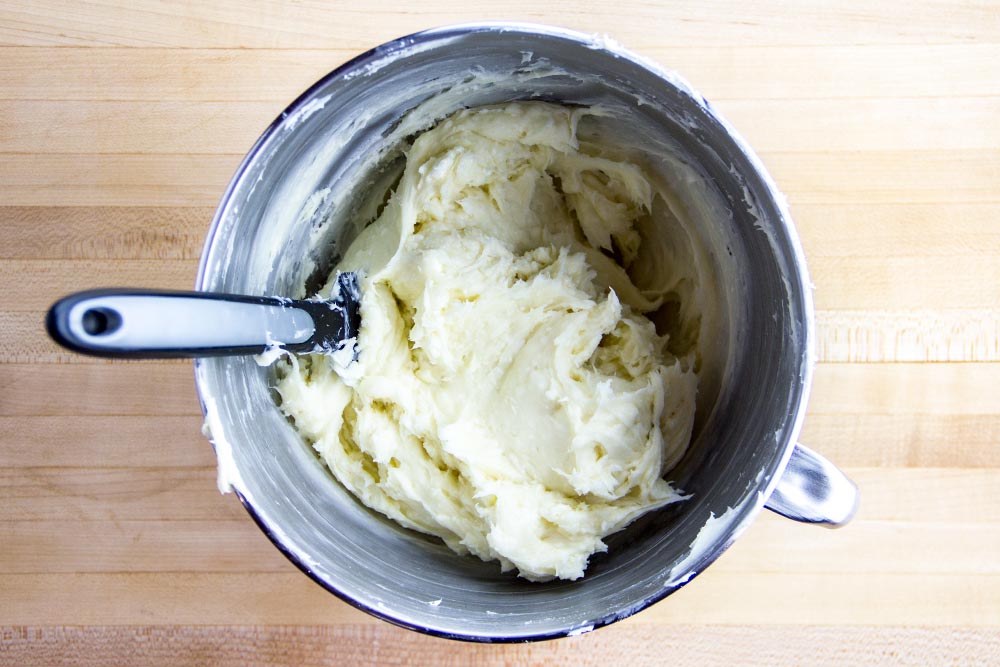
This is probably the most challenging part of this recipe. I had trouble early on when trying to figure out which attachment was the most appropriate for this step. As it ended up, the paddle was the best. That made quick work of what was left.
In the now clean large stand mixer bowl, add the 2 sticks of softened unsalted butter. Add 2 cups of powdered sugar and mix. Then, add 2 more cups of powdered sugar and mix. Finally, add the last 2 cups of powdered sugar and mix. I know this sounds like a lot, but eventually, it all gets mixed in there.
After those ingredients are somewhat together, add in 2 teaspoons of vanilla extract, along with a pinch of salt. Then, add in the 2 8-ounce packages of softened cream cheese. Mix everything up until the ingredients are completely combined. After the cream cheese is added to the butter and powdered sugar, the frosting should become somewhat softer and more manageable.
Spread Frosting
When the cakes are cooled, place one of them on a plate or area you’ll store the cake on until it’s finished (eaten). It’s going to be extremely difficult to move, so this step matters. Then, you can spread some frosting on the top of the first cake.
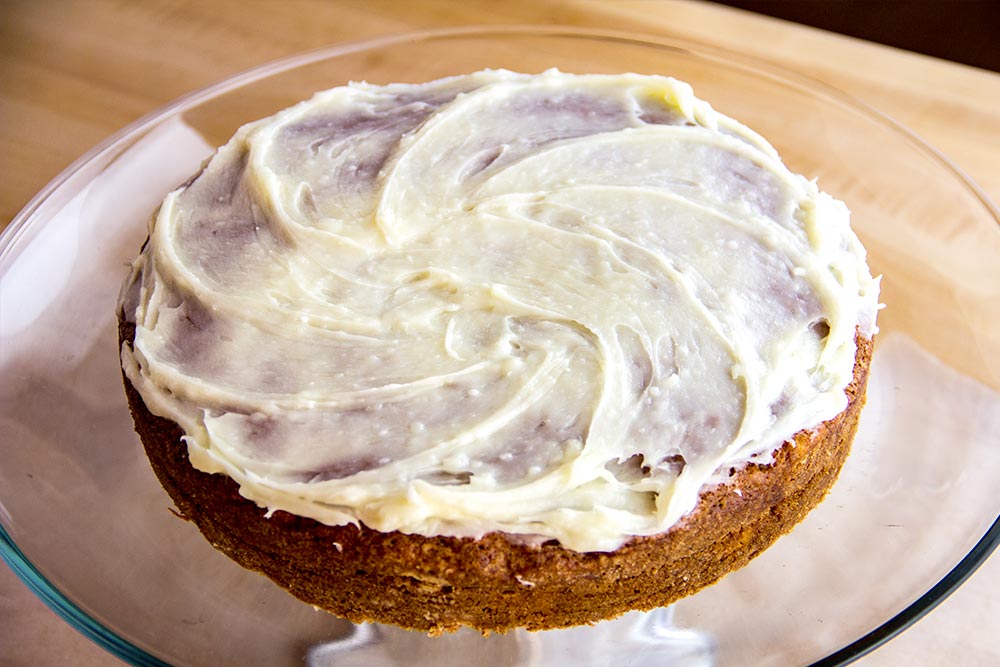
If the cake starts to rip, you may not have let it cool long enough. Either that, or the frosting is too cold. You might have to mix up the frosting a bit with a rubber spatula to loosen it or let it sit out at room temperature for a while.
When the first layer is covered with frosting, go ahead and add the second layer to the first.
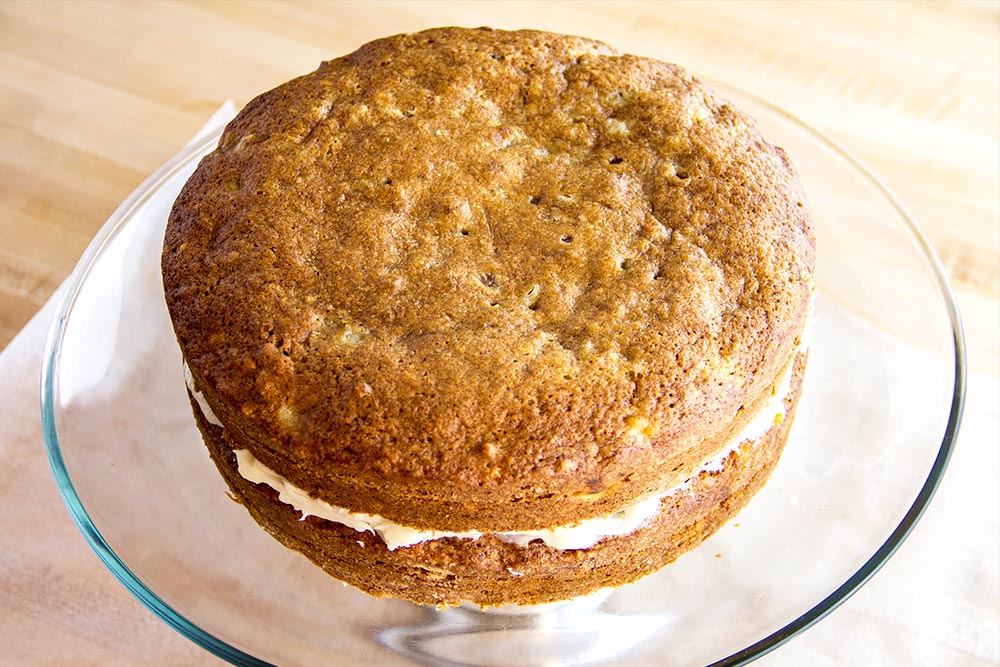
Once the two layers are on top of one another, you can cover the entire cake with frosting. The trick here is to not get frustrated. There’s going to be a lot of frosting in your bowl, but all you want to do is add a thin layer all over the cake. Don’t add too much. This step is like painting a car – if you add too much, bad things will happen.
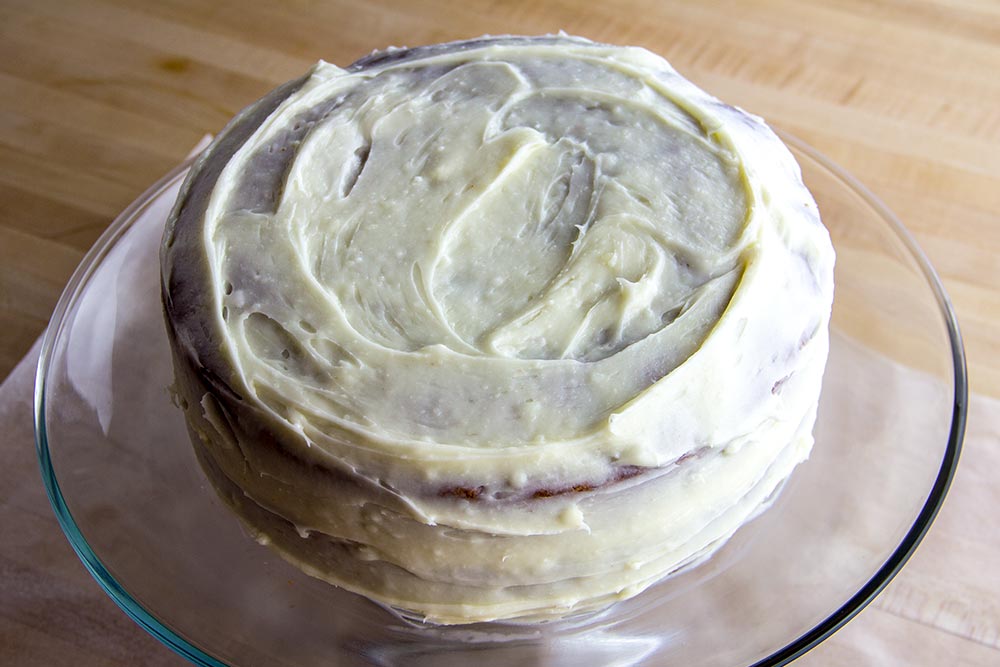
Let Cool & Finish Frosting
Once the first layer of frosting is applied, place the cake in the refrigerator for about 45 minutes. This will firm up both the cake and the frosting. When that time has passed, remove the cake from the refrigerator and give the entire thing a second coat. I actually had a lot left over, so I put that in some Tupperware and then the freezer.
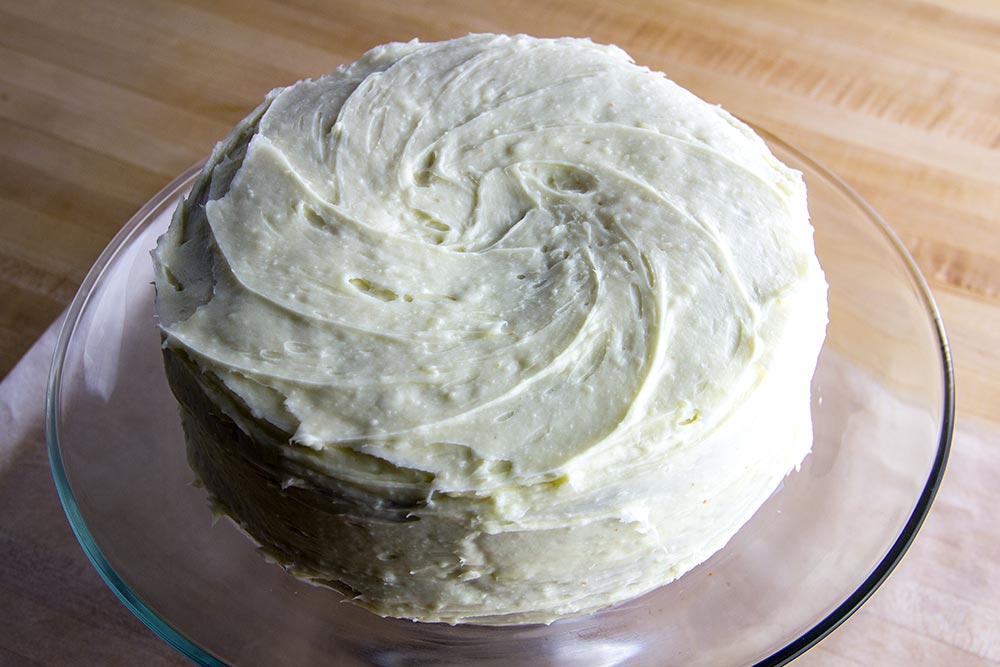
The above steps may take some practice. Don’t get upset with it and keep on trying.
Finally, once the entire cake is frosted, sprinkle on the second cup of toasted chopped pecans and serve.
The Final Cake
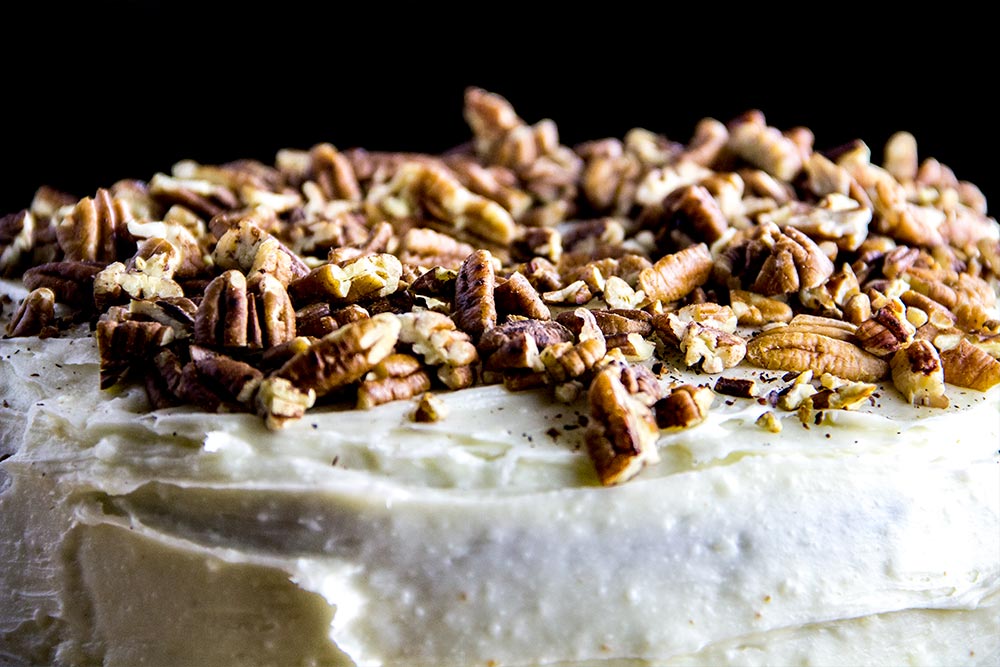
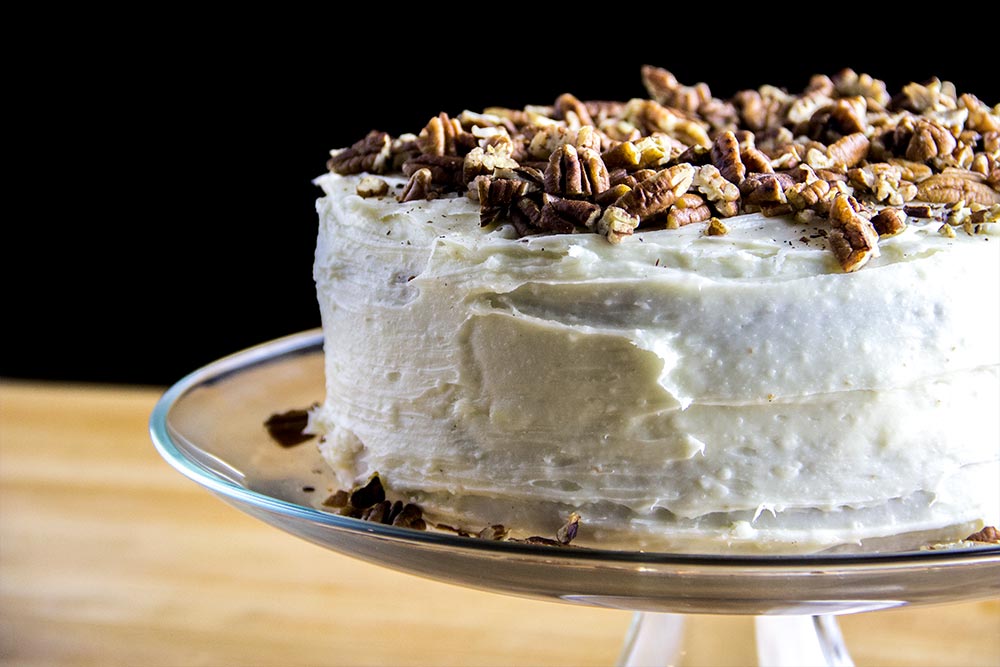
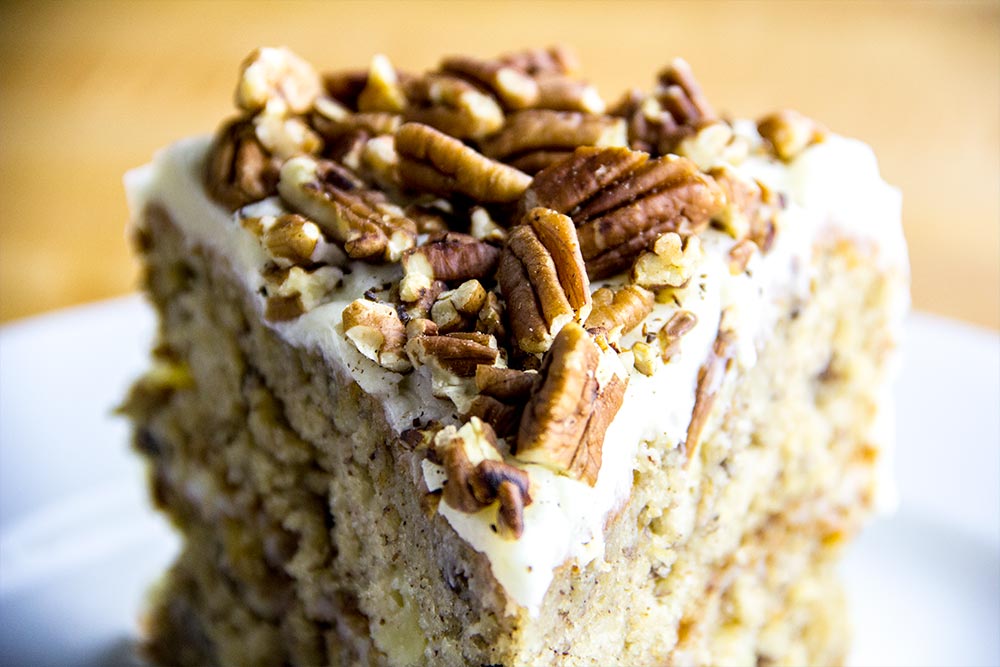
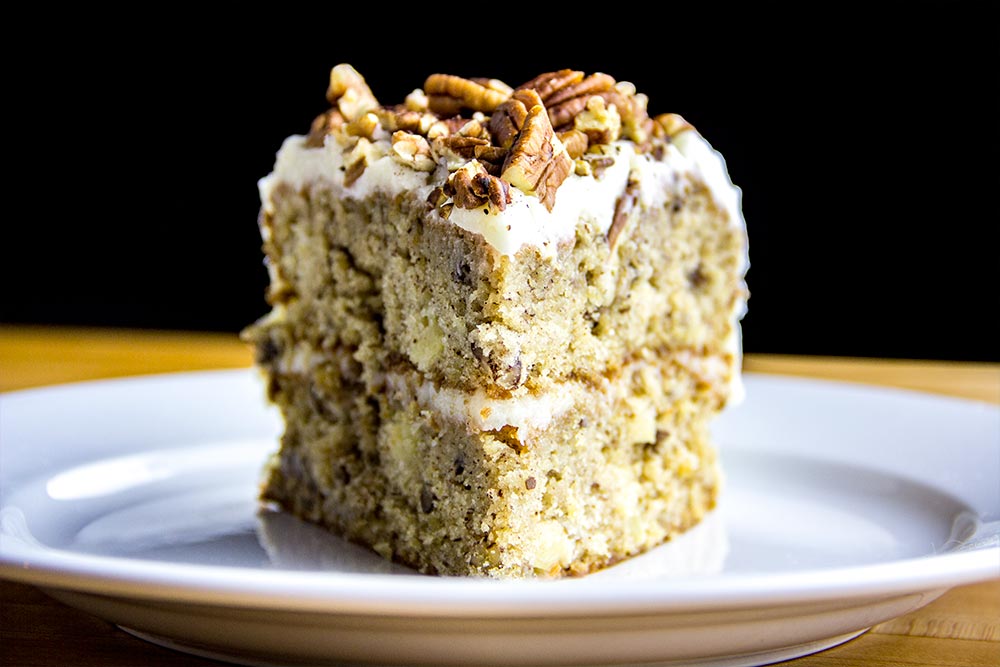
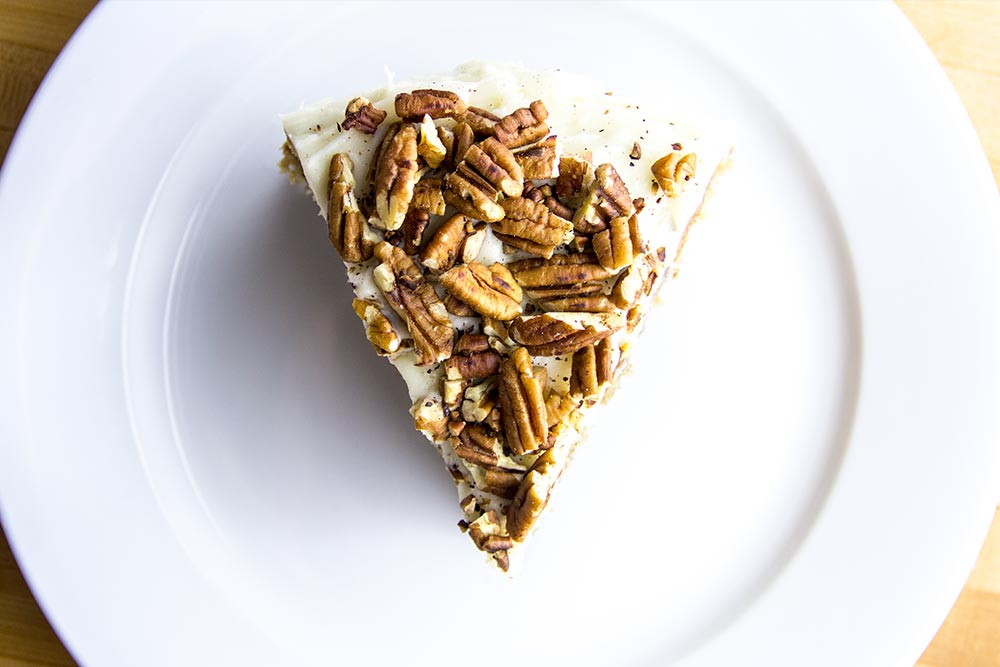
This is where I had way too much fun. When I finished sprinkling on that last piece of pecan, I began snapping away with photos. Below is my collection.
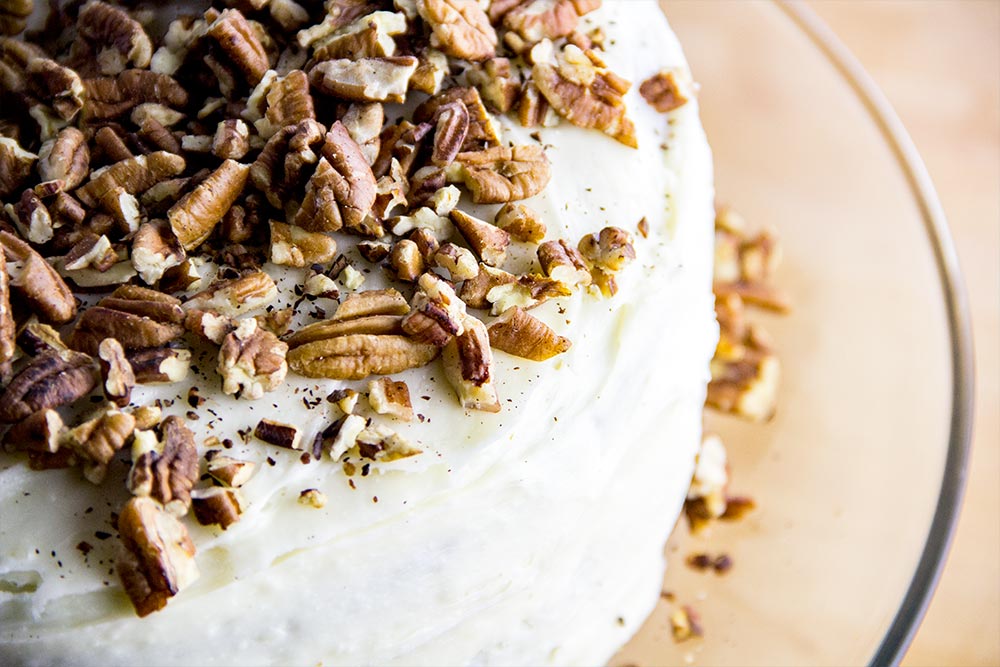
This thing was staring my down like a freight train.
——
If you’ve enjoyed today’s post and found it helpful, please share it with a friend. Also, if you’d like to continue reading and would like my posts sent directly to your email inbox, simply sign up for my newsletter. I’ll send each and every post directly to you. Thanks!

Yum!! You did a fine job with this cake, I love the spiral pattern in the frosting. I’ve never made a hummingbird cake but I’m not sure why, it looks delicious, it sounds delicious and the name is super cute!
Thank you Nicole! I’m pleased that I managed to make it through this recipe so successfully. If you like the ingredients, I say give it a shot. It’s a great cake and I think you’ll enjoy it.
Jay
If you want to indicate the ingredient is split up and used more than once in a recipe, add “, separated” after the ingredient in the list.
Excellent advice. Thank you Joy!