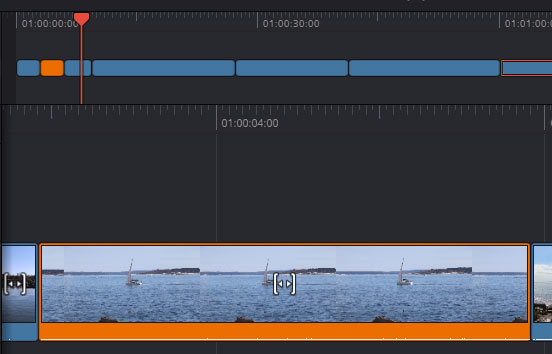
If you’ve ever worked in a video editing application, you surely know how confusing things can get – quickly. If you’re working on a complicated project, there are likely to be dozens, if not hundreds, of clips in the timeline at any given moment in time. At some point, those clips will look like a sea of blue if not given some sort of distinction. Take a look at this example. I filled the timeline with just a few clips.
You can see eight clips in the above timeline – and this is the condensed version. Just imagine how confusing things would be in the regular timeline. The question is, is there some way to add distinction to these clips so we can differentiate them from one another? The answer is yes and making each clip distinct from one another is quite simple to do.
How to Change Video Clip Color
In most cases, once a clip is pulled into the timeline, it no longer has any association with the source clip. I discussed this in the post I wrote about the ripple edit feature on the Cut page. In this case though, an association remains. We’re able to change the color of the source clip and have that color appear in both timelines. Take a look at the timelines below.
Pretty cool, right? So if, for some reason, you needed to identify a clip on the timeline quickly and easily, you could simply change its color so it stands out. But how is this done?
To demonstrate, I’ll go to the Media Pool and right-click on a thumbnail. Then, I’ll roll over the Clip Color menu item and when the menu that contains the various colors appears, I’ll select one of them. In this case, I chose orange.
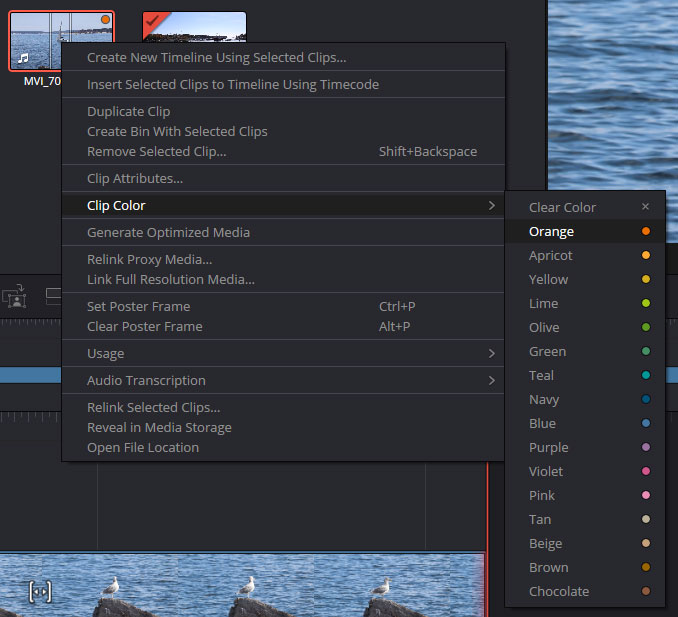
Next, I’ll change the colors for a few different clips, just to show you how extreme you can be.
Another method for changing your clip color in Resolve is to right-click directly on the clip that’s in the lower timeline in the Cut page. Take a look.
If I right-click directly on the clip in the lower timeline, a menu will appear. I’ll roll my mouse pointer over the Clip Color option and again, I’ll see the available colors for my clip.
How to Remove or Change Clip Colors
If you ever decide to remove or change the color of a clip, you can easily do that. Simply right-click once more on the clip’s thumbnail in the Media Pool or on the clip in the timeline and then roll over the Clip Color menu item. Then choose Clear Color or choose a new color.
Identifying Colored Clips
Once a color is applied to a clip, it’s easy to recognize it in the timeline, but it’s not so easy to find it in the Media Pool. What if you want to change the color? Remove the color?
To see if a thumbnail has a color applied to it in the Media Pool, just look for a small colored circle in the upper right corner of the thumbnail. Take a look.
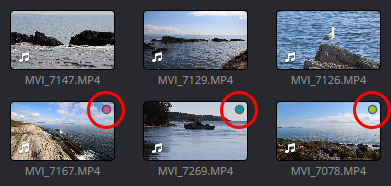
I circled the color circles in red above, so you’re better able to see them. If it’s got the circle, it’s got a color applied to it. Once you remove the color, the circle will disappear.
There you have it! If you have any questions regarding how to change the color of a clip in the timeline in the Cut page of DaVinci Resolve, please ask down below. Thanks!
If you’d like to learn more, click through for all of my free DaVinci Resolve Tutorials.
Leave a Reply