There are a few different methods for overwriting a clip in the Cut page of DaVinci Resolve. The ripple overwrite method completely overwrites any clip in the timeline with another. It basically replaces the clip and adjusts the spacing of the other clips as well. The simple overwrite method overwrites frames within a clip. So if you have a clip that’s in the timeline that contains 200 frames and you simple overwrite that clip with one that’s 100 frames, you’ll be left with the original clip being only 100 frames as well as the new clip that’s 100 frames. Again, this method overwrites only part of a clip, if the original clip is longer. With the ripple overwrite method, the original 200 frame clip will be completely replaced with the new 100 frame clip. Both of these methods are simple to execute and I’ll show you how to perform both overwrites below.
Ripple Overwrite
There are two different methods for ripple overwriting a clip in the timeline.
Method #1
To completely replace one clip in the timeline with another, simply click and drag the desired thumbnail from the Media Pool on top of the clip in the timeline. When dragging to the new clip, only hover over the clip in the timeline for a moment. The timeline clip will fade out and that’s when you want to let go of your mouse button. The timeline clip will be replaced by the other.
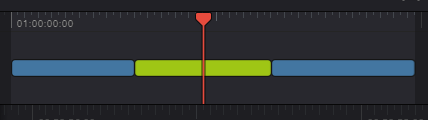
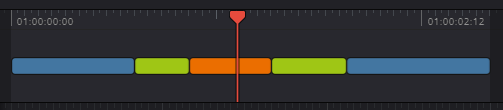
Take a look at these two timelines. I’ve added some color to the center clip so you can see the difference later on. I’ll be replacing the green clip with an orange one.
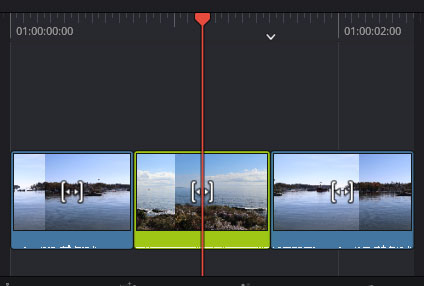
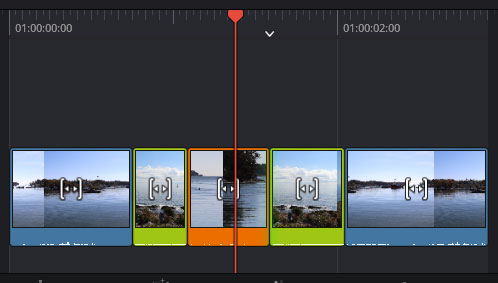
I’ll now click and drag the orange clip on top of the green one for just a moment. When I see the green frames fade out, I’ll drop.
Method #2
The above is a good method for ripple overwriting a clip in the timeline, but it’s prone to mistakes. The trouble is, depending on how long you let your mouse pointer hover over the timeline clip, you’ll either perform this function properly or you’ll screw it up, wasting time. A much more efficient and precise method for this task is available.
In the toolbar directly below the Media Pool is a button called Ripple Overwrite.
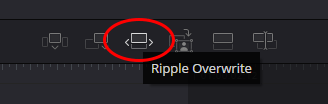
If I click once to select the clip I’d like replaced in the timeline and then click once to select the clip in the Media Pool I’d like to replace it with and then click on the Ripple Overwrite button in the toolbar, the one clip will be replaced by the other. It’s that simple.
Simple Overwrite
Again, this method replaces the same number of frames from the target clip as the source clip contains. So if the target clip is 200 frames and the source clip is 100 frames, the remainder after this overwrite will be 100 frames and 100 frames. Here’s how this overwrite is done. The benefit of this type of overwrite is that you’re able to replace specific frames with very fine grain control.
Method #1
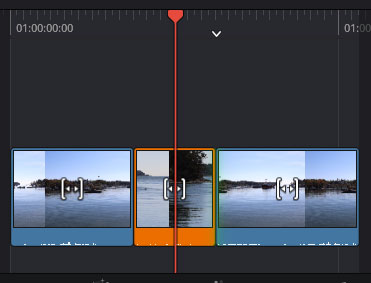
I’ll go ahead and click and drag my source clip to the timeline and hover it on top of the target clip. Instead of letting go this time, I’ll wait until I see the source clip replace a portion of the target clip. When that occurs, I’ll let go of my mouse pointer. This is the result.
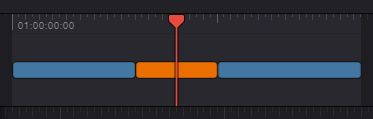
Do you see how the orange clip replaced part of the green?
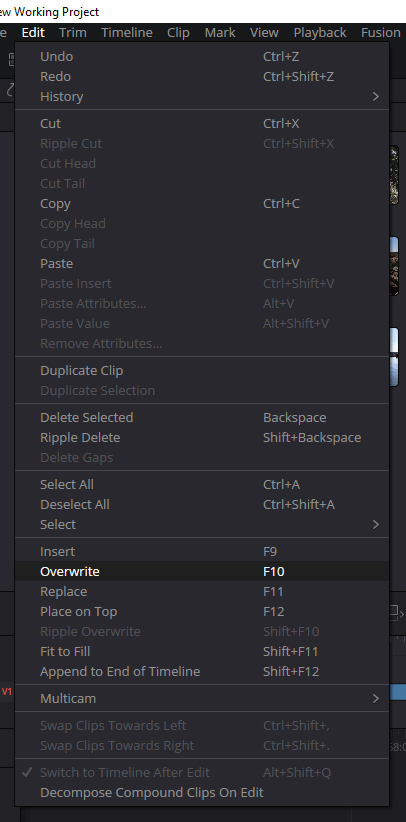
If you’d like to use the menu for this operation instead, you can head up to the Edit > Overwrite menu item and click. You’ll complete the same task, but you won’t have the option to hover and move the new clip around on top of the old before replacing. With the menu option, you’ll need to first move the playhead about so it’s where you want.
Method #2
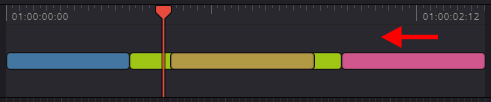
Another method for overwriting part of a clip is to drag one clip that’s in the top timeline on top of another clip that’s in the timeline. For instance, take a look at the below graphic. My goal is to have the pink clip replace part of the green one. To accomplish this, I’ll simply click and drag the pink clip over to the left, so it sits right where I’d like on top of the green.
This is the original timeline.

This is what it looks like after I dragged the pink clip on top of the green, but haven’t let go of my mouse button yet to drop it.
After I let go of my mouse pointer, I’ll have dropped the pink clip to replace part of the green.
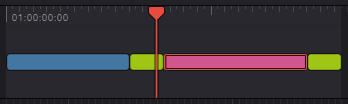
Notice how part of the green clip was overwritten by the pink clip.
And there you have it. If you have any questions regarding how to overwrite a clip in the Cut page, whether it be a ripple overwrite or a simple overwrite, please ask in the comment section below. Thanks!
If you’d like to learn more, click through for all of my free DaVinci Resolve Tutorials.
Leave a Reply