How many times have you taken video that’s too large for your uses? Probably a lot. How many times have you gotten your video “just right” directly from the camera? I’m guessing hardly ever. I’ve captured a lot of video in my life and I can say that rarely, if ever, has it been spot on straight from the camera. I’ve had to work on it in post-processing to make it the way I want. Luckily, the Cut page in DaVinci Resolve has a crop feature that makes doing this a simple process. The Crop tool in Resolve is super fast at removing the area of the video that’s undesirable while emphasizing the area that is. In this tutorial, I’ll demonstrate exactly how to crop a video using DaVinci Resolve.
To show you how to crop a clip in Resolve, I’ll work through a quick project. If you haven’t read my picture in picture post yet, please do. That tutorial explains how and why you might want to have a smaller video clip playing simultaneously alongside a larger one.
To start off, I’ll populate the timeline with a few clips. I’ve dragged four from the Media Pool to the timeline and I’ve placed one of the clips on top of another. The one on top (the orange one) will be cropped and moved into place in the corner of the bottom clip (the pink one). My goal is to remove the area of the top clip that I don’t like and then to position that clip somewhere in the corner of the lower clip so they can both play at the same time. Basically a picture in picture. This is what the timeline looks like now.
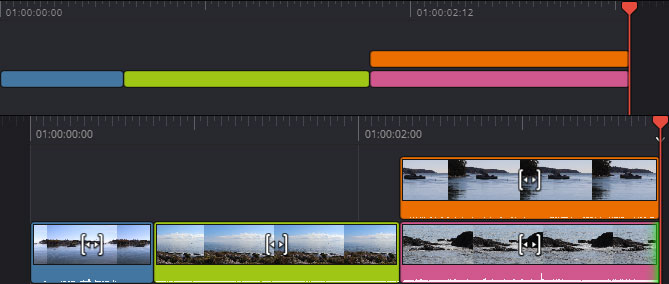
It’s the orange clip I’ll be cropping and repositioning on top of the pink one.
Cropping the Clip
To crop the orange clip, I’ll first click once to select it in the timeline. I’ll also make sure to move the playhead on the timeline so the clip appears in the monitor. Then, I’ll click the Tools button below the monitor and then when the Tools toolbar appears, I’ll click the Crop button below the monitor.
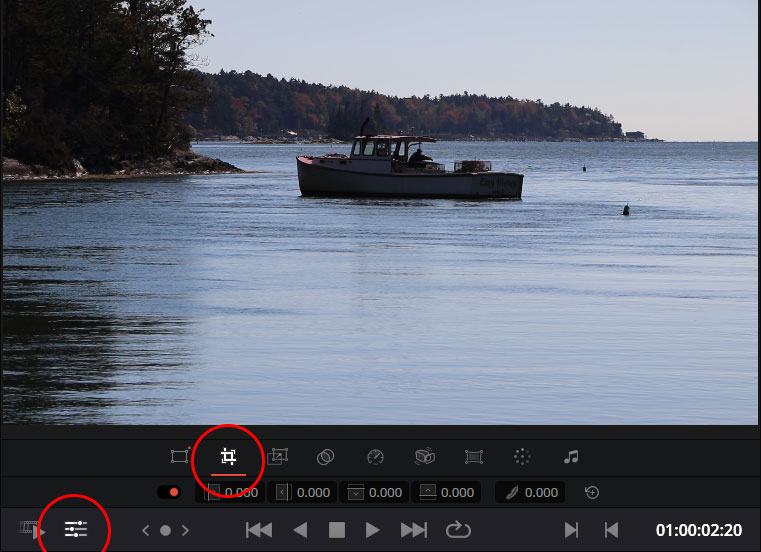
I’ve circled the two buttons in the graphic above. The Tools button is on bottom and the Crop button is on top.
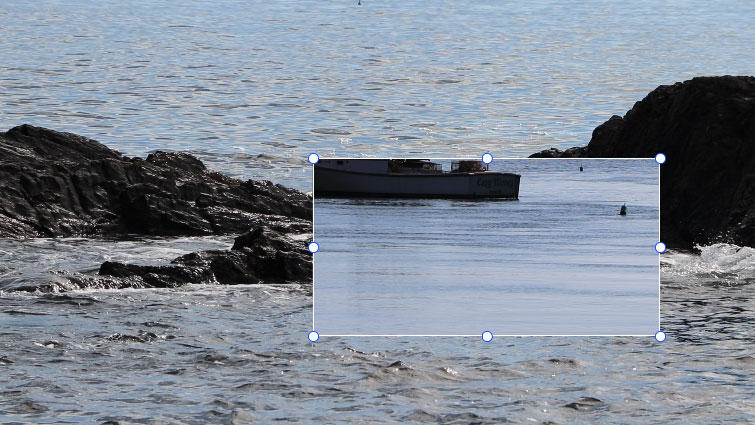
Please note: clicking the Crop button once will simply activate the tool. In order for the bounding box to appear for adjustment, the button will need to be clicked twice. Notice the bounding box in the below graphic.
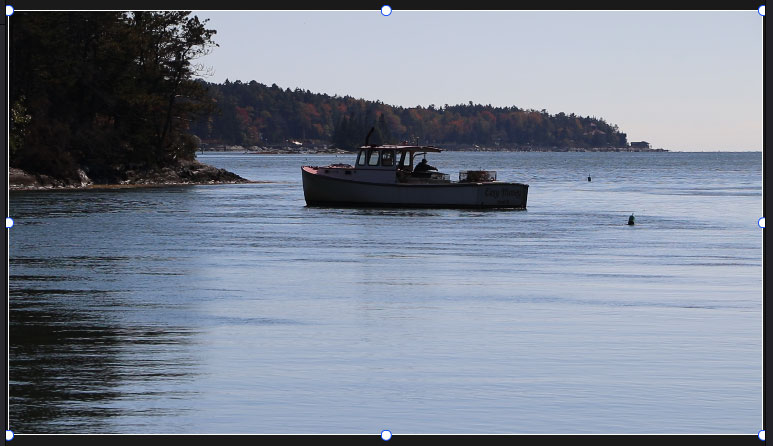
Now that the bounding box is live, I’ll click and drag the corners to crop out the areas I don’t want to see anymore. In this case, all I want to remain is the boat.
Repositioning the Clip
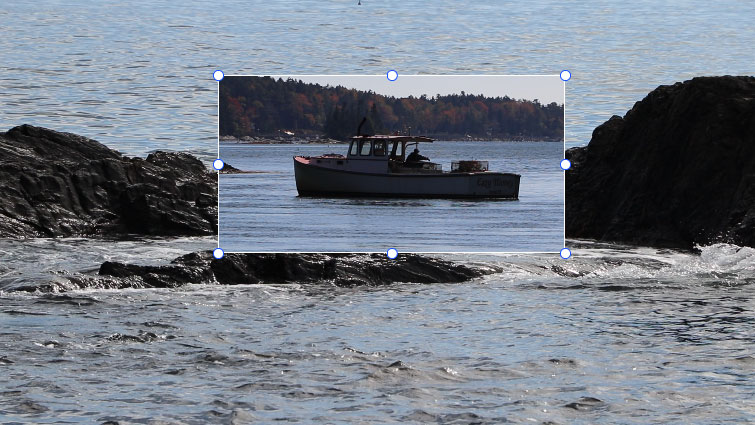
Repositioning a cropped clip is a two-step process. If I were to simply click the clip and drag it somewhere new, something would go wrong. Take a look:
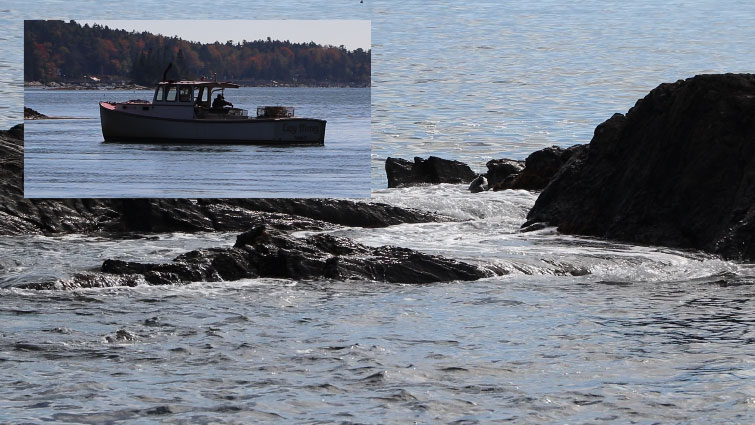
Notice how the larger clip stayed in position, yet the crop bounding box moved? What I’d like to move is the entire clip, not just the bounding box. I’d like the boat to move. To reposition the actual clip, I’ll first click the Transform button that’s to the left of the Crop button below the monitor and then click and drag the bounding box to its new position. I’ve circled the Transform button in the graphic below.

Next, I’ll click and drag the clip to its new position.
If I need to make further crop adjustments, I can once again click the Crop button below the monitor (or in the Inspector) and click and drag on top of each one. The current options are: Crop Left, Crop Right, Crop Left, Crop Top, Crop Bottom, and Softness.
Exiting the Crop Tool
To remove the bounding box from the repositioned clip, simply click the Tools button once more and it’ll disappear.
It’s as easy as that. If you have any questions regarding cropping and repositioning a video clip in the Cut page in DaVinci Resolve, please ask in the comment section below. Thanks!
If you’d like to learn more, click through for all of my free DaVinci Resolve Tutorials.
Leave a Reply