There’s going to come a time when you need to insert a video clip in between two other clips that are already on the timeline in the Cut page. This is actually a very common task. Luckily, inside of DaVinci Resolve, it’s easy to do.
In my demo project, I’ve got two clips situated on the timeline. In this tutorial, I’ll demonstrate a few different methods for adding clips in between ones that are already there.
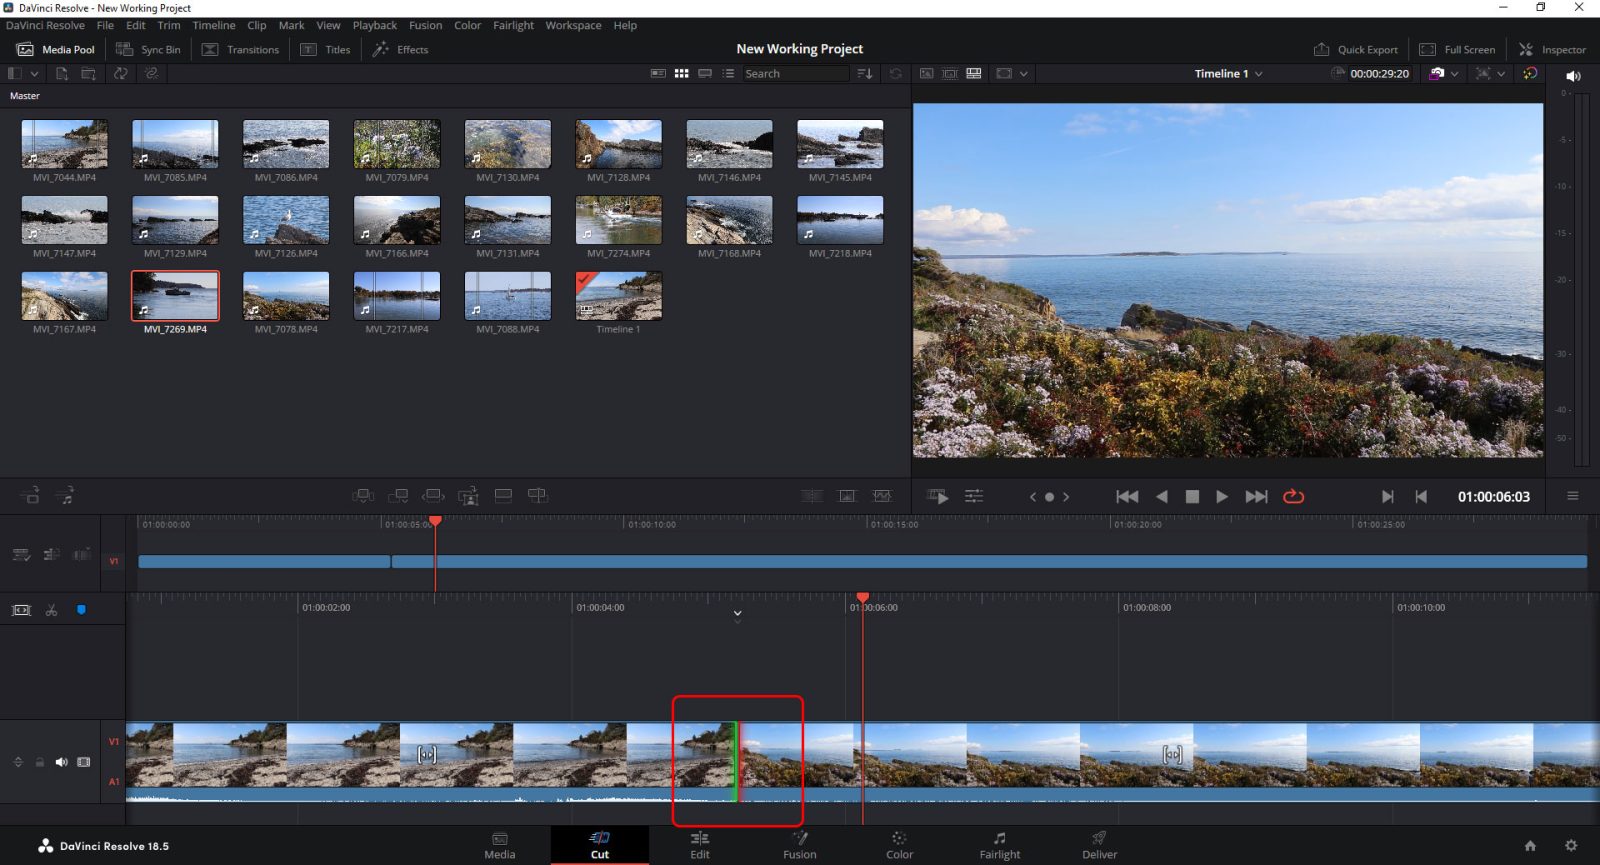
First, let me show you my current workspace. As you can see, I’ve got plenty of clips in the Media Pool and two clips on the timeline. I’ve highlighted the point between the two clips on the lower timeline and I’ve clicked once on the clip in the Media Pool that I’d like to add to the sequence. The clip in the Media Pool is now highlighted.
I’ll double-click the thumbnail in the Media Pool to have it show in the monitor. Next, I’ll use the first method to add the clip to the timeline, in between the other two that are already there.
Dragging & Dropping
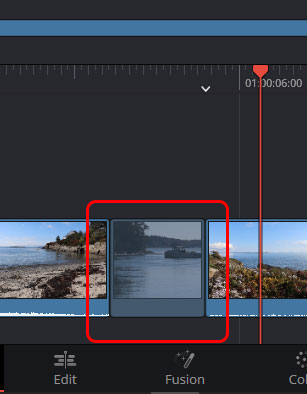
It’s easy enough to click and drag the clip that’s in the monitor. I’ll click right on the image in the monitor and drag the clip down to the transition point between the two clips in the lower timeline. If I hover over that transition point, I’ll see the timeline change. The new clip will appear grey and for a few frames. To insert the clip, I’ll simply let go of my mouse button to drop the clip on the timeline.
Using Smart Insert
The above method for inserting a clip is fine, but it can be somewhat clunky when dragging and trying to find the exact spot to drop, especially if you’ve got many clips already in the timeline. This next method is better, more precise, and faster.
Directly below the Media Pool is a toolbar that contains a few buttons. To the left of this toolbar is the Smart Insert button.
To insert a clip using the Smart Insert button requires that I navigate the bottom timeline so the playhead is somewhat near the point at which I’d like to insert. So in my case, since I’ve only got two clips, I’ll place the playhead near the break between those two clips. Remember, the playhead doesn’t need to be exactly on top of the break, only near it.
When I’ve taken my time to find the perfect spot to insert the clip, I’ll simply click the Smart Insert button in the toolbar and the clip will be inserted. It’s that simple.
So to sum up, to insert a clip in the timeline of Resolve using the Smart Insert command, simply click on the thumbnail in the Media Pool you’d like to insert to highlight the clip, then navigate the timeline so the playhead is near the area you’d like to insert to. Then, click the Smart Insert button in the toolbar and that’s it! Inserted.
If you have any questions regarding how to use the Smart Insert command in DaVinci Resolve, please ask in the comment section down below. Thanks!
If you’d like to learn more, click through for all of my free DaVinci Resolve Tutorials.
Leave a Reply