Things seem to be changing rather quickly in this part of the country. Yesterday was very warm while this morning was very cool. The swings in temperature are becoming much more dramatic – it’s only a matter of time before the lower swing sticks. That’s fine though. I enjoy watching the changes that autumn brings, whether they be in the weather or in the sentiment of my friends and neighbors. I know – I’m quite familiar with those who sing the praises of the heat and fun of summer, yet I hear very few complain as they search for those old wool sweaters that keep their bones so warm during the fall. About the smell of cinnamon in the air. Apple pies. Bread baking in the oven. About driving around and excitedly telling whoever is in the car with them, “Oh look. Those leaves are so much more red than they were yesterday.” It’s a fun time of year and one that should be enjoyed wholeheartedly.

About three weeks ago Laura and I began noticing how much lower the sun was hanging in the sky. In our area during the winter, the sun fails to gain any sort of substantial height, no matter the time of day. It rises about a third of its summer’s climb, at most, and then begins to fall again. That’s beginning now – the lack of sunshine. Don’t get me wrong; autumn days in Maine are beautiful and sunny and everything in between. It’s just that the waning of the sun’s intensity is very noticeable starting in early September. It’s nice though. I actually prefer a bit less light. It’s better for working outdoors and it makes for wonderful photography. It also makes for cooler nights and slower and more easygoing conversation. And without those long shadows, the falling leaves wouldn’t nearly be the same. They wouldn’t give you the feeling. You know the one I’m referring to. The one you had when you were a kid, walking home from a friend’s house before dinner on a school night, all alone on the street, the light breeze, stopping for a moment to soak it all in, the smell of autumn in the air, fallen apples in the grass, watching and listening. There’s something about standing in the middle of a storm of those endless bits of red and yellow that float effortlessly to the ground below. As the sun finishes its daily decline. In the quiet. In the chill.
It’s a shame this season is so short. At most, we’ve got one month left. And that depends on how Mother Nature treats us. If we get strong October weather, we may lose a majority of our leaves in a single night. If things remain mild, we may go the distance. I’ve seen completely bare trees half way through October in Vermont and yellow leaves holding fast, clinging to their branches well into November in Massachusetts. Either way, the months of October and November are my favorites. There are no others as lovely, for so many reasons. We’ll get to that later.
“Autumn lingered on as if fond of its own perfection.” – Winston Graham, Ross Poldark

I’ve been finding myself in the kitchen a lot lately. This happens every year. It’s almost as if I’m forced to cook because there’s something out there telling me time is short. “You better do it now Jay. Those apples won’t be here next month.” I heed the advice of that voice and so far I’ve made apple crisp and dinner rolls. For both of the recipes, I’ve used cast iron as my pans of choice. I’m not sure why. Perhaps because that material is the most “real” thing I can find. I don’t know if you cook with cast iron or not, but I can tell you from my own experience that it’s better than any other material, most of the time. And it looks great too. Skillet breakfasts and dinners and apple crisps. I couldn’t imagine using anything else.
Part of my motivation for writing this post today is to share these two recipes with you. I’ve used them before and I’ve always been pleased with the results. For the apple crisp, well, that just makes sense because it’s apple season. Crisps are crowd favorites and make for excellent desserts. Especially when some vanilla ice cream is added to the top of each bowl. For the bread, I’m not sure what inspired me to make the rolls. Perhaps I was feeling nostalgic one night and wanted to live in a house that smelled like baking – even for a short time. If you’ve ever baked fresh homemade bread before, you know what I’m talking about. From corner to corner of every single room, that cozy and warm feeling. It’s best if you spend some time working outside – raking leaves, mowing the lawn one last time. You walk through your front door to smell that bread baking in the oven.
Skillet Caramel Apple Crisp Recipe
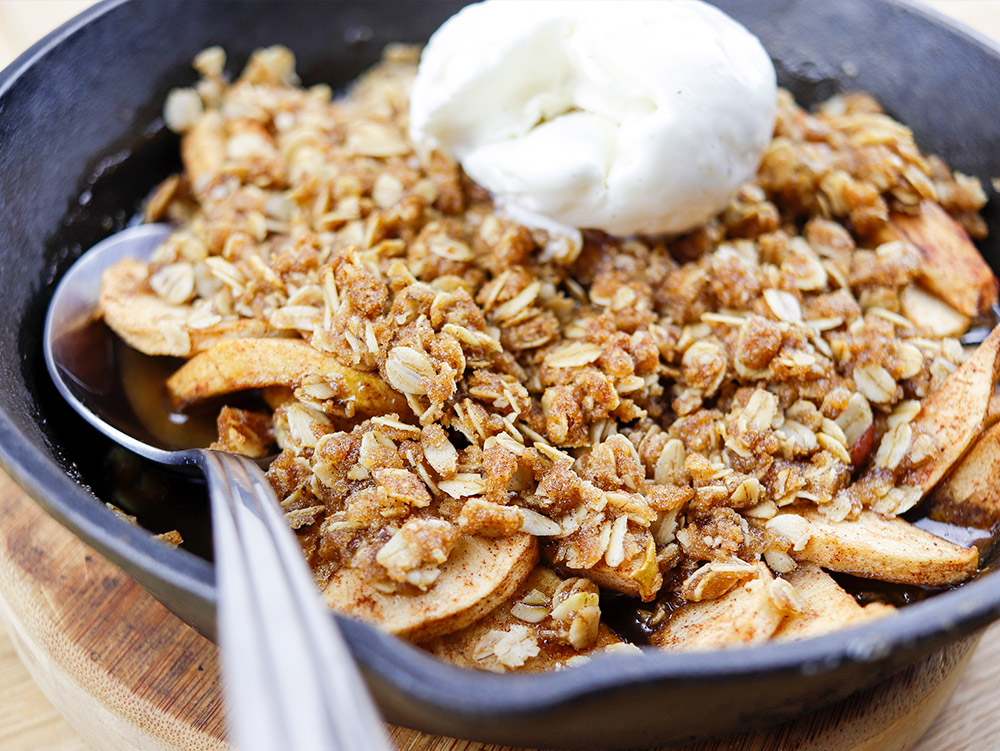
This recipe is extraordinarily easy to prepare. You’ll need about an hour to put it together, but most of that time is used up by the crisp cooking in the oven. Also, I have two notes for you:
- The recipe calls for a 12″ cast iron skillet. Feel free to use that or divide everything in half to use two smaller skillets. That’s what I did because I wanted two separate dishes.
- I used oats when preparing this, but you can just as easily substitute them for regular flour. Use the same amount as the oats. No big deal. Whichever you prefer.
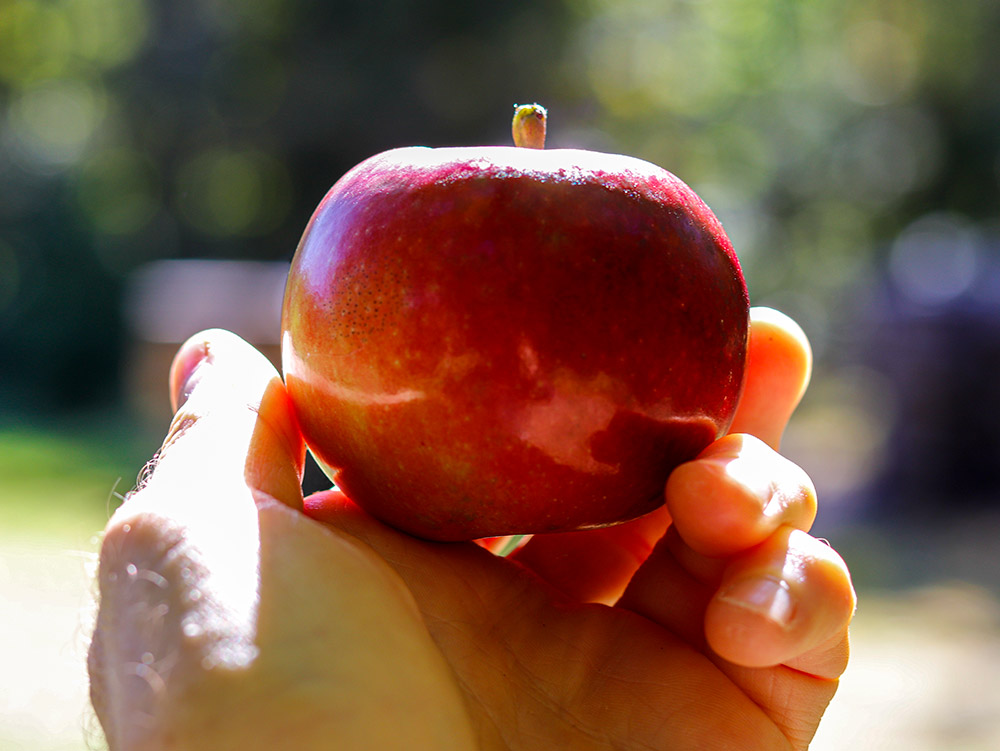
Ingredients
5 cups apples, peeled, cored, and sliced
1 1/3 cup brown sugar, divided
1 1/2 teaspoon cinnamon, divided
3 tablespoons butter
2/3 cup melted butter
1 cup oats or flour
Vanilla ice cream for topping
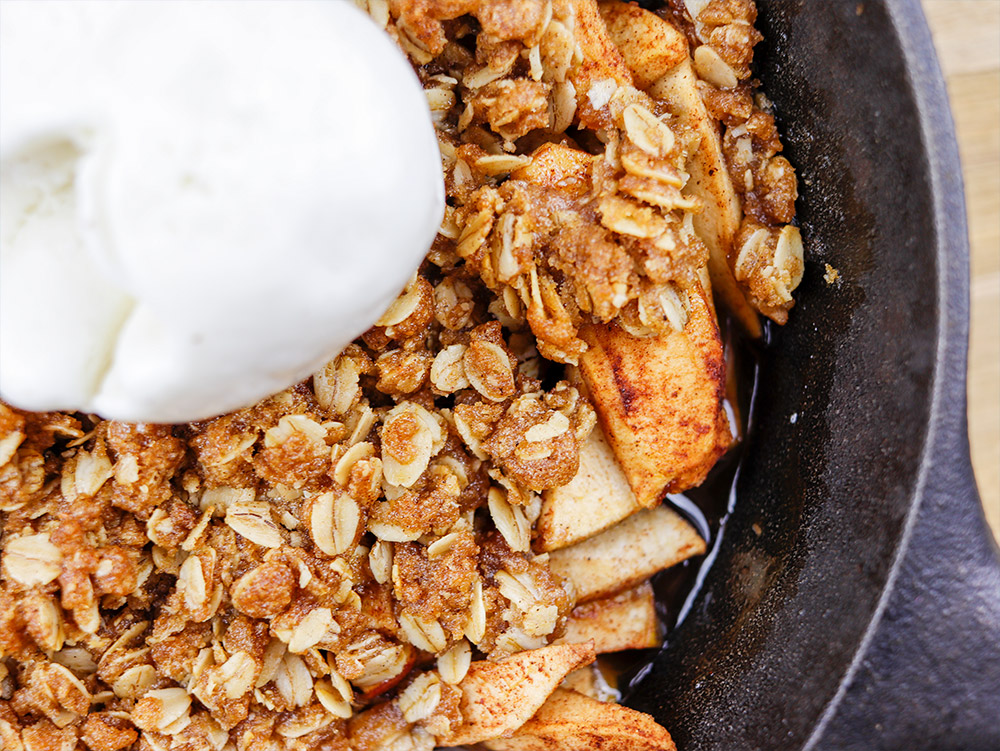
Instructions
- Preheat your oven to 375°.
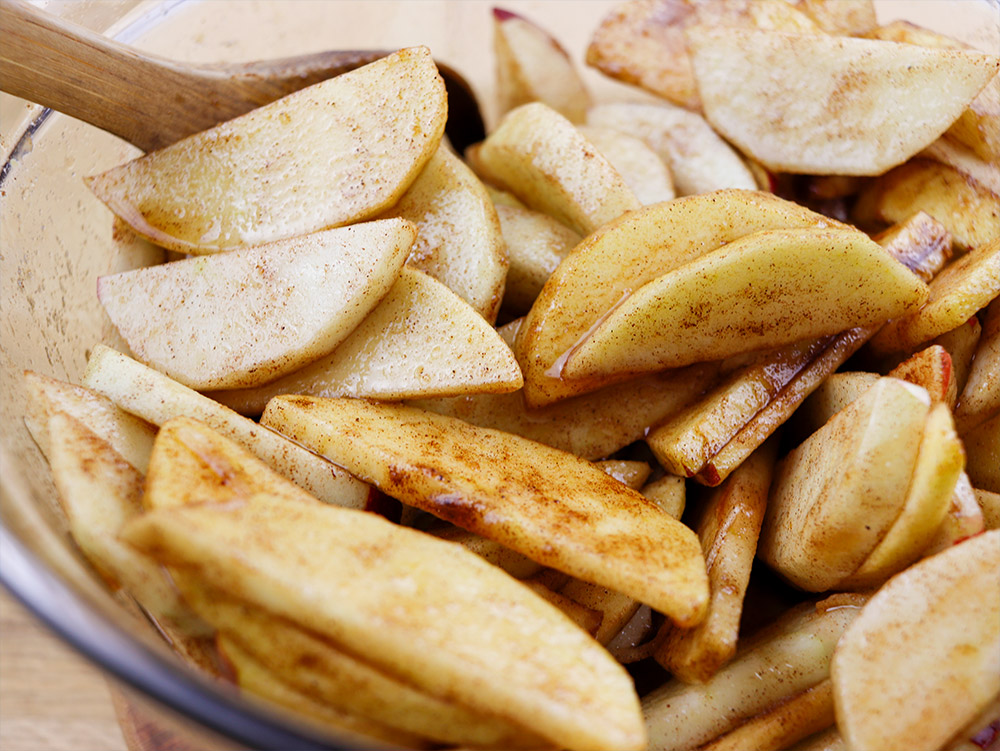
- Place the apples into a medium sized mixing bowl and add in 1/3 cup of the brown sugar and 1/2 teaspoon of the cinnamon. Mix these ingredients together well.
- Cut the three tablespoons of butter into chunks and space them out in the skillet. Then, add the apples to the skillet on top of the butter. Spread the apple slices out evenly.
- In the same (now empty) bowl, add the remaining brown sugar, cinnamon, oats, and melted butter. Mix these ingredients together well.
- Use your fingers to crumble this mixture over the apples in the skillet.
- Place the skillet in the oven for 45 minutes. All that butter and apple goodness should be bubbling by the end of this time.
- Remove the skillet from the oven and add ice cream to the top of the crisp. Eat right out of the skillet (after letting it cool down for a few minutes) or divide into bowls to enjoy.
Here are some photos of the process.
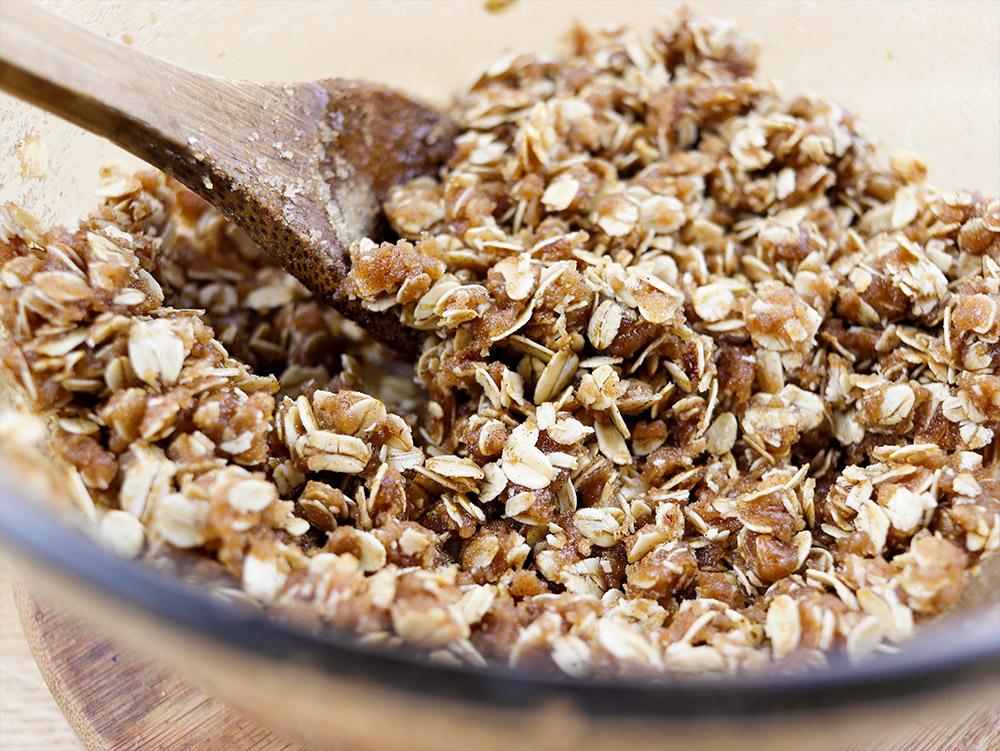
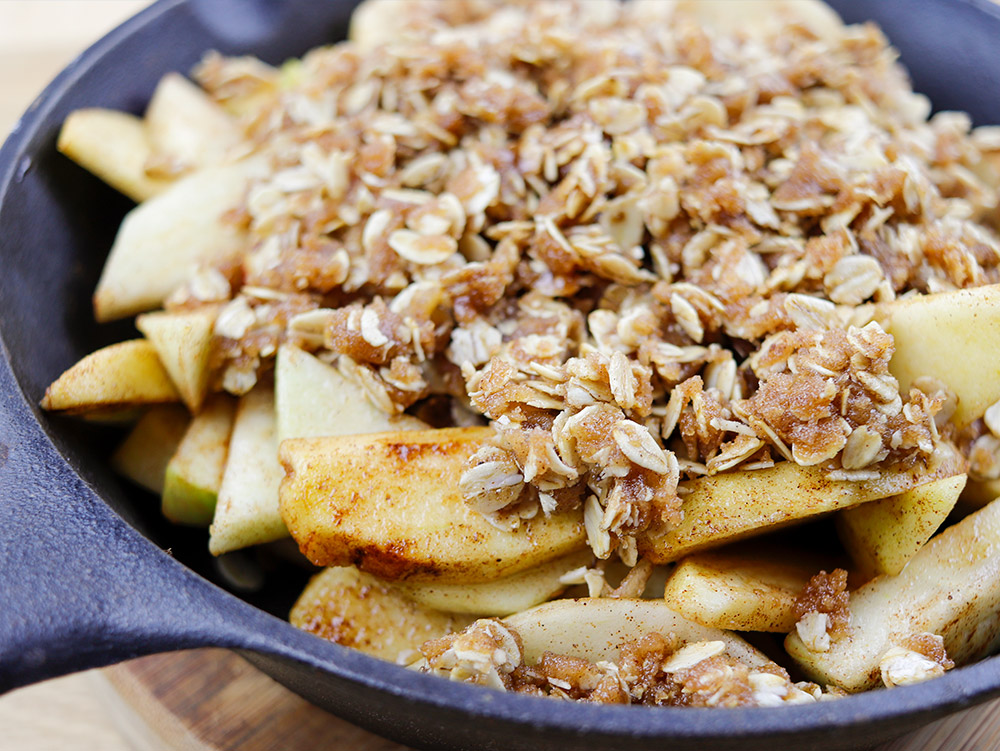
Give this apple crisp recipe a try. I think you’ll like it. Go out and grab a big bag of apples and get cooking. Like I said, it’s super easy and it’s an incredible dessert. Very tasty.
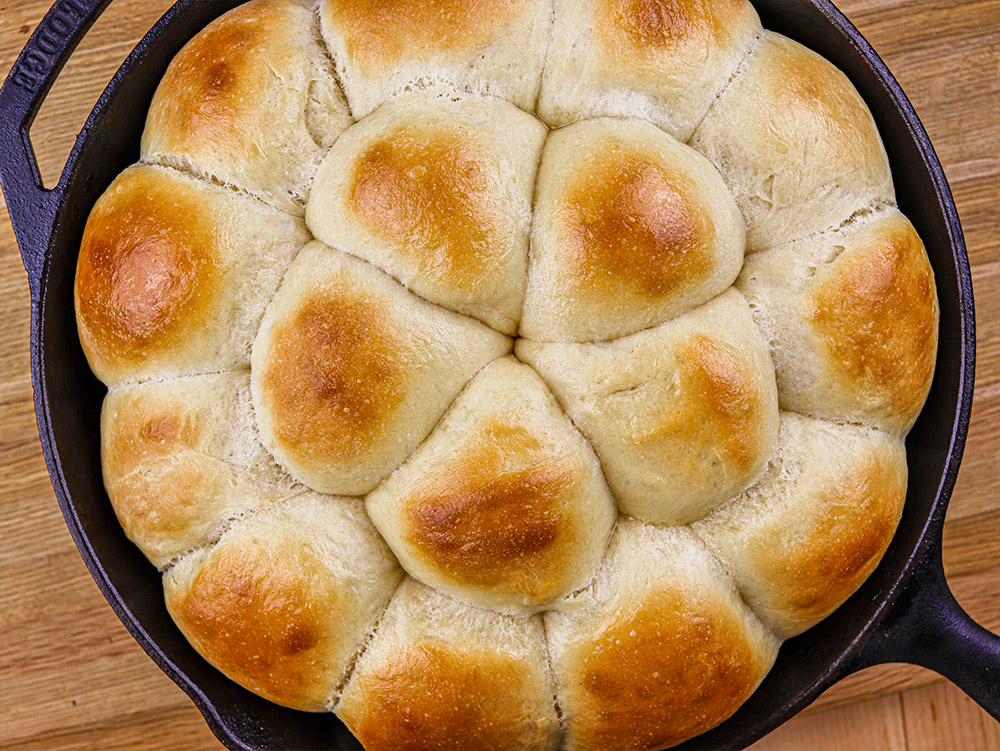
Fluffy Dinner Roll Recipe
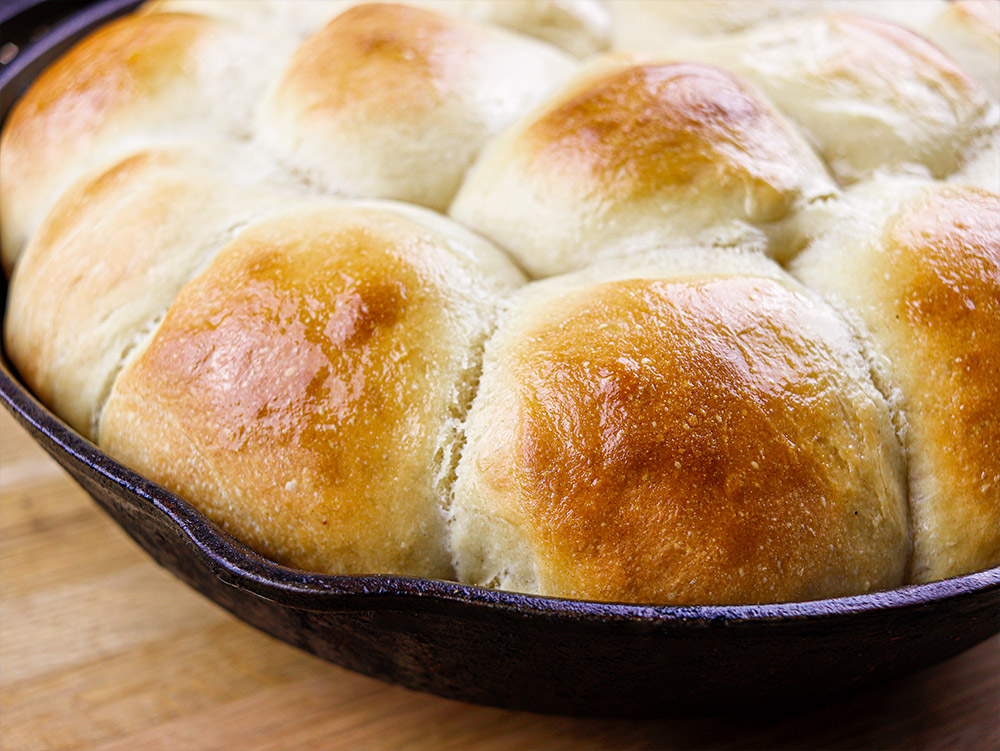
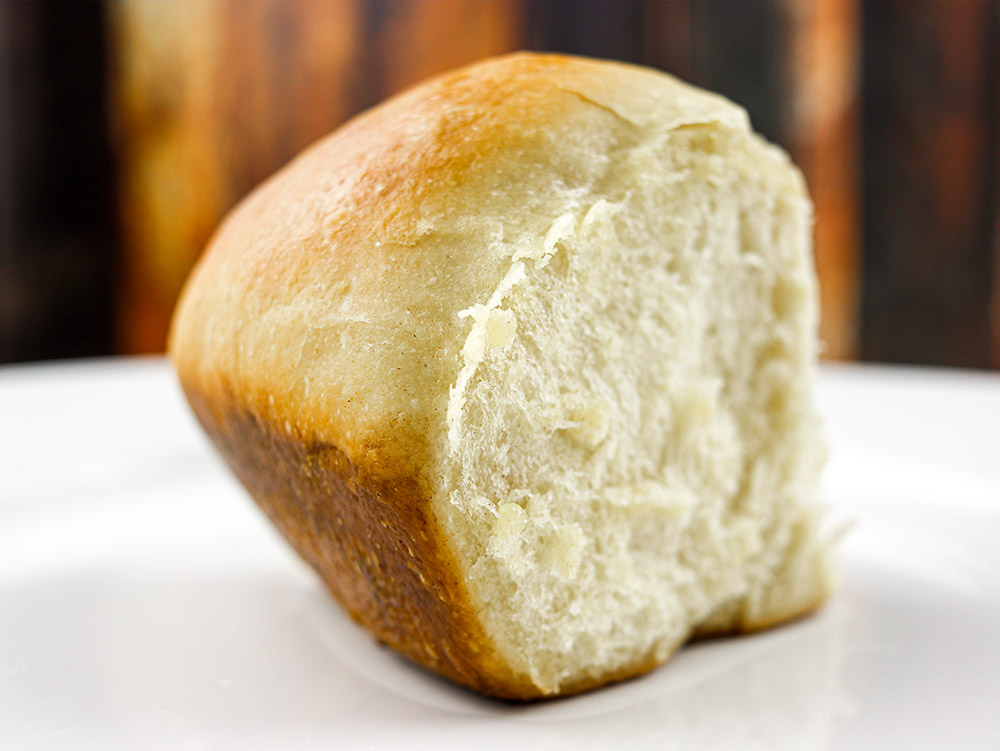
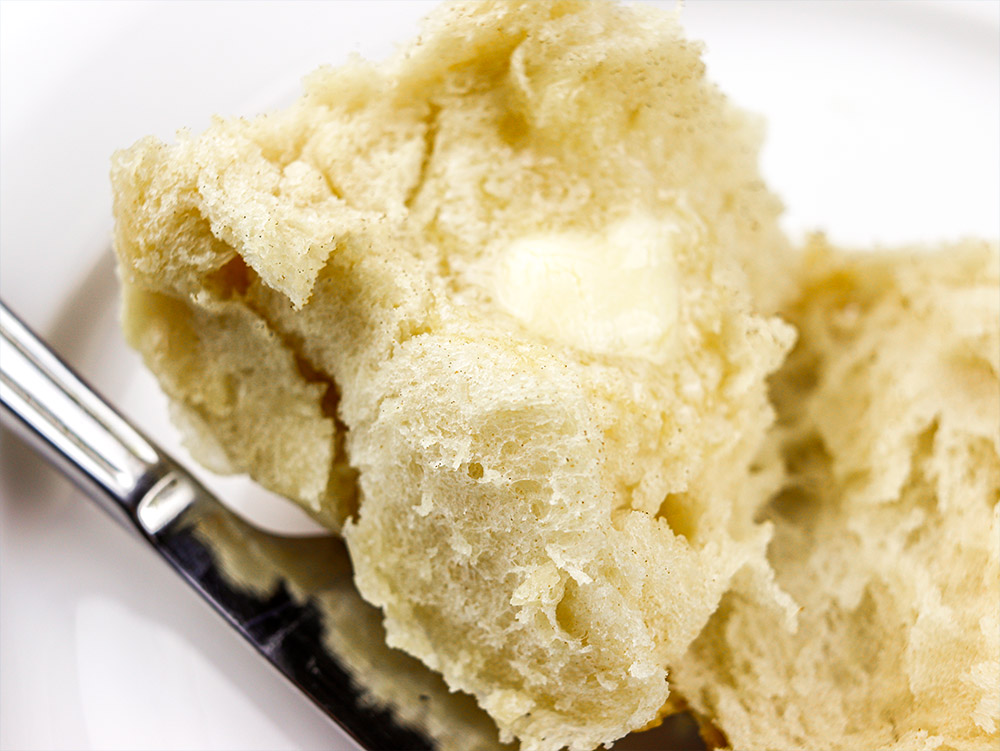
I’ve prepared this recipe a few times and I like it a lot. It makes some very fluffy and moist dinner rolls. The kind that you can break in half to pull some bread from and form into a ball with your fingers. Each roll has got a great texture and really, this recipe isn’t very challenging either. If you’ve never prepared any type of homemade bread before, I encourage you to give it a try. Baking bread can be intimidating for some, but after a little practice, you can get very good results. This is the perfect recipe to help familiarize yourself with the process. As long as your yeast is good, you shouldn’t have any problems. It’s almost foolproof.
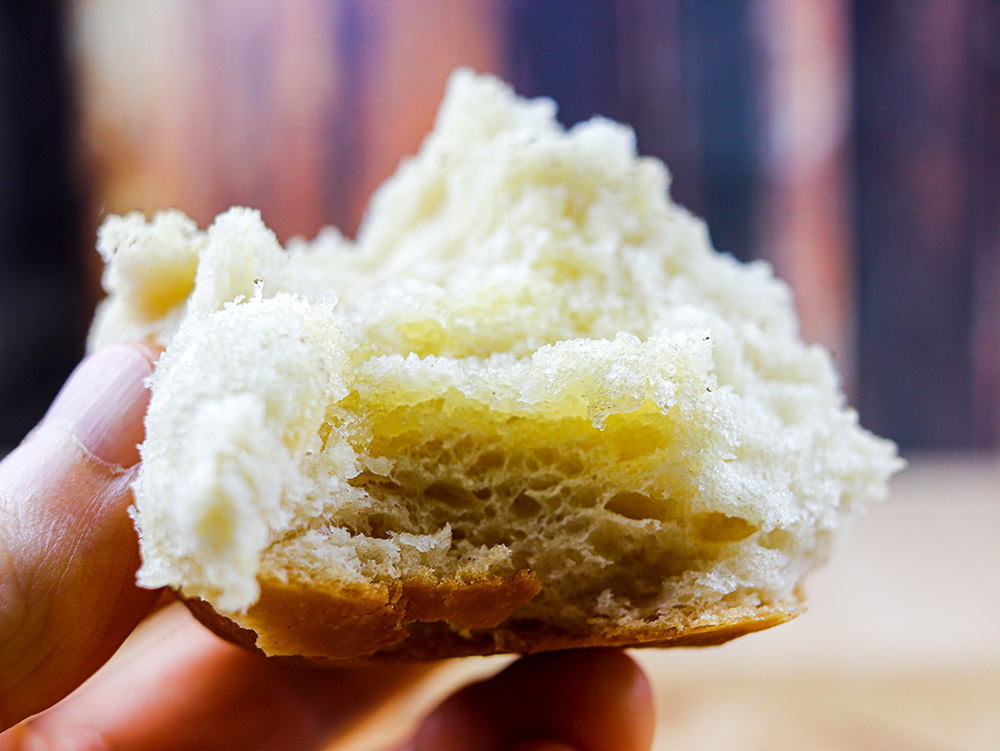
Before I continue on, please allow me to sell you on the advantages of baking your own bread. There are quite a few of them that can’t be denied.
Benefits of Baking Homemade Bread (or Rolls)
- It’s been said that homemade bread tastes much better than store bought bread. I agree with this notion. And besides the taste, it’s highly rewarding to eat bread you’ve made yourself.
- Baking your own bread costs a lot less than buying it from someone else. Yes, you can still find a loaf for under a dollar at the grocery store, but is that loaf of the same quality as one you’d make at home?
- If you’ve got any sort of allergy or taste preference, you can customize the ingredients to meet your needs.
- Don’t like the preservatives that commercial bread makers add to their breads? That’s good. Yours won’t have any.
- Two things: you can make your own bread on demand, when you need it, and you won’t have to feel guilty about throwing away a plastic bag every time you finish a loaf of bread (or rolls) that you bought from the store.
- Once you get used to it, the process will become streamlined and won’t take long at all. If you’ve got a breadmaker, everything is even easier.
- Some people buy bread making cookbooks and immerse themselves in the process. They make it a part of their lives. A hobby, if you will. That’s not such a bad idea.
- Custom and unique loaves makes excellent gifts for friends and family around the holidays. Don’t pass up the chance to impress.
- Historians have found evidence of various types of breads among almost every culture around the globe. These cultures have been making bread for over 10,000 years. Take pride in continuing on with the tradition.
Ingredients
5 cups all-purpose flour
2 1/4 teaspoons instant yeast
2 teaspoons salt
1 1/2 cups whole milk, room temperature
1/3 cup honey
1 large egg, room temperature
4 tablespoons vegetable shortening, melted (or olive oil)
3 tablespoons butter, melted
Regular olive oil
1 large egg, beaten with 1 tablespoon water (for egg wash)
Instructions
- In the bowl of a stand mixer, combine all the dry ingredients (flour, yeast, salt).
- In a medium sized bowl, add the milk, honey, egg, shortening, and melted butter. Mix everything together well.
- Turn the mixer on low and let the dry ingredients mix thoroughly. Then, increase the speed to medium and add in the wet ingredients 1/4 at a time. Allow each previous addition of wet ingredients to mix well with the dry ingredients before adding more wet ingredients. Allow the mixer to mix the dough for eight minutes.
- When finished, you should have a semi-wet ball of dough. If you find that it’s way too wet, continue mixing and adding tablespoons of flour, one at a time, until the dough is just not sticking to the walls of the bowl. You really want to keep this dough as wet as possible, but be able to handle it as well.
- Spread some flour out on a clean counter top. Then, pour the dough ball out onto the flour. You’ll probably have to sprinkle some flour on top of the dough so it doesn’t stick to your hands. Knead the dough for one additional minute.
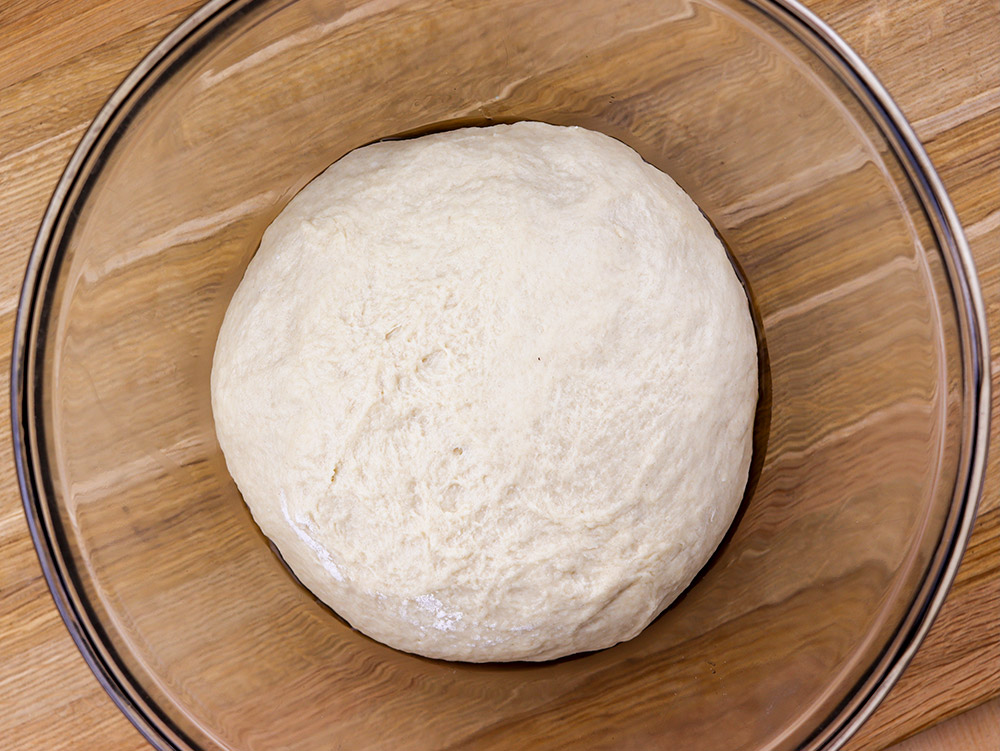
- Add a tablespoon of olive oil to a large bowl, making sure the oil covers the bottom of the bowl. Then, add the dough to the bowl and cover it tightly with plastic wrap. Allow the dough to rise at room temperature for two hours. The ball should just about double in size.
- Coat the inside of a 12″ cast iron skillet (or 9″x13″ casserole dish) with olive oil.
- After the dough has risen, add some more flour to the counter top and then pour the dough from the bowl on top of the flour. Then, deflate the dough with your hands and roll it into a 16″ tube. Divide the tube into 16 equal pieces.
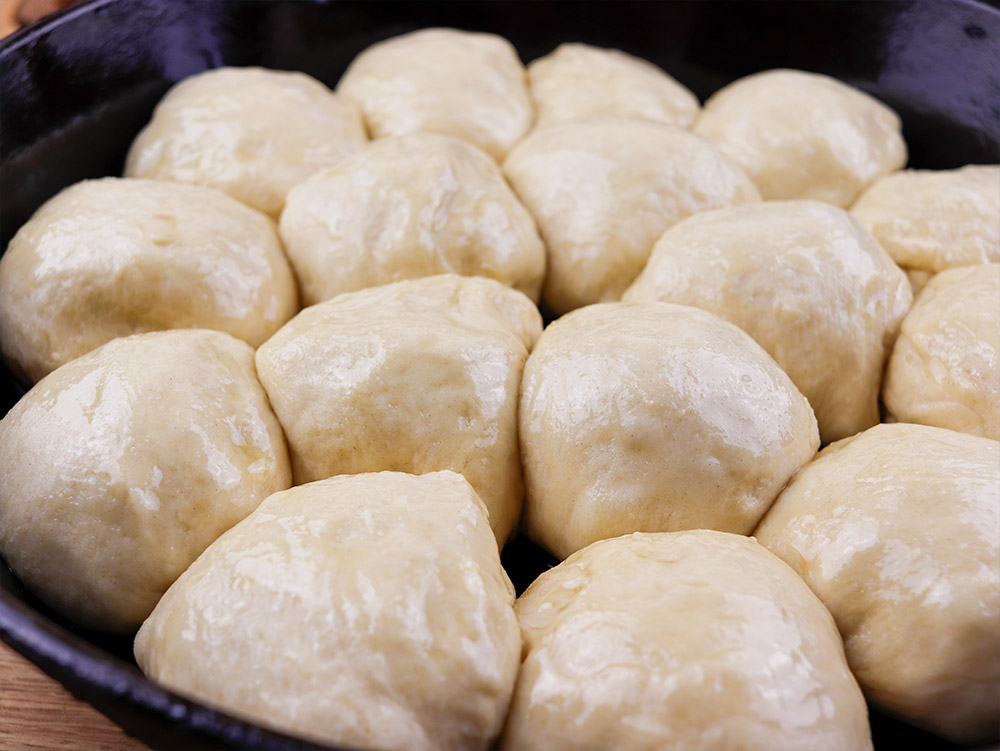
- Take each piece of dough and form it into a taught ball by pushing your thumbs into the bottom and stretching the top around the thumbs. Basically, you want to make nice smooth balls of dough. Add each piece to the skillet so all of them are evenly distributed. Then, brush some olive oil onto the tops of each. Cover the entire skillet loosely with plastic wrap. The reason you add olive oil to the dough balls is so the plastic wrap doesn’t stick to them.
- Allow the dough to rise for one hour at room temperature. When finished, remove the plastic wrap and brush some egg wash over each ball. The egg wash will give you a nice shiny top to your final baked rolls.
- Preheat oven to 350° 15 minutes before the preceding step’s hours is up.
- Place the skillet into the oven on the middle rack. Allow to bake for 30 minutes. Keep a close eye on the rolls for the final five minutes. You don’t want them to get too dark.
- When done, remove the rolls from the oven and let sit for 15 minutes before breaking them apart. I think you’re going to love them.
If you decide to give either of these recipes a try, please do leave a comment to let me know how they turned out. I’d love to read about your experience. Also, let me know how your September was. We’re heading into October now and the mood is going to change substantially. Autumn picks up steam and outdoor adventures begin in earnest. I hope everyone is doing well. Have a great day and thanks for reading!

Leave a Reply