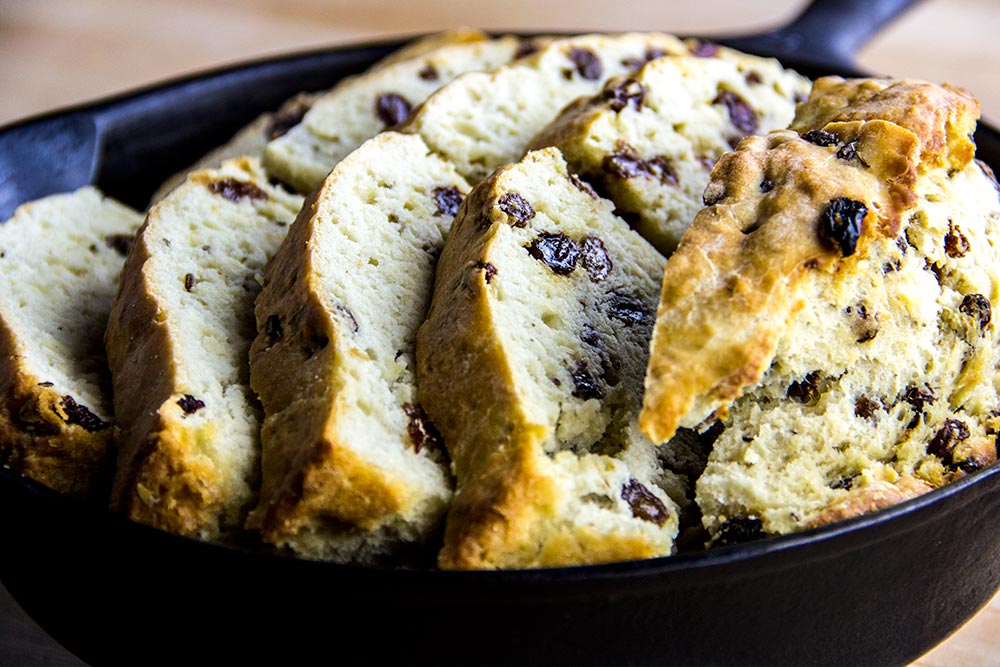
I was never aware of how quick and easy it can be to make an Irish Soda Bread. All my life, I’ve been somewhat intimidated by this particular recipe. I’m not sure why – perhaps the reason is simply because it’s part of the bread family and in my mind, I’m a good distance away from mastering anything with the word “bread” in the title. I’ve got some good news today. I just pulled a sweet looking Irish Soda Bread from the oven and it looks great. I’m pretty sure the cast iron skillet helped things along, but really, the bread is the star here.
A few weeks ago, Laura and I visited a local antique mall, where we picked up three cast iron skillets. Each is a different size. The first, and smallest, skillet is 8 inches, the second is 9 inches, and the last is 10 ½ inches. I’ve already used the smallest and the largest and today, I used the one in the middle. Good thing I bought these too, because unbeknownst to me, the recipe I used for the soda bread called for using a 9 inch skillet.
The Recipe
I browsed through a good number of recipes from all my sources and settled on two of them. I chose today to prepare the one I’ll share below and I’m thinking I’ll take a stab at the other next week sometime. Today’s recipe is somewhat traditional. Next week’s is more involved. Let’s just say that the ingredient list gets a little longer with that one.
I found the following recipe in The Lodge Cast Iron Cookbook. It’s official title is Maggie Doherty’s Irish Soda Bread and was passed onto Lodge by Maggie’s daughter, Peggy Fallon. Peggy claims that her mother insisted that she use cast iron when preparing this recipe because the pan gives a nice crisp crust to the bread. To be honest with you, I just popped a piece of this bread in my mouth and the crust was the first thing I noticed. I really like it.
It’s a simple recipe and truly doesn’t take much at all to put together. Actually, it was so easy, I already (as I mentioned above) volunteered to cook another next week. I don’t generally do that if I don’t have fun cooking something. The ingredient list is short, the steps necessary are even shorter and the reward is great. What’s better than that?
Ingredients
Yields: 1 Loaf
4 Cups All-Purpose Flour
3 Tablespoons Granulated Sugar
1 Teaspoon Baking Soda
1 Teaspoon Salt
1 Tablespoon Caraway Seeds
2 Cups Raisins
2 Cups Buttermilk
1 Large Egg
1 Tablespoon Regular Olive Oil
Step-by-Step Instructions
It’s been suggested (by more than one person) that it’s a good idea to add 1 cup of regular raisins and 1 cup of white raisins. Since I have no experience with doing this, I can’t offer any opinion. It sounds like a good idea though. I will tell you that I found a good many recipe for soda bread that didn’t include any raisins at all. In my opinion, the raisins are crucial because of the sweetness they add. This necessity goes for the caraway seeds as well. They add a texture and flavor that shouldn’t be missed.
Pre-Heat Oven
Before you do anything else, go ahead and pre-heat your oven to 375 degrees. It won’t take long at all to put the rest of the steps together, so it’s best to do this now.
Combine Ingredients
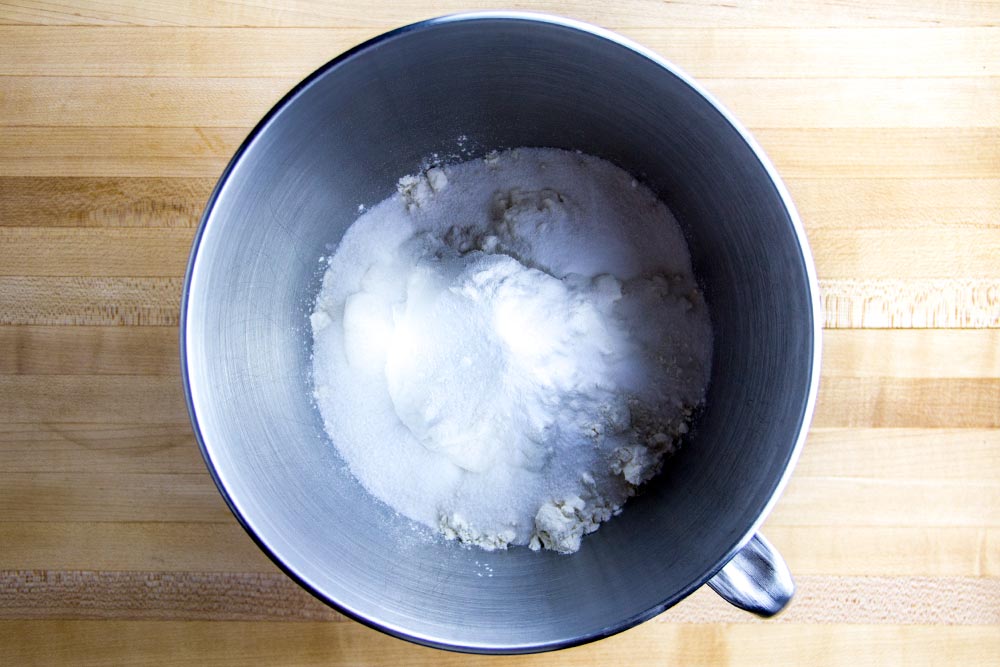
In a large stand mixer bowl, add the 4 cups of all-purpose flour, the 3 tablespoons of granulated sugar, the 1 teaspoon of baking soda and the 1 teaspoon of salt. Combine these ingredients.
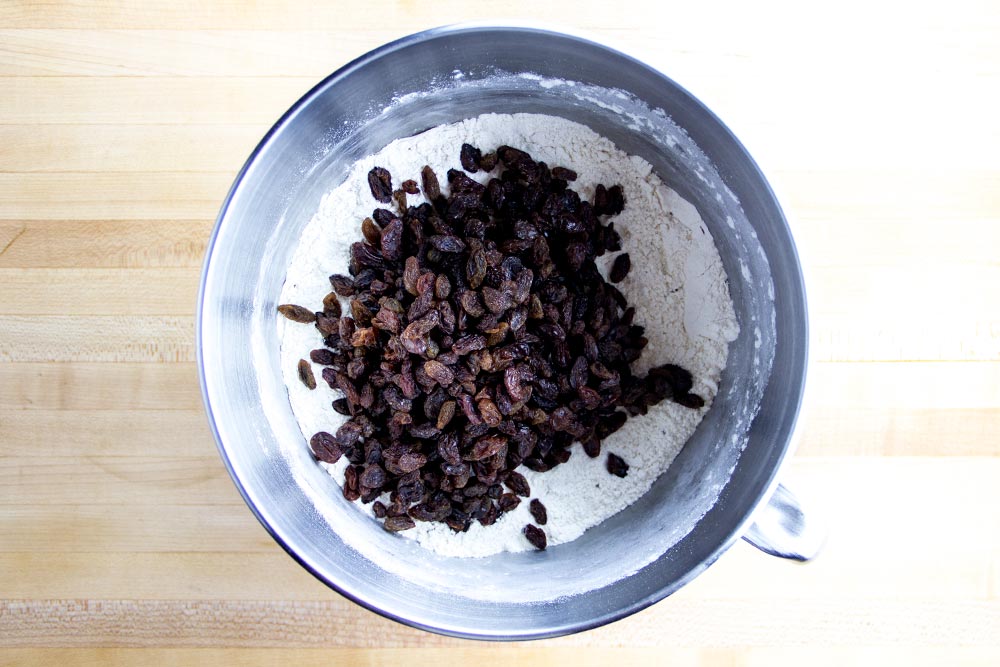
Next, add the 1 tablespoon of caraway seeds along with the 2 cups of raisins.
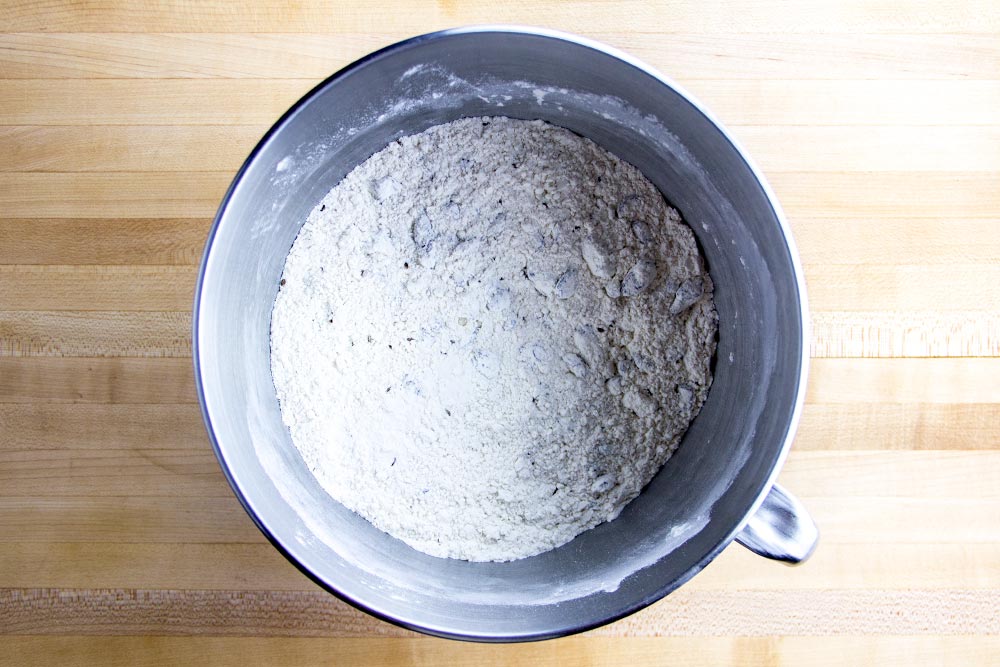
Again, combine these ingredients as well. The goal is to coat the raisins well with the flour mixture as shown below.
When all that is set, you can add the 2 cups of buttermilk and the 1 egg. Before you add the egg though, you need to lightly beat it in a small bowl or a cup. Then add it to the large bowl.
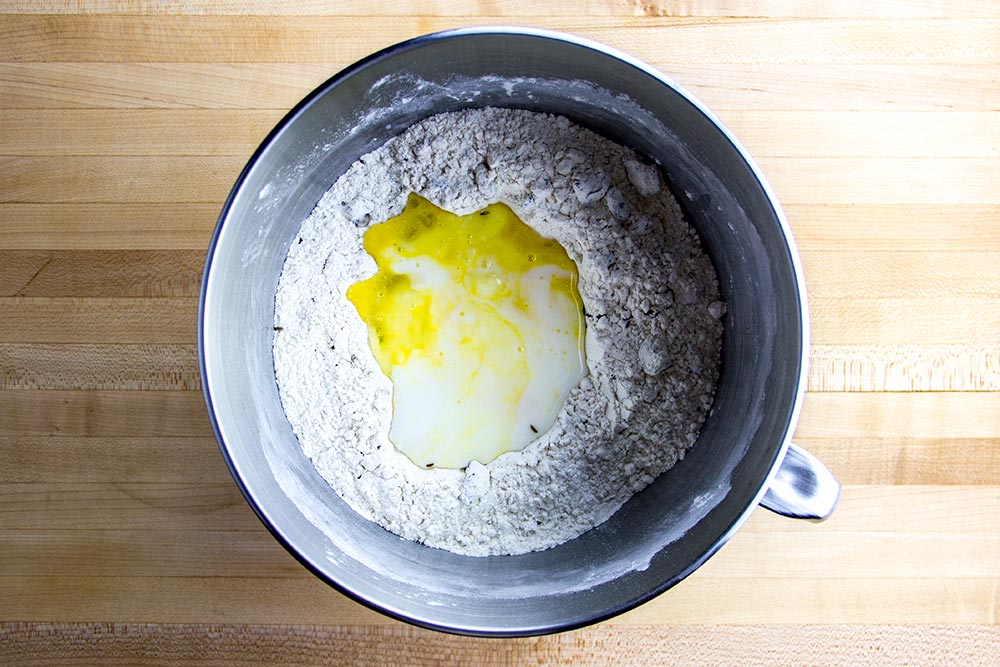
Finally, place the large bowl into your stand mixer and with a dough hook, run on low/medium-low for a minute or so or until all the ingredients form a big sticky mess. Everything should be mixed well.
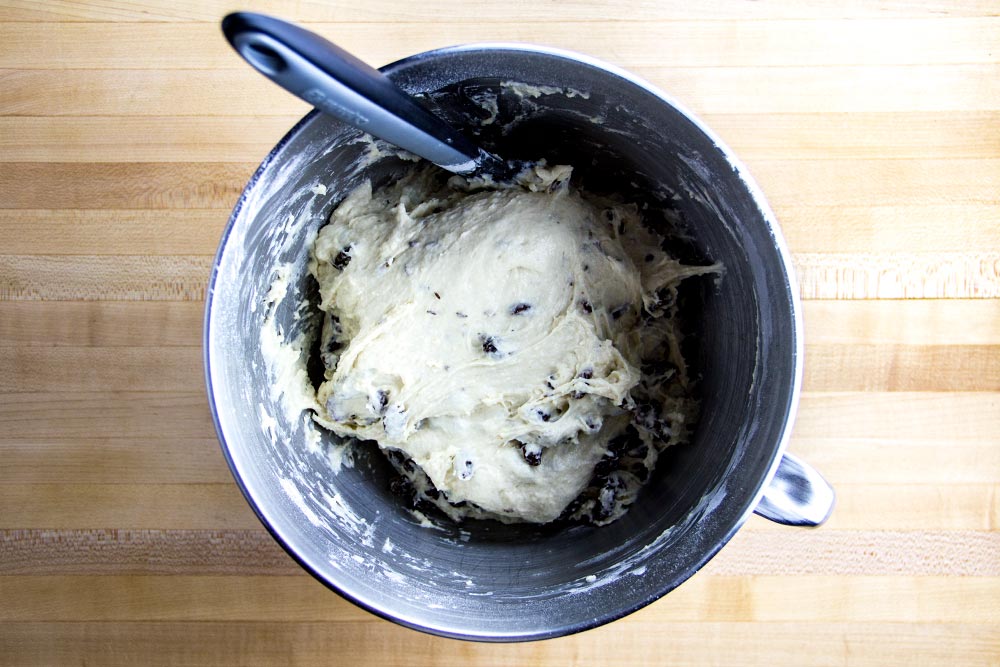
You’ll most likely need to scrape the walls of the bowl down with a rubber spatula.
Add Dough to Skillet
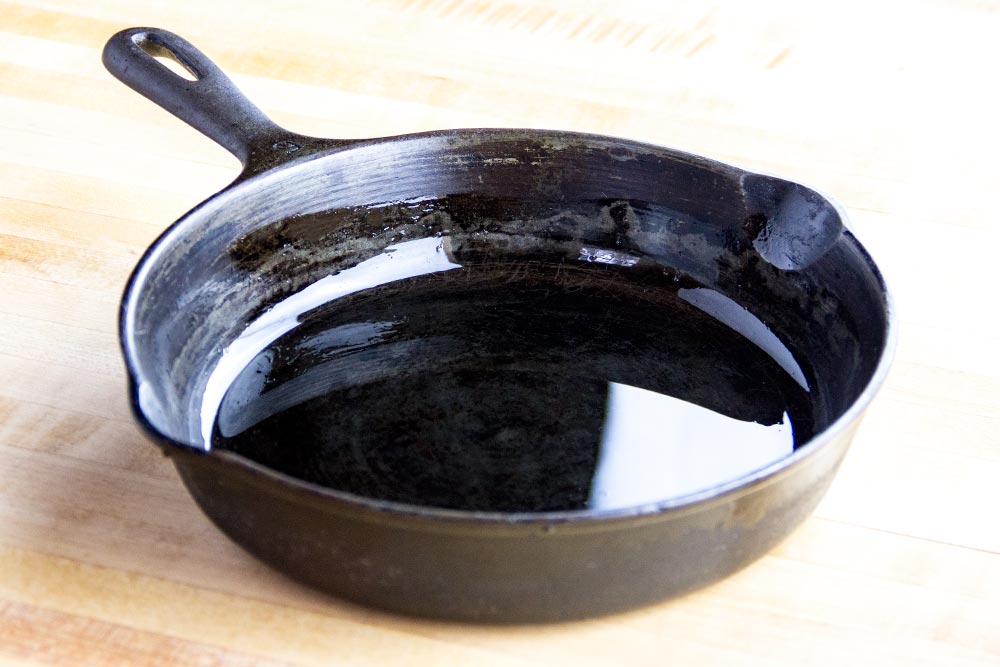
Before you go any further, you’ll need to add about 1 tablespoon of regular olive oil to your 9 inch skillet and swirl around until it coats the sides and the bottom.
After that, you can remove the dough from the large mixing bowl and place it in the skillet. You’ll definitely need the spatula for this one.
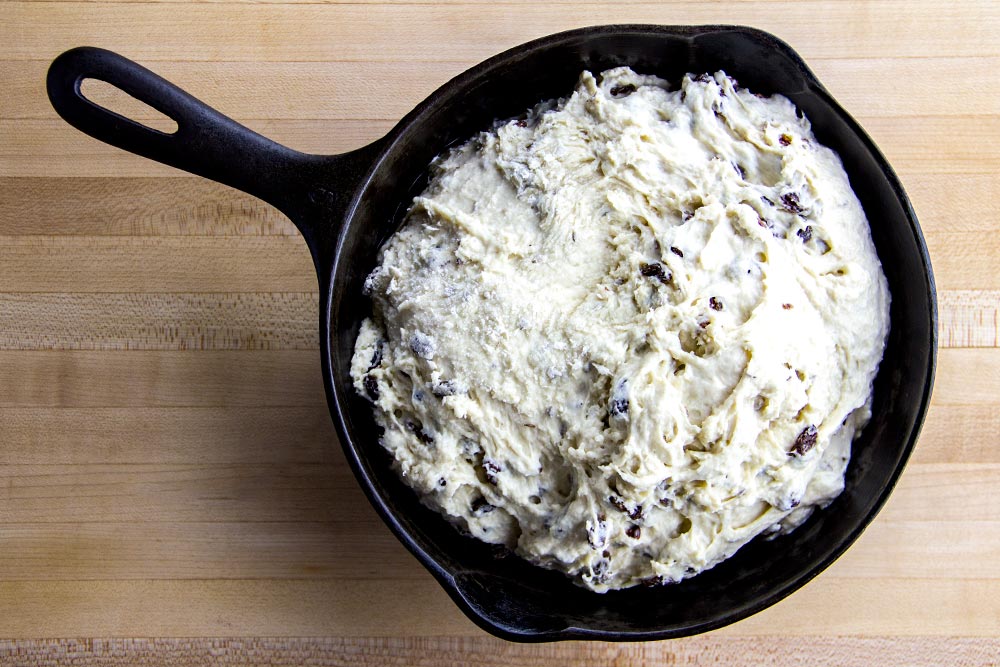
Now, with wet hands, go ahead and smooth out the dough that’s in the skillet. Just push down any peaks that might cook faster than the rest of the bread.
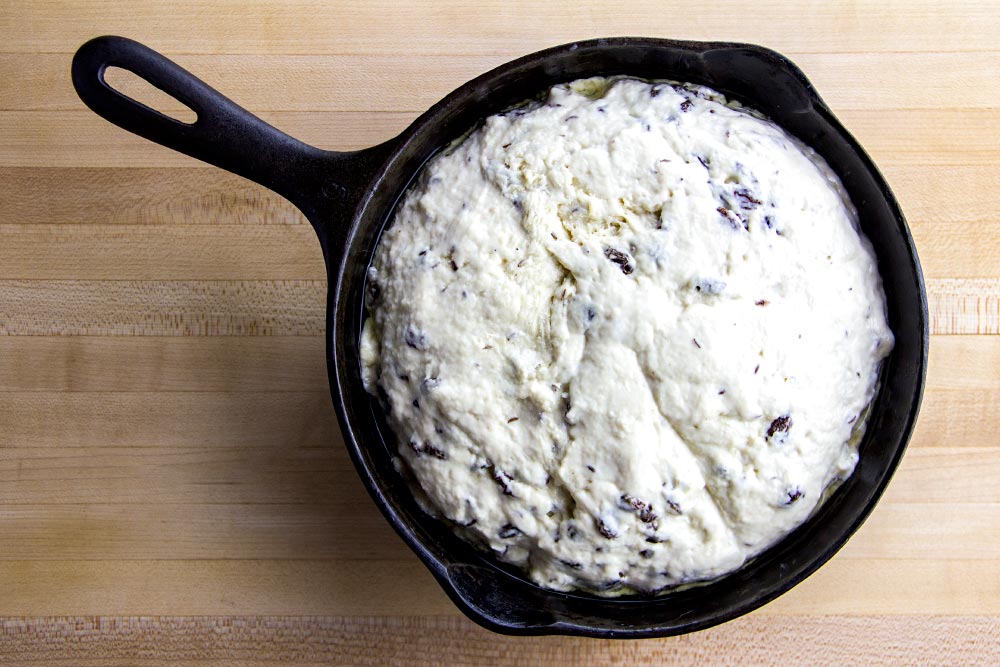
Cook the Dough
Place the skillet in the warm oven and let cook for about an hour or until the top turns golden brown. The key here is not only to allow the top to turn brown, but to get the middle to cook as well. In order to do this, the internal temperature needs to reach about 170 degrees. Either that, or if you slide a long skewer into the center of the loaf, it comes out clean. In my case, after about 40 minutes, the top of the bread was as brown as I’d like to see it, so I covered it with aluminum foil to stop the browning. Also, I used a thermometer to check the internal temperature. It reached about 160, but as I continued to check it every few minutes, it finally came out clean. That’s when I knew the bread was finished.
The Final Product
This is the final bread. The beauty of using the skillet is that it holds the bread in and keeps its shape. As it cooks, it rises like a soufflé. This was a surprise to me and I thought it was really cool. I’ll definitely be using this sized skillet for this loaf, and probably many more bread types, in the future.
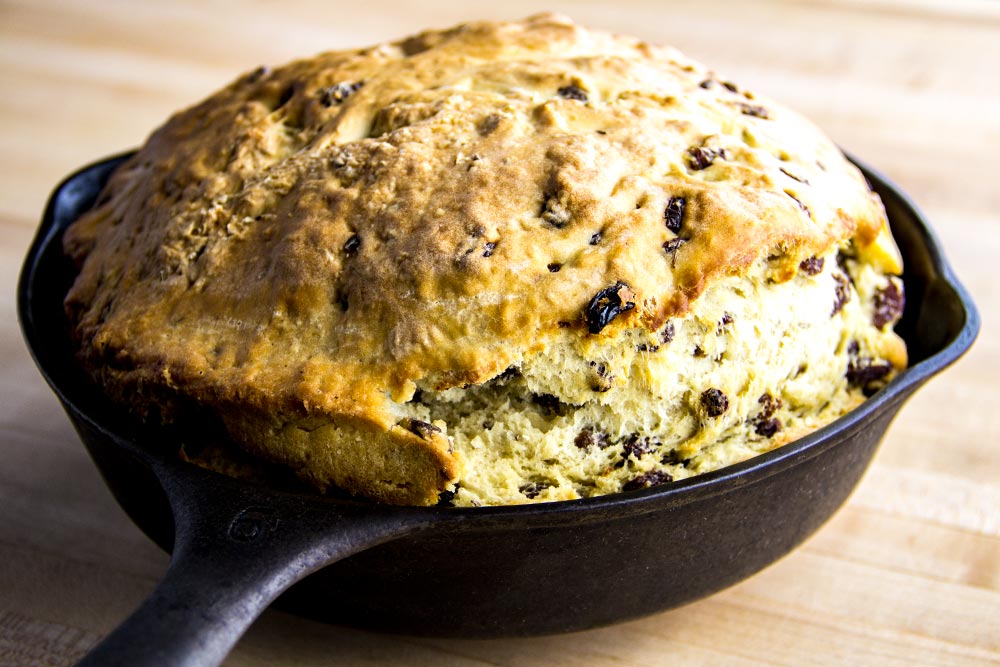
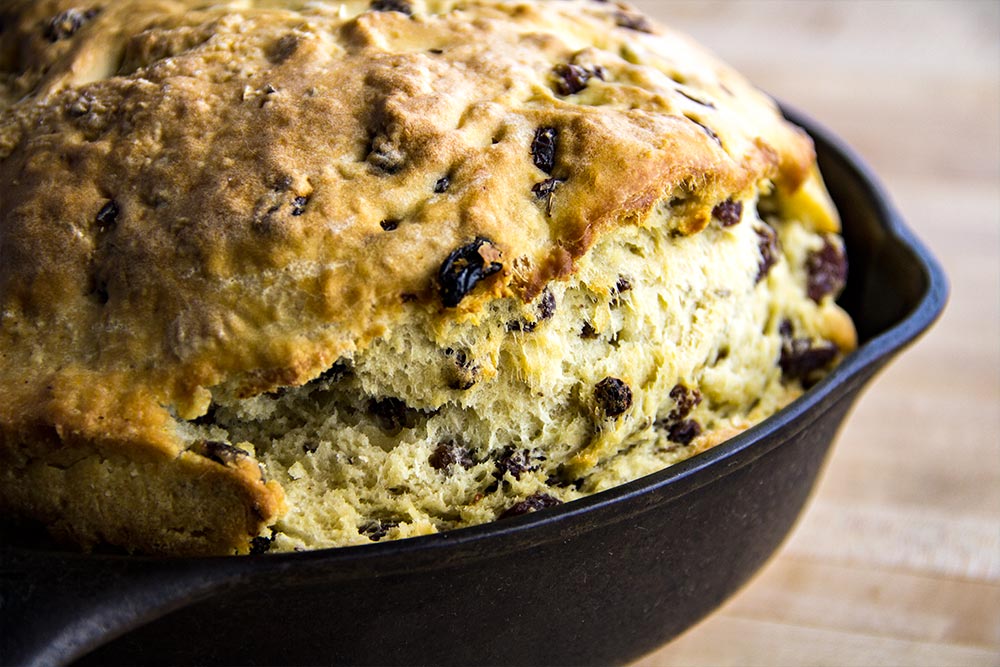
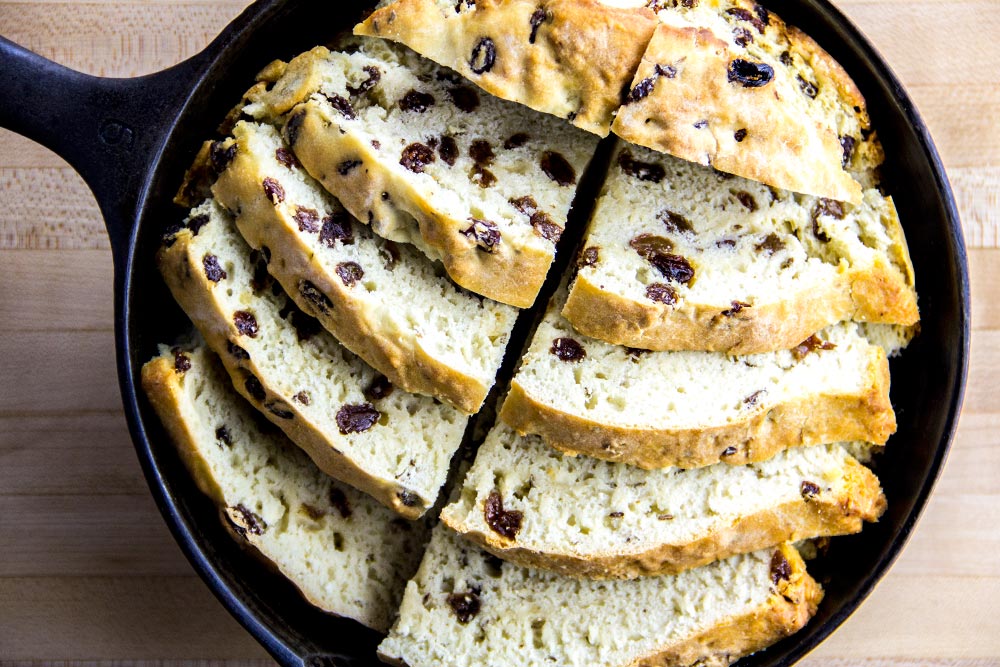
The bread really tastes great. It’s heavy and moist – perfect. It’s also got that nice sweetness I referred to above. Regarding the cutting – the top cut quite easily, but as I got to the sides, I had to use more effort. I recently recommended using a very sharp chef’s knife to cut bread like this and I recommend it here as well. As you can see, it worked well for me.

If you’ve enjoyed today’s post and found it helpful, please share it with a friend. Also, if you’d like to continue reading and would like our posts sent directly to your email inbox, simply sign up for our newsletter. We’ll send each and every post directly to you. Thanks!

Wish I had this recipe yesterday. It looks good. I will try it. The grocery store wanted close to $5.00 for it, I put it back. Yum!
Hi Pam!
That too expensive! You could make a few of these recipes for that price. I have to say, I just ate a couple more pieces this morning and they were very good. Nice and moist on the interior. I’ll definitely be making this one again. You’ll have to bookmark this page for next year.
Jay
It’s incredibly easy isn’t it? Looks very delicious and love your new cast iron.
Hi Tania!
Yes, it was much easier than I thought it would be. I’m looking forward to making the next one. This cast iron is working out very well. I just finished preparing Eggplant Involtini in the 12 inch skillet. Very versatile.
Jay