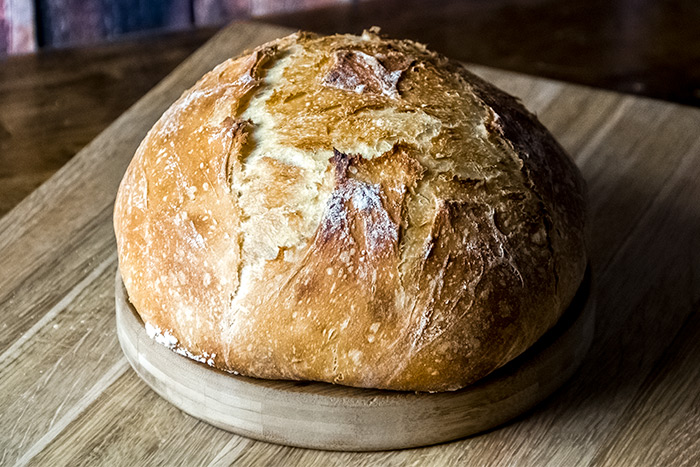
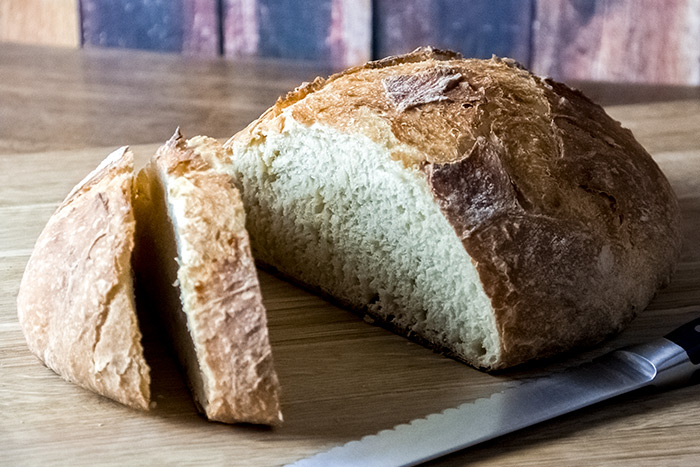
I’ll admit, I was nervous about this one. I had never made a bread recipe like this and I wasn’t sure how things were going to turn out. As I peeked into the oven after the dough had baked for 20 minutes, I was pleasantly surprised at what was sitting there. The most perfectly round boule I had ever seen. What a pleasure.
The Recipe
You’re just going to have to go with me on this one. There’s a lot of rising and a bit of kneading, but the end result is a bread that will rise. And I’m saying it’ll rise because the yeast is tested and the dough will have had a strong gluten complex.
There are only four ingredients necessary to make this bread. Apple cider, all-purpose or bread flour, salt, and yeast. That’s pretty, cool, I must say. This is a rustic bread. It’ll come out of the oven in a round loaf and it’ll take a long knife to cut through it. Personally, I cut straight into it while it was still hot and popped a few pieces into the toaster. A few moments later, I was slathering the surfaces with butter and enjoying the fruits of my labor. I was more than satisfied.
Ingredients
Makes: 1 Loaf
2 Cups Apple Cider
2 Teaspoons Yeast
5–6 Cups Bread or All-Purpose Flour
1 Teaspoon Salt
Step-by-Step Instructions
I’d like to thank Downeast Magazine for this recipe. Downeast is Maine’s very own magazine and it’s got tons of really neat articles and recipes. I’m looking forward to many more interesting breads and dishes to come.
Combine Cider & Yeast
This step serves two purposes. It combines and dissolves the yeast into the cider and it also tests the yeast. If you see no action between these two ingredients, you’ll know your yeast is dead.
To start off, warm your apple cider to about 100 degrees. It shouldn’t be hot by any means, but warm to the touch. You can do this in a pot on your stove top or in a bowl in your microwave. It’ll probably take about two minutes in your microwave, depending on the heat setting.
Next, pour the cider into a large bowl. Add the yeast to it and mix both ingredients together. Let them sit in a heated area like next to a wood stove for about five minutes. After this time, you should see a raised foamy area floating in the middle of the bowl. That means the yeast is just fine.
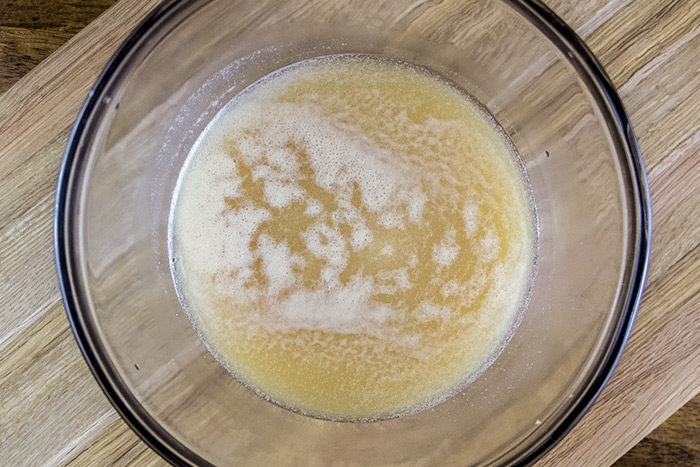
I had a nice foam area in my bowl and then I swirled it and lost it. This was, of course, right before I remembered that I needed to take a photo of it. I still caught some of the foam though, which was good.
Add Some Flour
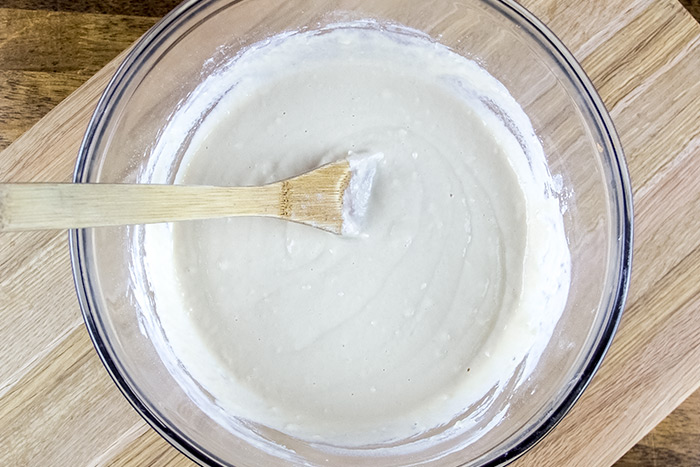
Add two cups of flour to the bowl and stir it into the cider well. The consistency should be like pudding. Bring the bowl back to your warm area and cover it with a damp cloth. Let it sit for one hour. The result of this should be a slightly risen and foamy sort of very wet dough.
Fold the Dough
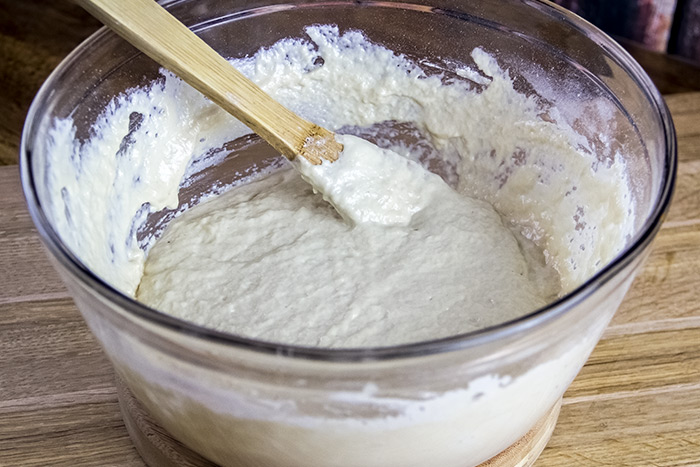
At this point, you can add the salt to the bowl by sprinkling it around the edge of the dough’s surface. Also, add one cup of flour to the bowl and mix well. Continue to add flour to the bowl until the dough just begins to just pull away from its sides. Fold the dough 100 times with a wooden spoon. This will form the structure it will need in the oven to rise perfectly.
Knead the Dough
Liberally flour your counter top. Then, form a circle of flour (about one cup) that measures about a foot across. Transfer the dough from the bowl to the counter top. Begin to knead and if the dough is too sticky, continue to sprinkle flour over it. Do this until you can knead with no stickiness. Do this for five minutes. By this point, what you have in your hands should look familiar to you. Like regular dough.
Form the dough into a ball and tuck the edges under the bottom. The top should be taut. Lightly flour the inside of a large bowl and place the dough inside of it.
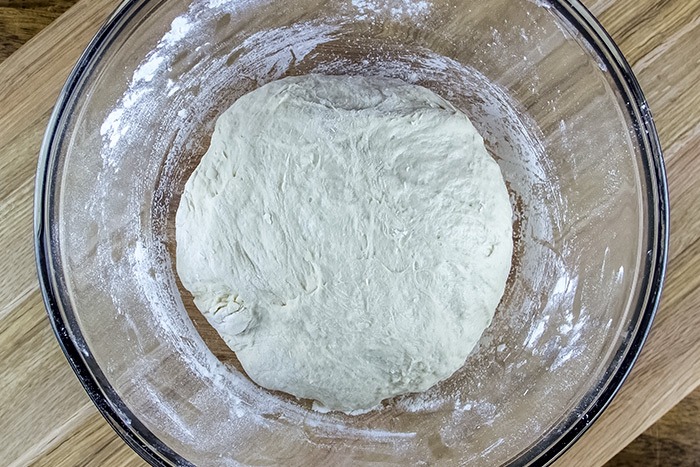
Cover the bowl with a damp cloth again and place the bowl back near the wood stove for another hour. During this time, the dough should double in size.
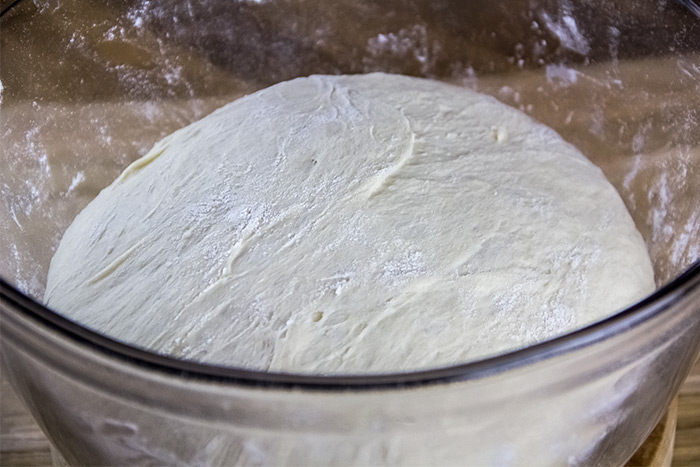
Let it Rise One More Time
Sprinkle some additional flour over the dough in the bowl. Then, reshape it into a ball by tucking the sides underneath the bottom. Cover the bowl again and let things rise for another 20 minutes.
Warm the Oven
While the dough is rising this one last time, warm your oven to 450°. You should keep one oven rack in the center position and remove the other. You’ll need some room in there.
Also, place a large Dutch oven with its lid in the oven while it’s warming. The goal here is to make the Dutch oven very hot.
Transfer the Dough to the Dutch Oven and Bake
Be very careful during this next step as to not burn yourself. After the 20 minutes of rising, remove the Dutch oven from the oven (with oven mitts). Take the lid off and flour the inside liberally. Transfer the ball of dough from the bowl to the Dutch oven. Reshape if necessary. When the dough is in the Dutch oven, make four shallow slices like a number sign across the top with a sharp knife. Replace the top of the pot and put the entire Dutch oven into the regular oven for 20 minutes.
After 20 minutes, remove the top of the Dutch oven and allow the bread to bake for another 10-15 minutes. Keep your eye on things after ten minutes because you don’t want the top to burn. You just want it to end up golden brown.
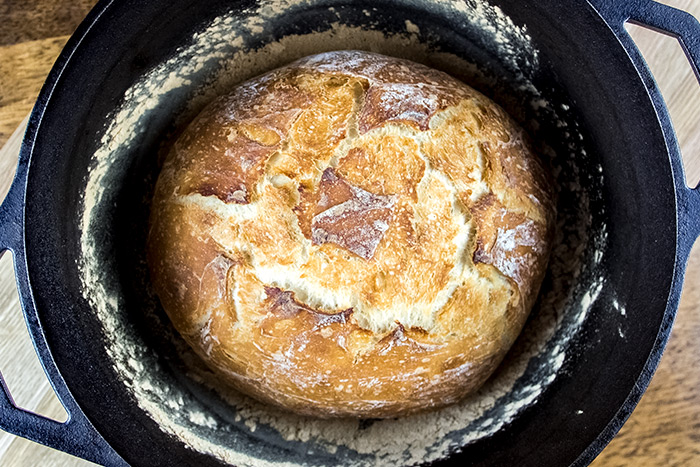
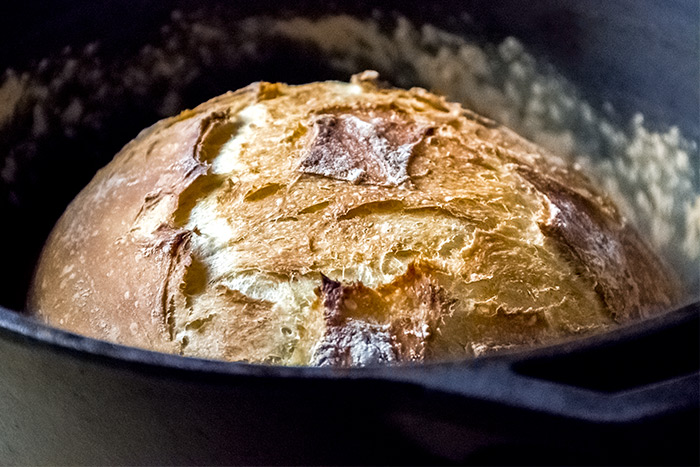
When the bread is perfectly colored, turn off the heat and remove the Dutch oven from the regular oven. Remove the lid and the bread and allow the bread to cool for about 20 minutes. The bread is finished.
The Final Boule Bread
I have been cutting into this loaf of bread for two days now. I first ate a few slices with butter and then I made a nice sandwich with it. It’s perfect. It takes a bit of labor to make this loaf, but I would do it again because of the positive results I experienced. It’s pretty awesome. If you give this bread recipe a try, please let me know your thoughts on it in the comment section below. Thanks for reading!

This bread was delightful to make. Each step turned out exactly as you described. I had my fingers crossed that it would be as good tasting as it is good looking. And it IS! Nice hint of cider tang. Fine light texture. Lovely while still a bit warm with butter and even more delicious toasted. I just wish I could figure out how to send you a picture of the boule itself.
That’s awesome. I’m glad you had success with the recipe. Perhaps I’ll have you email me the photo so I can post it here!