Have you ever heard of the blue hour? If you’ve been involved with photography for long enough, you’ve most likely come across the phrase, golden hour. That’s a period of time, either in the morning or the evening, when the sun sits low on the horizon. The sky turns orange or red and you’ll see photographers flocking to beaches or anywhere else they’ll get a good shot. Photography turns magical during the golden hour. The lighting becomes saturated and velvety and wonderful photography takes place during this time. It’s the best lighting of the day.
You can consider the blue hour as a subset of night photography. This is a period of time (about an hour) after sunset where the sky is dimly lit by residual light of the sun. There may be a bit of orange left way down on the horizon, but mostly, the sky will be dark blue. A long exposure time will bring that right out and you’ll see the color as plain as day. If the moon is out, the blue hour can extend for many hours throughout the night. As long as there’s light to offer color, you’ll be able to see and capture the blue with your camera.
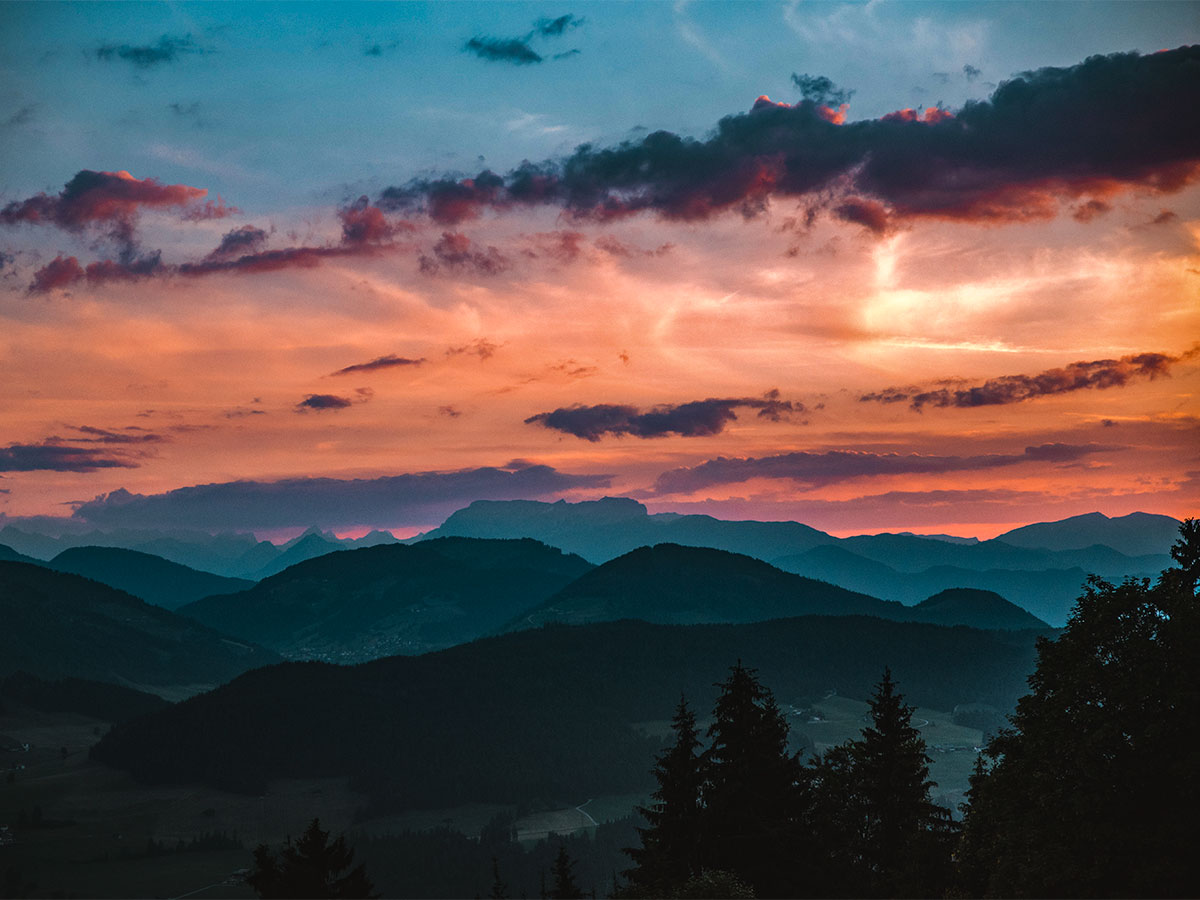
Let me show you an example of this type of photography. This first photo is an example of the sun setting, just a short time after the golden hour and mere minutes before the blue hour.

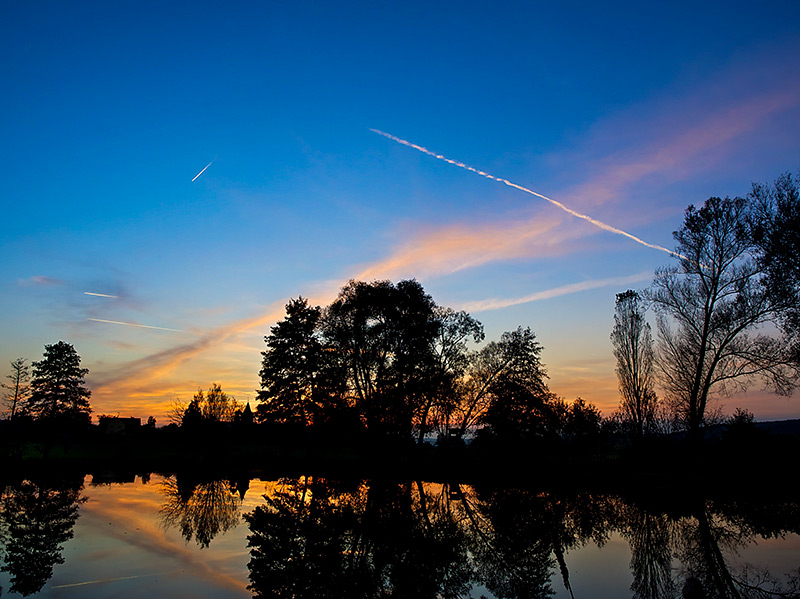
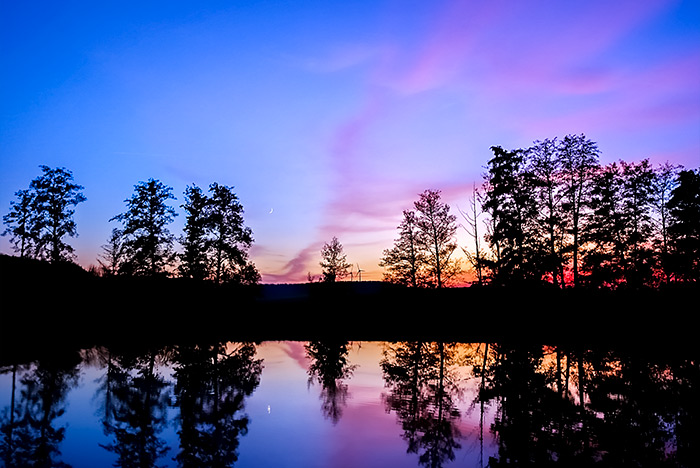
These next two examples show the blue hour in all its glory. The sun has gone down enough for the sky to turn deep and rich.


In the image above, you can still see a fair bit of orange from the sunset, but I think this would be considered as something that regularly occurs during the blue hour. As I said, the blue hour can actually extend far beyond twilight and go into the night. If the moon is out, you’ll be in for a special treat, beyond the offering of color. I’ll talk more about that below.
In today’s post, I’d like to discuss the various settings that are necessary to capture these kinds of shots. I’ll also offer some additional tips as well. Some settings will be as simple as adjusting the shutter speed, while others will require you to go into full Manual Mode and make a few more adjustments. There’s nothing terribly complicated about this kind of photography, but I will tell you that you’ll definitely need a tripod. As with any night photography, long exposure times are commonplace and without the proper equipment, blur can rear it’s ugly head.
The Process
Because photographing the blue hour is considered (and consistent with) night photography, all the rules of focusing your camera in the dark apply.
What I’m going to do below is concentrate on specific camera settings. I know people like to cut to the chase with this sort of thing so they can run outside to experiment, so I’d like to make it easy for them. Here’s what I would do if I were going outside at, say, 9pm or 10pm for a photo shoot. .
First, I’d find my scene. Then, I’d set my tripod up and attach my camera to it. Once I set up my camera and have it pointed at whatever it is I’d like to photograph, I’d dial in the focus as I would for any night photography scene.
Blue Hour Photography Camera Settings
Here’s the important part – the camera settings. Since this is night photography, I’m going to need a long shutter speed. Depending on how dark it is out, I’ll set my camera to Shutter Priority Mode (denoted by an S or a Tv on the dial) and then set the shutter speed to something between 15 and 30 seconds. Also, since I don’t want my camera to automatically set the ISO to something too high, I’ll manually set that to either 100 or 200. If I’ve got a lens that can handle a large aperture, the camera will most likely adjust that for me. Because of the darkness, I’d like the aperture to be large. It’s got to let as much light in as possible.
Regarding the moon, if it’s out, I want to let you know that the light from it can dramatically alter the brightness and color of your photos. If there’s no moon in the sky and you’re shooting about a half hour after sunset, you’re likely to get a nice, even blue across the (clear) sky. If the moon is out, the blue will be somewhat diminished because of that additional light. Also, if you happen to point your camera right at the moon and try to focus on it, you’ll see the scene’s lighting go haywire. I wouldn’t suggest focusing on the moon itself. Let it sit off to the side.
Getting a Starburst From the Moon
I have previously mentioned (on this blog) that small aperture sizes give off starburst effects when it comes to the sun or to the moon. If you’d like to display one of these effects in your blue hour photographs, you’ll have to switch your camera to use Manual Mode. Again, I would use a 30 second exposure, an ISO of 100 or 200 and then I’d set my aperture to f/11 or smaller. With a small aperture size, you can turn a regular looking moon into a very special looking one.
Please remember, the smaller your aperture, the longer your shutter speed time will need to be. Since your ISO will be set to a low value, it’s going to be a balance between shutter speed and aperture size. If you’ve got a nice large aperture and the moon is illuminating the sky, you can probably get away with a shutter speed of around five seconds. You’ll need to experiment with this. Keeping the shutter open for too long of a time while the moon is out can overexpose a photo.
Night photography, especially photography taken during the blue hour, can wake up otherwise boring and normal looking photos. Sure, a scene may be interesting or even beautiful during the daylight hours, but at night, with the right camera settings and under the right conditions, you can bring that scene to life.
Summary Tips for Shooting During the Blue Hour
This is a good summary of tips for those who wish to endeavor outside to capture the beautiful skies the night offers. Simply setting your camera to Auto Mode and shooting away will not suffice. There are some suggested settings I encourage you to follow and a few additional ones that may offer some bonus effects. I’ll list all these below.
- When shooting at night, you’ll need a long exposure time. Set your camera to Shutter Priority Mode to gear up for this.
- Set your shutter speed for a length of time between 5 and 30 seconds, depending on how dark the sky is.
- Lock your ISO in at a low value. Generally 100 to 200 will work well.
- Keep your camera steady on a tripod. This is no time for hand holding.
- If you’re using a large aperture lens, you can reduce the shutter speed time. If you’re using a small aperture size, you’ll need to increase the shutter speed time.
- When setting up your camera, follow the rules for focusing at night.
- If the moon is present and you’d like a starburst effect from it, use a small aperture size.
- If locking in a small aperture size, you’ll need to switch your camera to full Manual Mode to set both the shutter speed and the aperture size.
I hope I offered something valuable in this post. I hope I gave you some settings to go out there and experiment with for this type of shooting. If you have any questions, please let me know down below.

Leave a Reply