Making homemade pasta is an insanely fun and rewarding endeavor. It’s one of those things a regular person doesn’t think possible, but in reality, it’s much more possible than anyone would imagine. The best part is, it’s easy. So easy, in fact, that I recently made some pasta, cooked it, and then ate a bowl of it. Of course, I didn’t prepare any sauce to go with it, so all I tasted was the pasta itself, combined with a bit of butter. It was good though and I’m excited to share the process with you.
In this post, I’ll cover the few simple steps it takes to make homemade pasta. There are only two ingredients, which is surprising. Armed with a food processor and a pasta machine, you’ll be eating homemade in no time.
The Recipe
This recipe will only take about 30 minutes to put together. The nice part is that if you’d like to make more than what I’m about to describe, it’s not a problem at all. You can simply add to the ingredients and your prep time will only increase marginally. Regarding the ingredients, I’m almost positive you have them in your kitchen as I write this.
Ingredients
Serves: 2-3
2 Cups All-Purpose Flour
3 Large Eggs
Step-by-Step Instructions
I told you there wasn’t much to it. I’m sure I’ll be adding something more fancy as time goes on, but for now, this is all I needed.
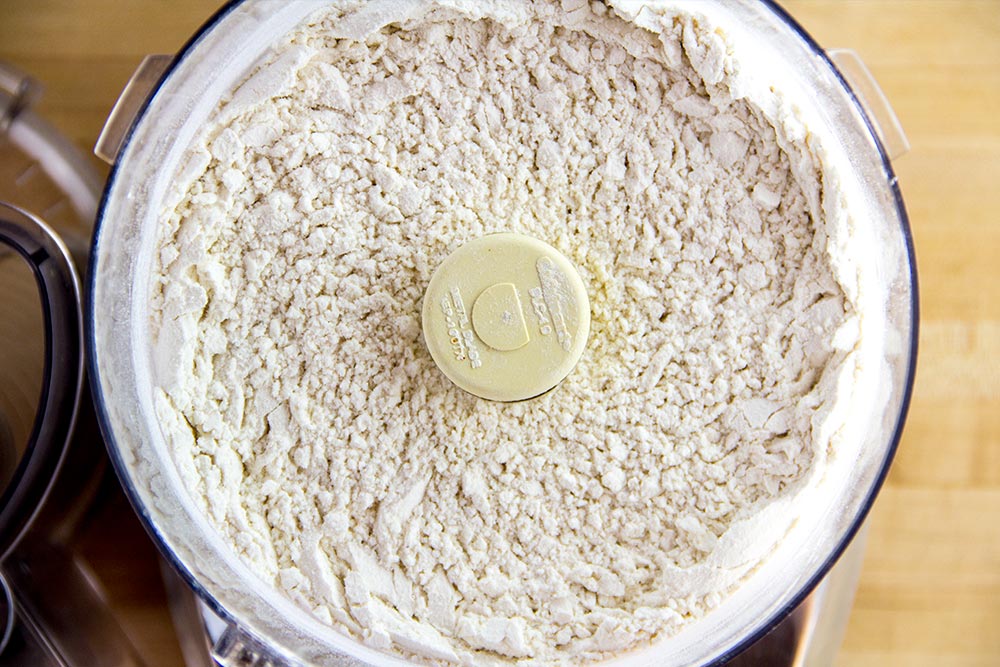
Pulse Flour in Food Processor
After adding 2 cups of all-purpose flour to the food processor, pulse it a few times to be sure that everything is loose and ready for the eggs.
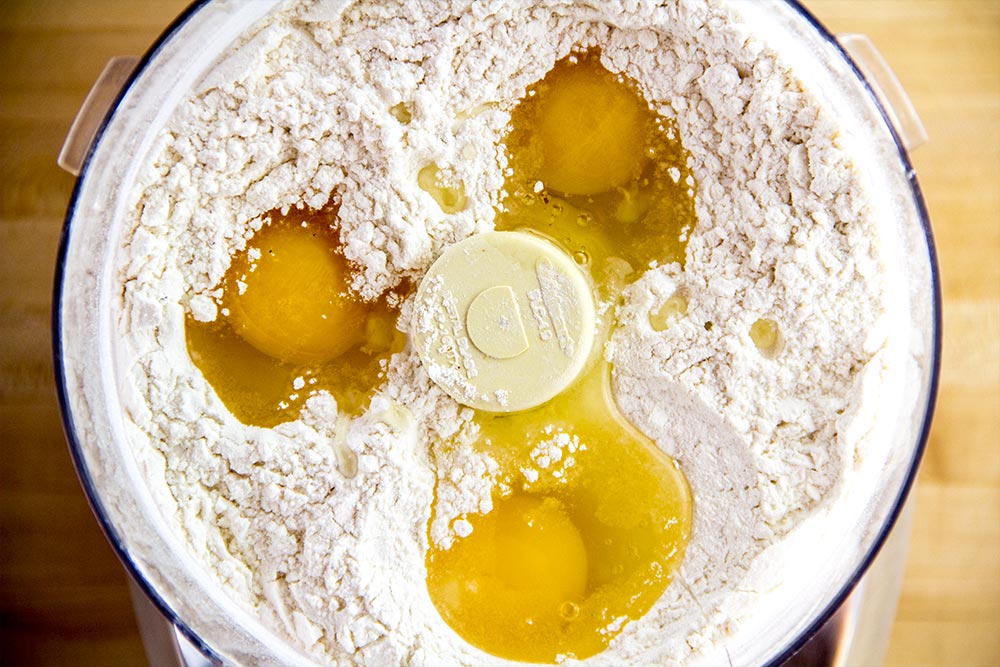
Add Eggs
After the flour is well mixed, add 3 large eggs to the food processor.
Mix Eggs & Flour
Mix the eggs and flour together by turning the food processor on for about 30 seconds.
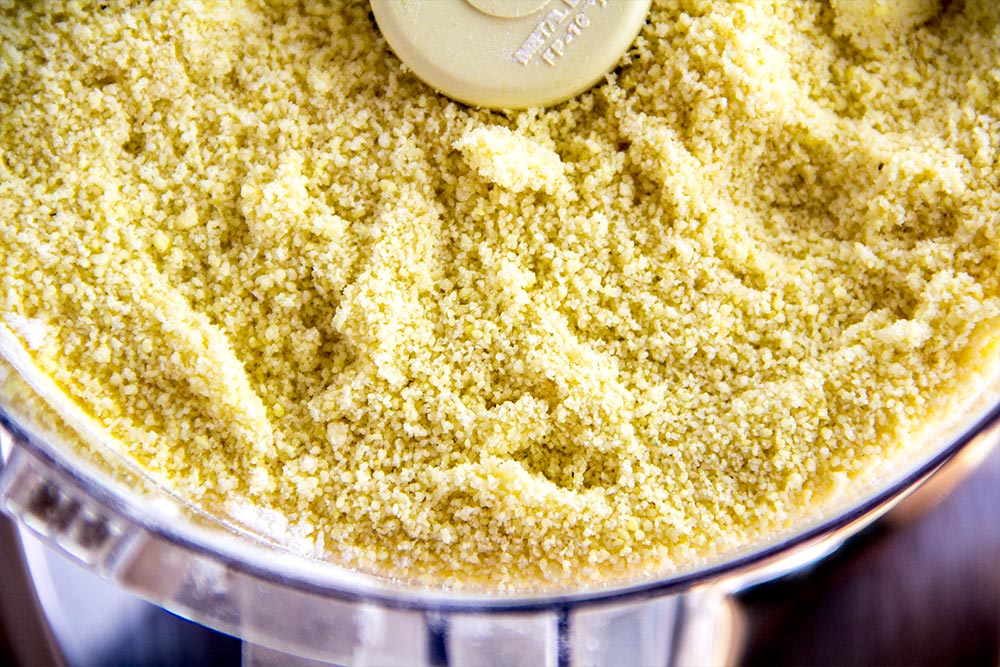
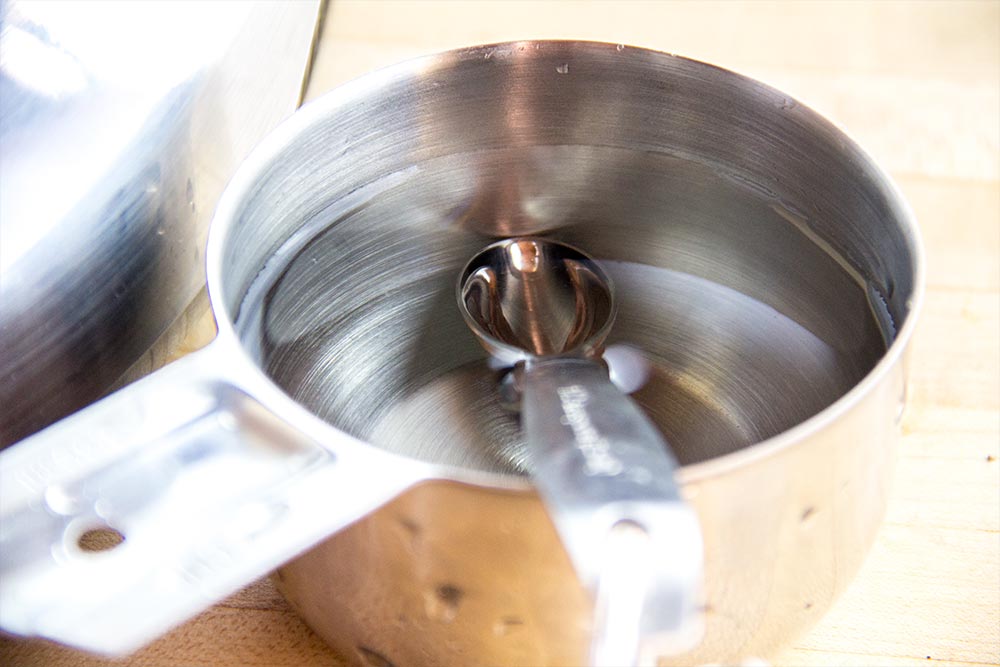
This is where things can get a bit tricky. If you take a look at the photo above, you can see that my dough looks like small pebbles. That means it’s too dry. To fix this, I had to add water and combine once again with the food processor. I added water at the rate of 1/2 teaspoon at a time. When said and done, I probably added a whole tablespoon.
The food processor doesn’t do a great job of mixing everything at this point. You’ll have to get your hands in there to squeeze some of the dough together to make sure it’s the correct consistency. If it holds together like clay, it should be good. If the dough is too wet, meaning sticky, you’ll need to add small amounts of flour to the mixture until you get it right.
Knead the Dough & Cover with Plastic Wrap
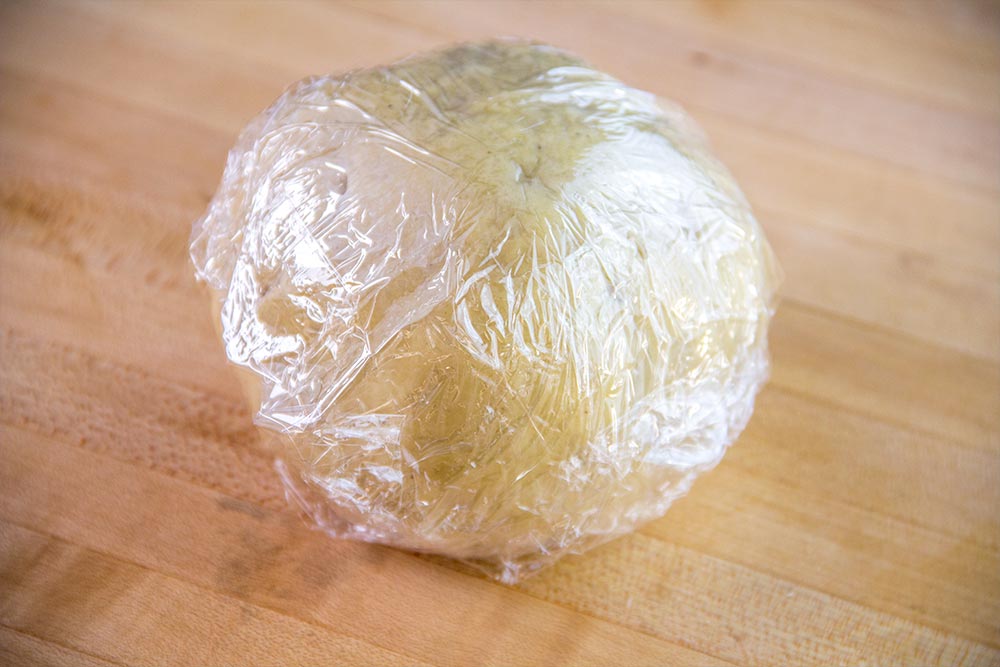
Once the consistency it correct, remove the dough from the food processor and knead it with your hands. Be sure to include all the scraps. Do this for a few minutes until the dough holds together and is elastic. I actually had to add a few teaspoons of water as I was kneading because the dough was still too dry. Shape the dough into a ball.
After the dough is ready, cover it with plastic wrap and let rest for 15-30 minutes.
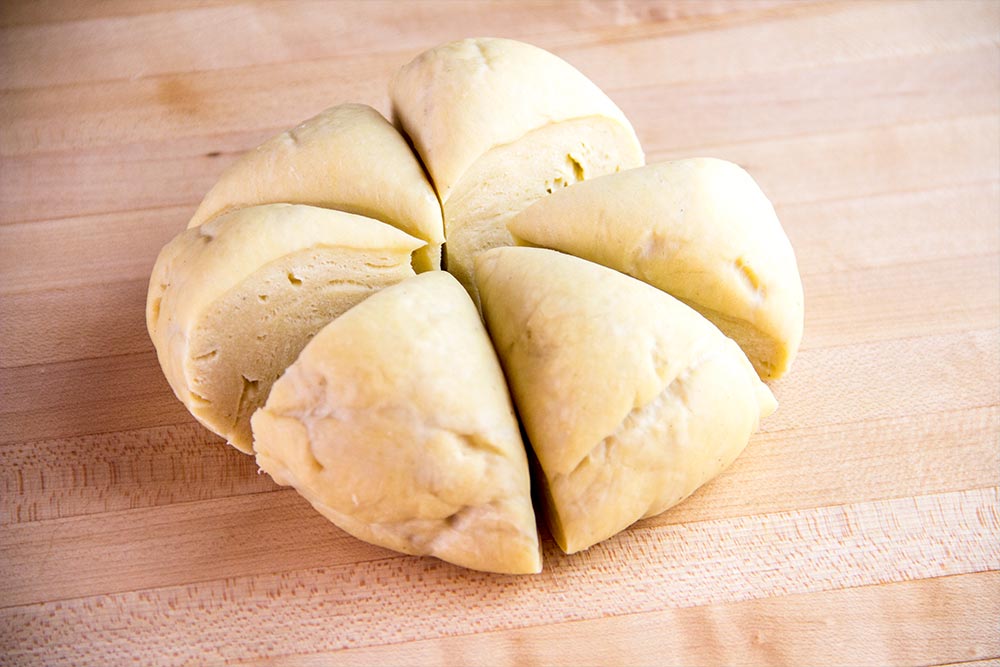
Cut Dough into Six Pieces
After the dough has had some time to relax, go ahead and unwrap it and cut it into six pieces. To do this, I used my chef’s knife.
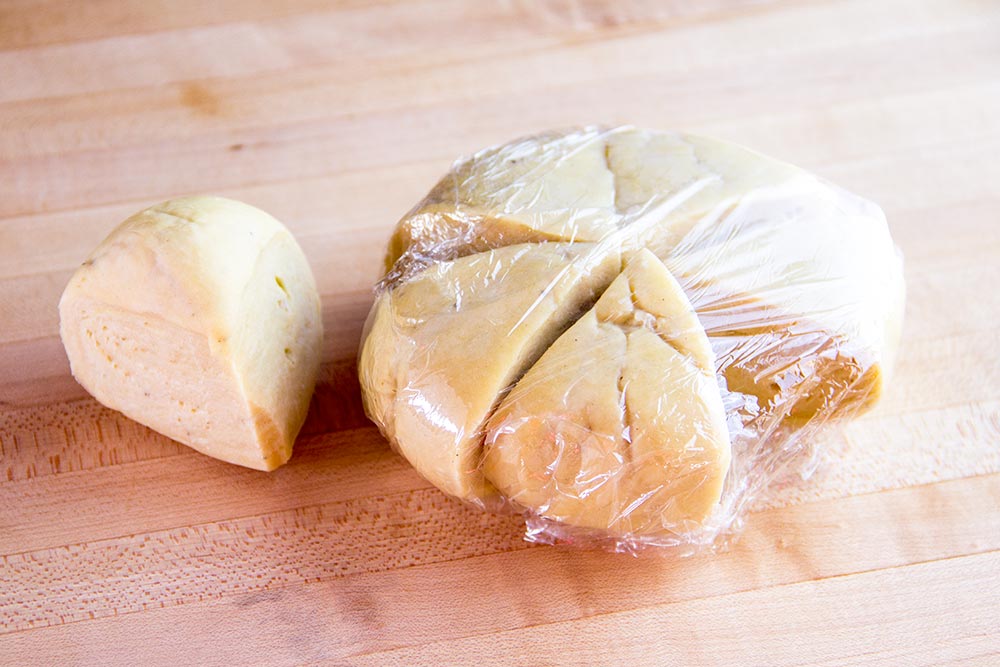
Take one piece from the group and wrap the rest back up in the plastic wrap so it doesn’t dry out.
Run Through Pasta Machine
Take the first piece of dough that you cut and roll it into a ball. After that, flatten the ball with your palm and then, with the pasta machine on the widest setting, run the dough through.
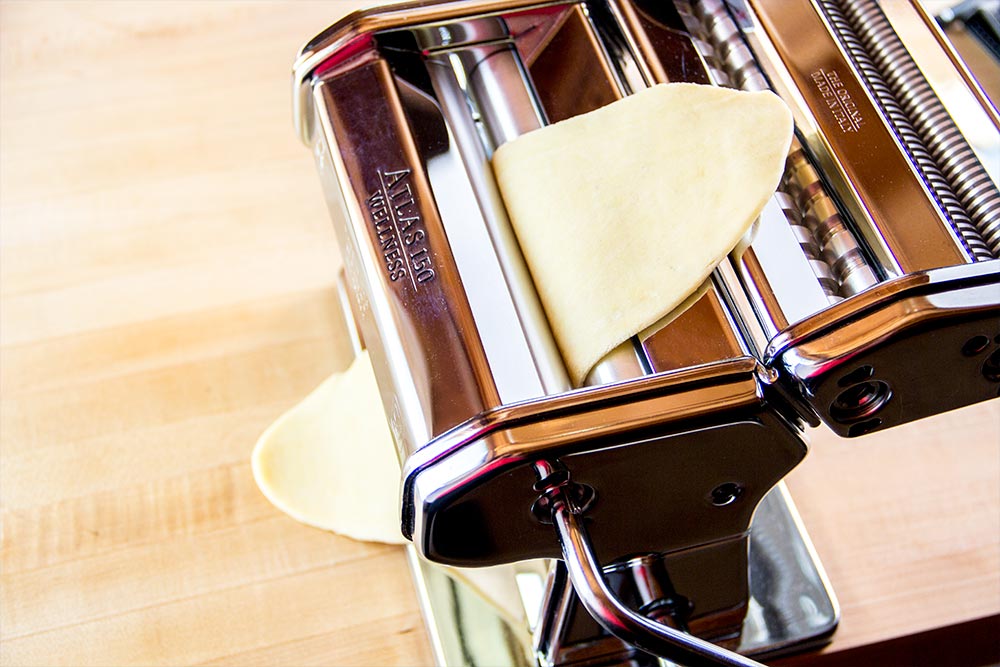
Keep the machine on the same wide setting.
After the first piece comes out, fold both sides in on themselves and repeat through the machine.
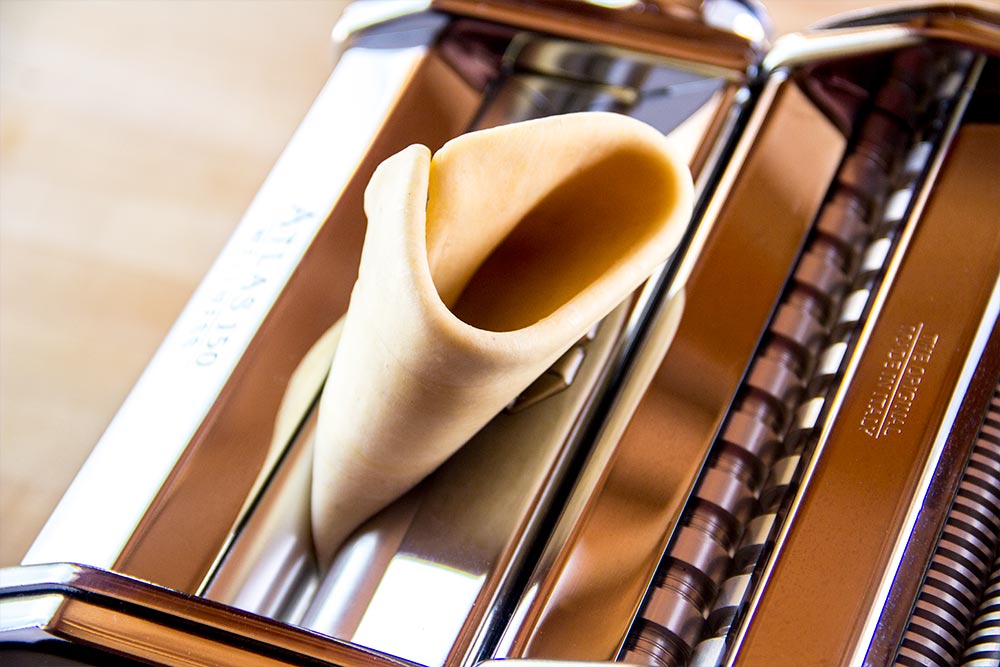
Repeat the last step once more.
Reduce Machine Settings
At this point, no more folding is necessary. Continue running the dough through the machine and reduce the thickness setting by one click each time.
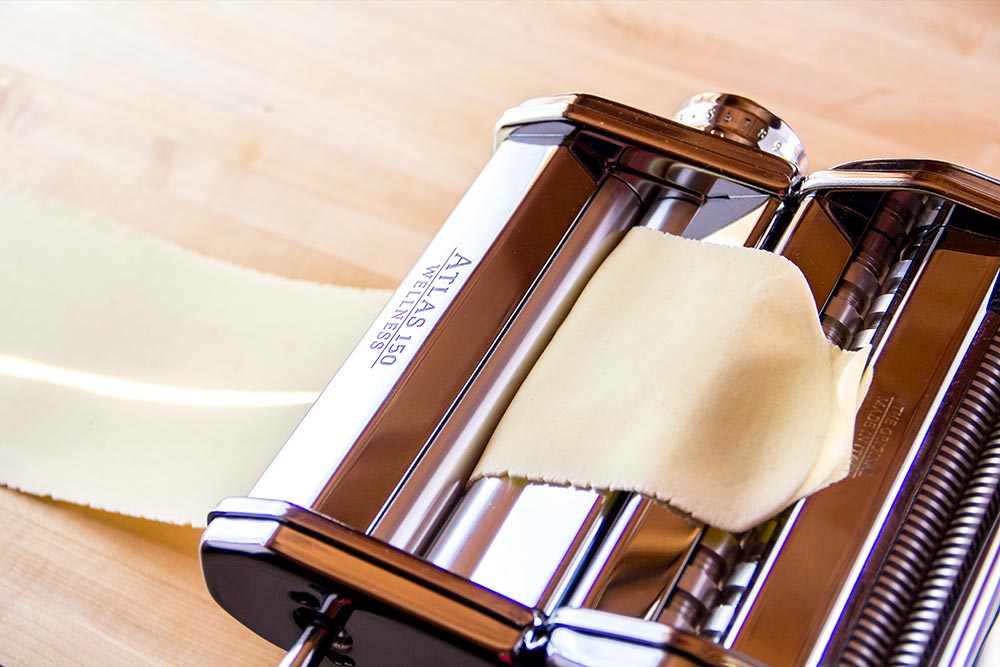
Do this until you reach the thinnest setting. The dough should be somewhat translucent.
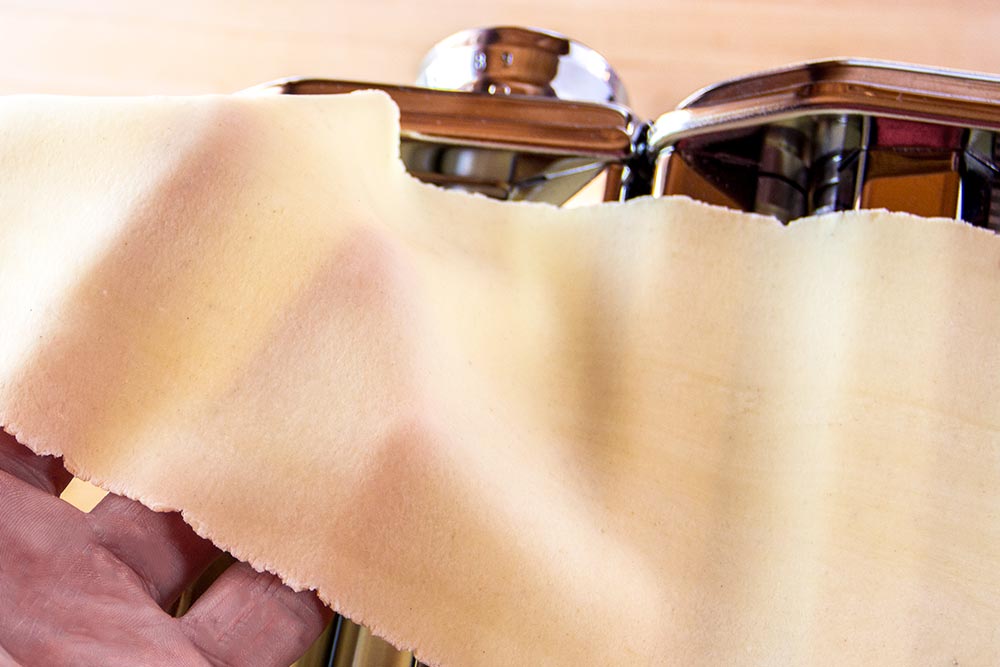
Run Through Cutter
If you’re making raviolis, you are probably finished with the use of the machine. If you’re making spaghetti or fettuccini though, run each piece of rolled dough through the cutting side of the machine.
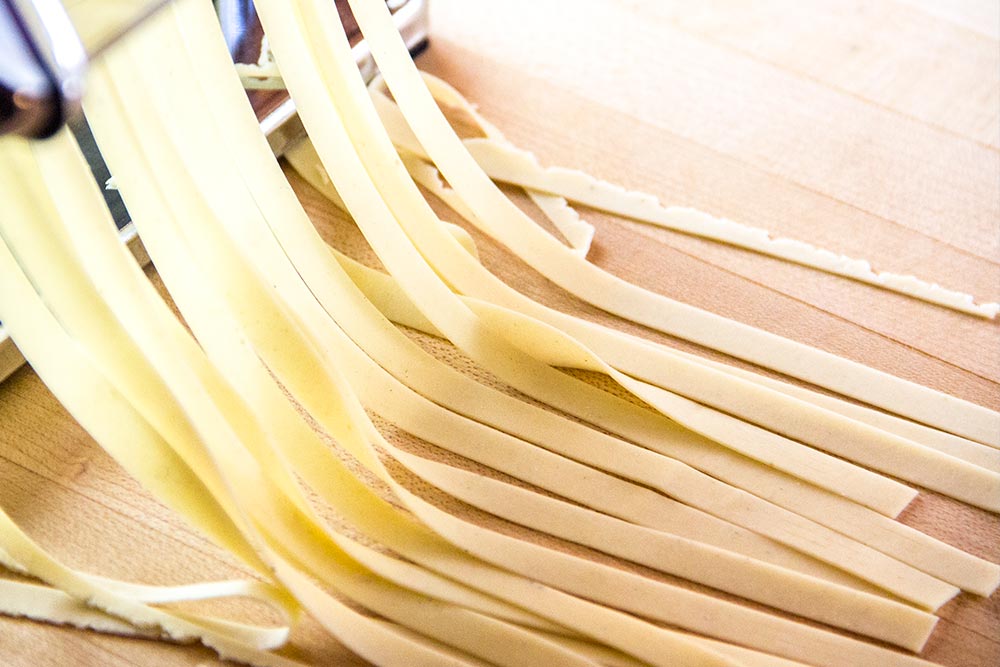
After it’s cut, you can either hang it like I did or you can create small nests on some paper or a cutting board.
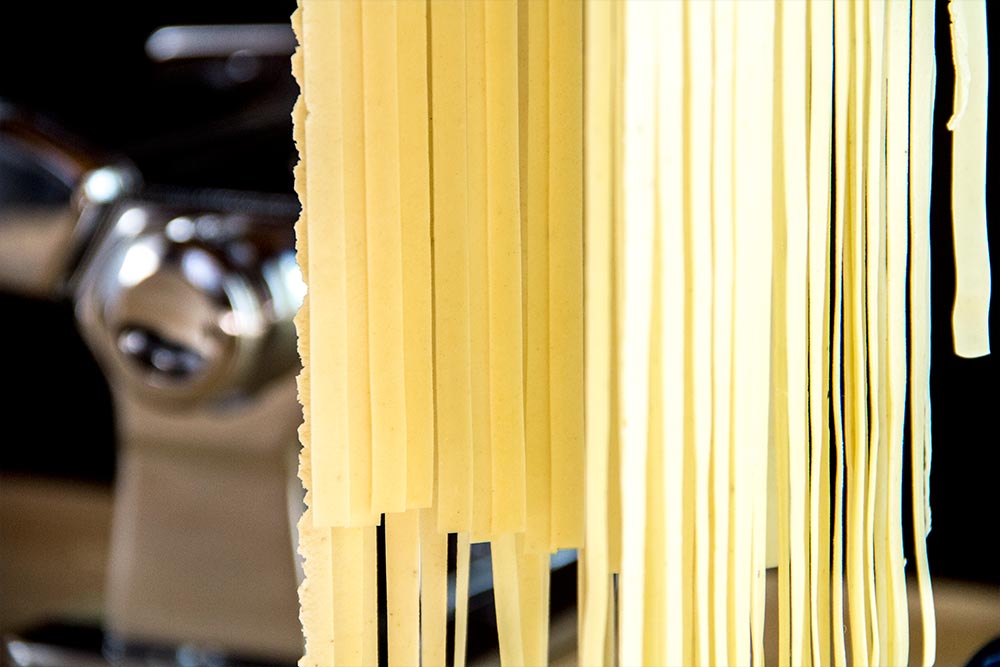
The pasta making is now finished. You can store it or cook it right away. In the future, I’ll be applying this post to recipes. I’ll be preparing a nice fettuccini dish as well as some raviolis.
If you’ve enjoyed today’s post and found it helpful, please share it with a friend. Also, if you’d like to continue reading and would like my posts sent directly to your email inbox, simply sign up for my newsletter. I’ll send each and every post directly to you. Thanks!

Leave a Reply