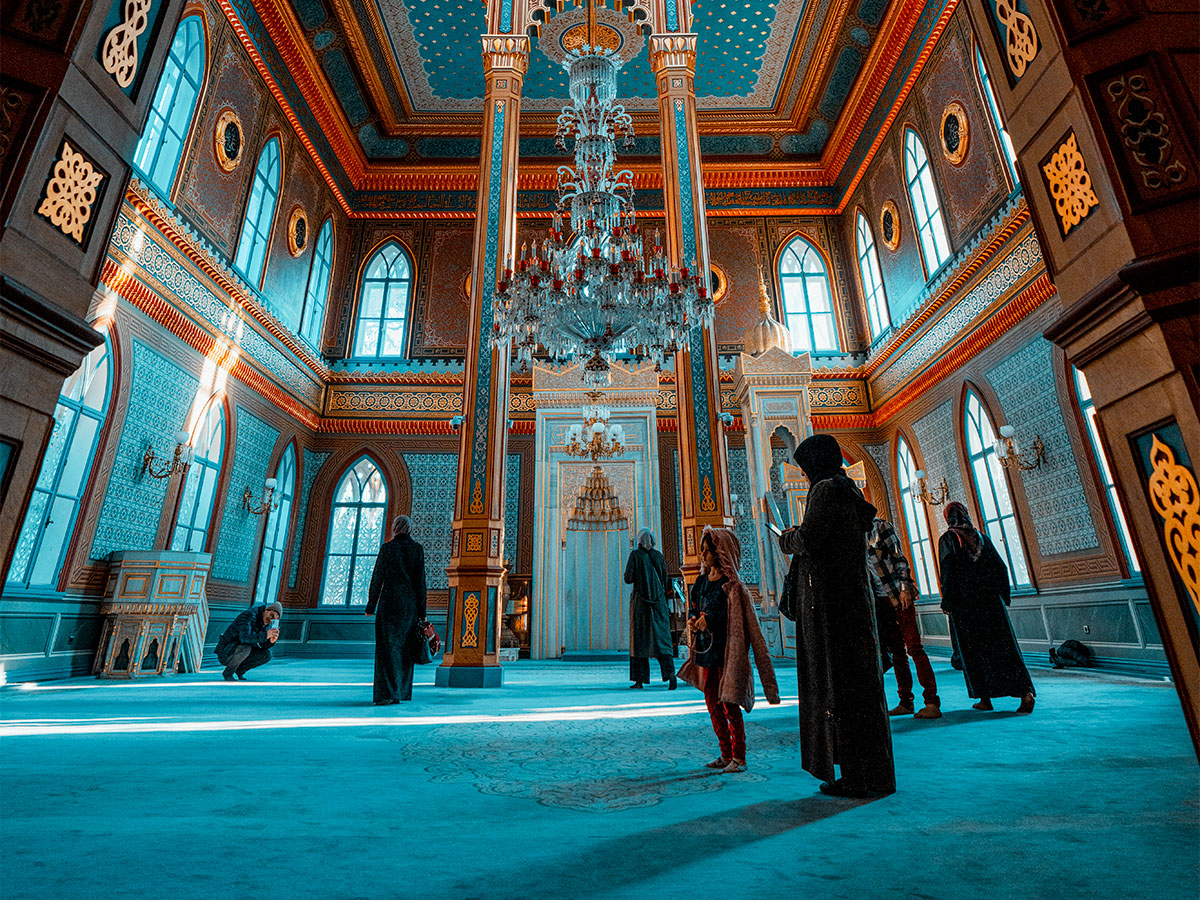
I do tons of travel photography. I’ve visited so many interesting locations that I’ve lost count of how many there are. I have an entire disk drive full of landmark photos that I’ve captured through the years and I can tell you that you’ll never take a photo of a popular landmark when there’s no one around. And when there are people nearby, they’ll find the most creative ways of getting right in the middle of your shot and there’s simply nothing you can do about it. Day or night doesn’t make a difference. If the area is popular with tourists, you’ll need to get creative with how you capture your images. There’s hope though. If you’re attempting to capture an image of something (fountain, arch, building, city square) and there are lots of people, dogs, cats, cars – whatever, milling about, and you want none of these people or things to be in your final shot, I have a technique that can help tremendously. And it’s not difficult to pull off at all. All it takes is some preparation.
How to Shoot Travel Photography with People Removal in Mind
You’ll need a few things before you begin. You’ll need either a tripod or a very firm, stable surface on which to place your camera. You’ll also need a camera that has a shutter delay feature or you can even use a remote shutter button. The point here is that you’re going to need to keep your camera completely still as well as virtually eliminate camera shake by you touching your shutter button. What I just mentioned above aren’t too difficult to pull off.
The trick is to take between 20 and 50 shots of the same exact thing (arch, fountain, etc…) over the span of a few minutes. If you think about it (on a small scale), one person may be standing on the right of your shot and may walk towards the left. If you take two photos a few seconds apart, that person will be in different positions for both shots. If you combine those two photos in post-processing, you’ll be able to easily mask out the person from both shots and the photo will end up looking natural, as if the person was never there in the first place.
The reason you want to keep your camera as still as possible is because not all image editing applications are as sophisticated as Adobe Photoshop is. While I use Photoshop for all my editing work, everyone can’t take advantage of their “Image Align” technology because it simply doesn’t exist in the program they’re using. Keep your camera still and avoid shake. That’s the rule.
The other rule is to take tons of photos of your subject. Make sure the people in the area are moving though. If everyone is sitting down for a picnic, it’s not really going to make a difference if you photograph them 30 times. They’ll be in every single shot – in the same exact places they’ve been the entire time. This technique works best when everyone is walking around. You’ll need empty areas as well as areas where the people are.

When you’ve got all your nearly identical photographs, import them into your favorite photo editor in the same file, go through each layer and mask out the objects you don’t want in the images. If there’s something you don’t want there, but it’s in every single shot, you’ll need to remove it using other methods, such as a healing brush styled tool or some sort of content aware feature. You’re bound to need these things sooner or later.
Please let me know your situation and how you have or had things set up and I can most likely help you through the editing process. Please reply to this post below. I’d actually love to help.
On to my next topic…
Capturing Multiple Images for an Action Time Sequence Composite Photograph
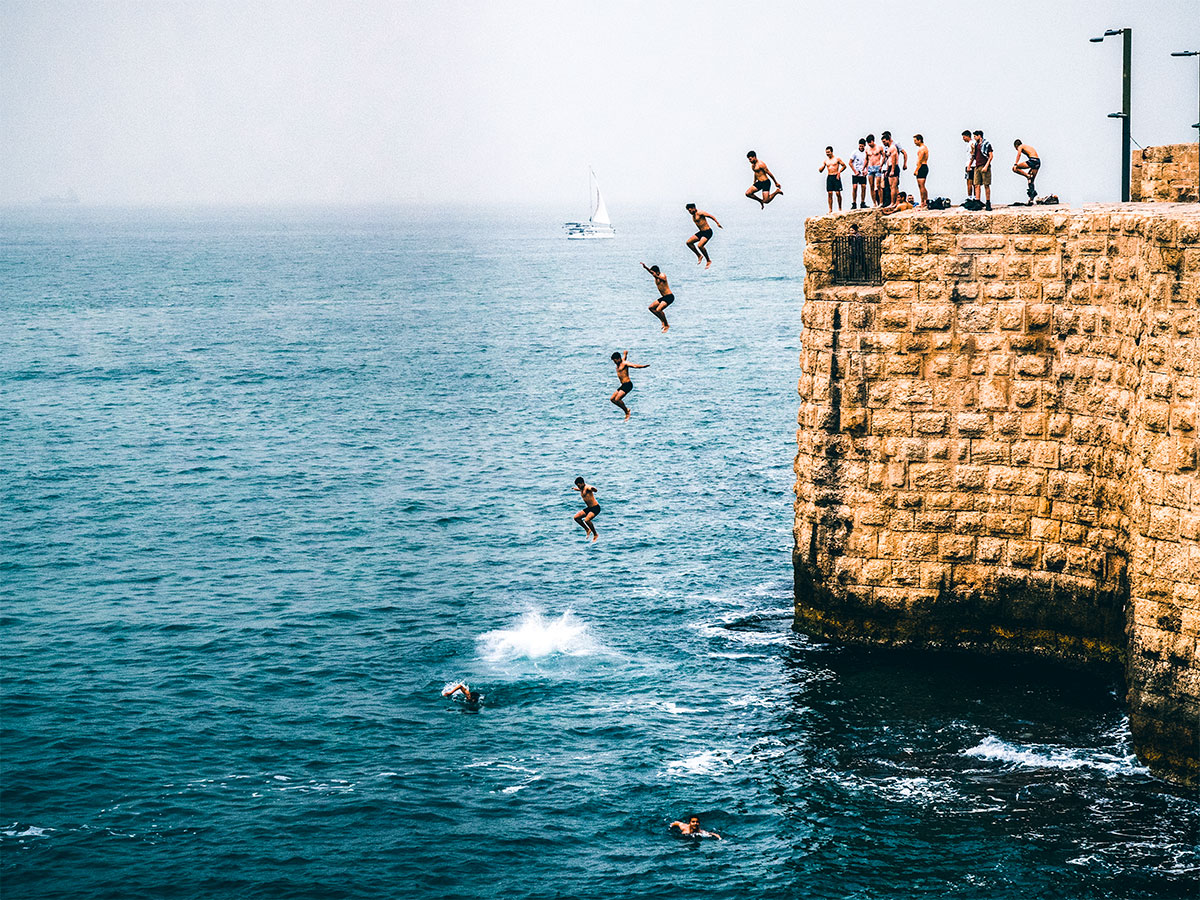
Have you ever seen those photos that contain the same person doing different things throughout the entire image? It’s almost like a time lapse in one photograph. I’ve seen these types of photos pertain to the sports industry and a few other places. For instance, let’s say a basketball player is jogging from the center line to the basket, while dribbling the ball. At the end, he’ll go for a layup and make the basket. In the image, there would be about ten or so instances of the athlete moving from one area to the next, all the way to the basket. I love these types of composites. Here’s an example of someone jumping off a cliff into the ocean.

I guess the big question is, how the heck do you make a composite image like this? Obviously, a bunch of different photos need to be captured, but what’s the best way to take them? I’ll try to help out and give some tips below.
The first thing you need to realize when gathering the photos for this type of composite is that you won’t be hand-holding the camera and chasing after the person in the image. The camera needs to be completely still, so it’ll need to be on a tripod and you’ll need to use a remote shutter button or a device with an app that controls the camera’s shutter button. There should be as little movement of the camera as possible. Keep your fingers away from the camera and the shutter button.
Also, adjust your camera’s settings so you’ll capture the subject of the photos in focus, whether they are far away from your camera or close to your camera. This will likely be dealt with by adjusting the aperture size and focus setting. You’ll also want to minimize blur as much as possible, so you’ll want a fast shutter speed. Because of the smaller aperture size and faster shutter speed, you’ll either need a lot of light in your scene or a higher ISO setting.
Just as a side note, GoPro cameras are awesome for taking these types of photos because they’re always in focus and capture very high quality images. You don’t really need to adjust them at all. Also, if you placed one of these types of cameras on a table and hit “Go,” it would do all the work for you.
Let’s talk about taking the actual photos themselves. Since we’ll be “layering” all of the images on top of one another later in in post-processing, it’s important to take sequenced photos. You can set GoPro cameras to timed “bursts” and you can also set a whole bunch of DSLR cameras to do the same thing. Also, you can just as effectively use the remote shutter button and take the shots yourself while the subject is at critical positions.
If there’s a lot going on, action-wise, in a scene, a good idea is to set your camera to multiple burst mode and take three or four photos at a time to make sure you get as many possibilities as you can. Then, later on in Photoshop or whatever post-processing application you’ll be using, you can toss the unneeded photos away. Basically, you want options and this is a great way to get them.
Another great idea is to record the highest quality video as possible (4k) and then run the video through a video editor and pull out the still frames. There will be a lot of them, so be prepared for this.
All of these ideas are meant to help you with taking a handful of great photos to use in the composite.
In later posts, I’ll be discussing exactly how to merge all of the chosen photos in a post-processing application such as Adobe Photoshop to produce a composite that will include all the photos.

Leave a Reply