When it comes to photography, if you learned nothing beyond what the exposure triangle is and how it works, you’d have learned quite a bit. Once you understand how aperture size, shutter speed, and ISO work together, you’d know probably around 90% of what there is to know about photography in general. Yes, there are other areas such as lighting, composition, gear, and all that, but exposure is definitely the most important. It permeates just about everything else. I’ve already written extensively about the three parts of the exposure triangle, but I thought a deep dive into each part would be beneficial to those who’d like to learn more about the real nitty gritty details. This post is about ISO, which is an acronym for the International Organization of Standardization, an organization that has to do with camera sensors and their measurements. It’s an old acronym that’s been carried over since the good ol’ days of film. It’s not important that you know that, but it is important that you become familiar with what ISO is, how to set it, and how it can affect your photos. Click through to learn all about it. Continue reading…
Panning Your Camera & Tracking Objects
Like I’ve said a thousand times, most people can point and shoot a camera to take excellent photographs. There’s not much to it. Camera manufacturers have set things up in such a way as to allow folks who have purchased cameras to pop in a battery and have at it. The challenge, as well as the creative and interesting photos, comes when the photographer breaks free from auto mode and begins to explore the more challenging modes. Sure, there will be some learning along the way, but that learning isn’t difficult. The concepts aren’t even difficult. There’s no excuse to stick with auto mode for the rest of your life. In this post, I introduce a concept that’s referred to as panning. You’ve probably already heard of it. It’s basically when you use a slightly slower shutter speed than you normally would with the intention of introducing movement into your photos. You track moving objects with the goal of keeping the object sharp while allowing the background to blur. This technique will require you to use Shutter Priority and will be an excellent introduction to the mode, if you aren’t already familiar with it. Click through for some thoughtful tips and tricks that just might better your photography as whole. Continue reading…
How Do Photographers Store Their Photographs?
As you become more active with digital photography, storage becomes an issue. There are two parts to photo storage; actual storage of the photographs themselves (where you are going to keep them and work on them) and backing up those same photos. These two areas are generally considered afterthoughts and are often overlooked. The most common method used for photo storage is to transfer the photos from your camera to your computer and simply keep them on your computer’s hard drive. Easy enough. Until you run out of room or there’s a disaster and your hard drive fails. Then what? What was initially an afterthought becomes the most critical issue of the day. In this post, I discuss options for both areas of photo storage. Please click through to give it a read. By doing some work today and creating a system to handle your needs, you may just save yourself a huge headache down the road. Continue reading…
Understanding Camera Modes & Settings
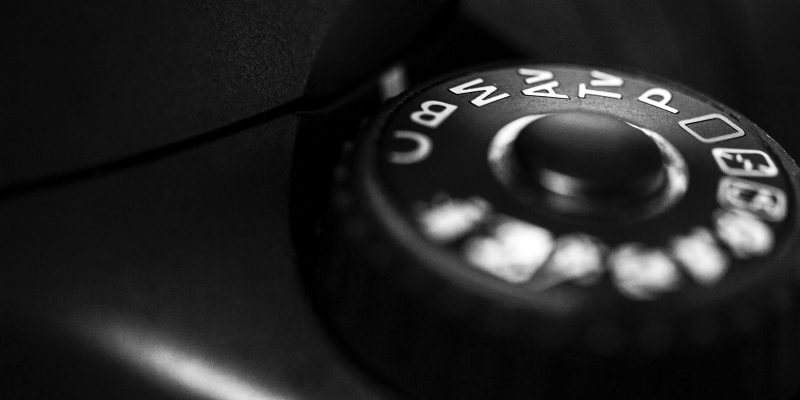
If you’ve ever wondered about camera shooting modes, whether they be the traditional ones (aperture priority, shutter priority) or the easier to manage preset modes (landscape mode, portrait mode), look no further. Throughout the years, I’ve written quite a few posts that cover relatively the same thing – how to best manage working with the various types of modes a DSLR or mirrorless camera can offer. Because these posts were scattered around my various websites and in somewhat of a disorganized state, I decided to merge them all into one place – right here. This post says it all. In it, I describe what each mode is and what it can do. I also offer real-world examples and challenges, just so you can apply what you’ve learned. While there might seem like there’s a lot to learn in this area of photography, I simplify it so it’s easy to understand. After reading this post, you should be an expert on camera shooting modes. Click through to get going. Continue reading…
Macro Photography
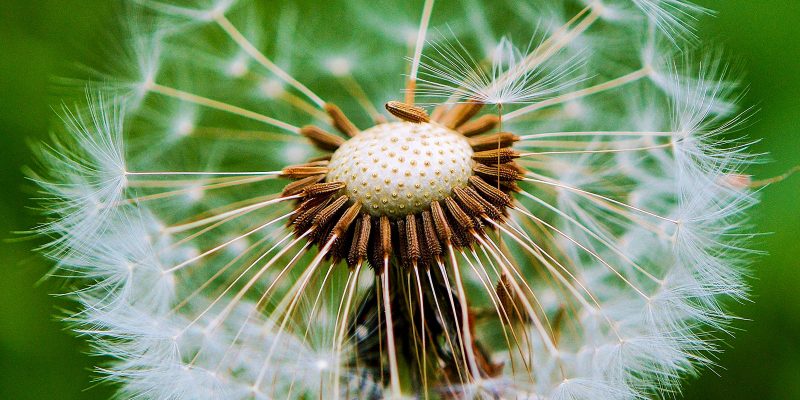
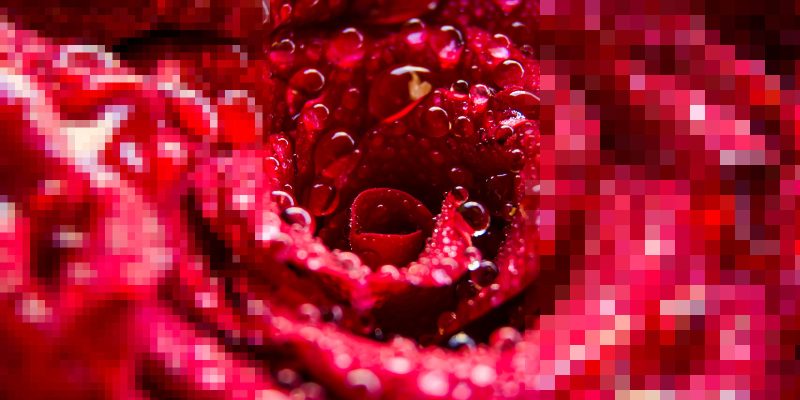
There are a few different definitions for macro photography. The original definition says that a macro photograph is one in which the size of the subject on the negative or image sensor is life size or greater. Other definitions say that it’s an extreme close-up photography, usually of very small subjects and living organisms like insects, in which the size of the subject in the photograph is greater than life size. Whatever definition you choose, just know that it’s close-up photography and one that offers some of the most stunning views many of us have ever seen. In this post, I share a collection of ideas that relate to macro photography. Think tips, tricks, and tutorials, but mostly just good information. So, if you’re as excited about photography as I am, click through to see what I have to say. Continue reading…
RAW vs. JPEG – What’s the Difference?
If you’re new to photography, you may not have thought about what types of files your camera is creating when you go out shooting. Can the pictures you take be printed? Are they suitable for social media or a website? How large are they (file-size-wise)? Can you email them to people? What if a magazine contacted you about one of your photos because they wanted to use it in their next issue? Is the quality sufficient for the magazine? As you become more comfortable with photography, answering these questions may become crucial. Because you’ll likely find yourself capturing better images that you might want to print and frame, you’re going to want to learn the difference between two file formats your camera can make: JPEG and RAW. In this post, I discuss these two formats and explain what they are as well as the pros and cons of each. Click through to read all about it. Continue reading…
Camera Metering Modes
There are many different aspects to photography. For most people, photography translates into picking up a camera and finding nice lighting, angles, and subjects. It’s more about the art of things. For the select few, photography is more about the technical aspects of the camera itself as well as analyzing the photographic environment. New camera technology has reduced the necessity to exhaust ourselves with buttons and settings, but if a very specific specification is called for, it’s important to know how and why a camera works. In today’s post, I discuss what’s referred to as metering. I talk about how it works, why it’s important to learn about, and I also offer some sample photographs that illustrate the difference between metering settings. If you’re interested in the more technical side of pointing and shooting, click through to read some good information. Continue reading…
How to Photograph During the Blue Hour
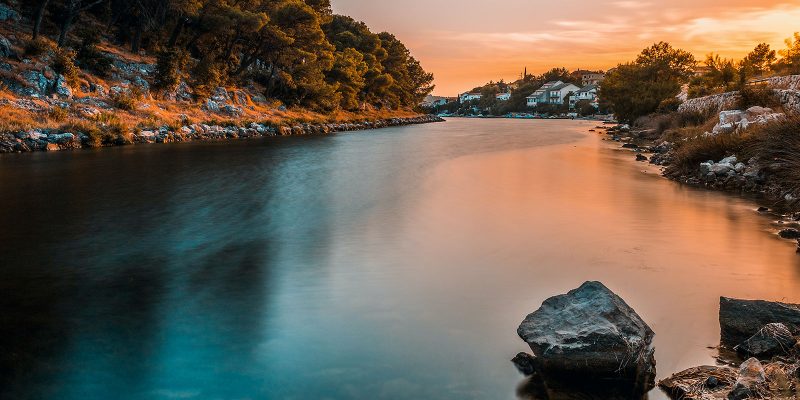
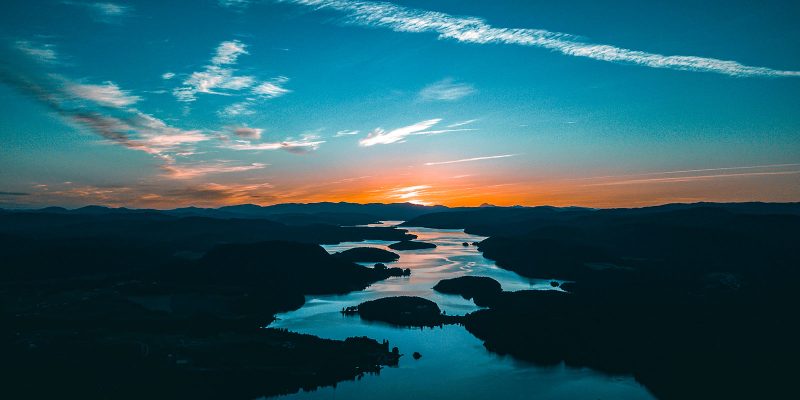
The blue hour is that magical time of day that falls behind the other magical time of day – the golden hour. As it relates to photography, the golden hour describes a time when shadows are long and lighting is orange, red, and dramatic. The blue hour comes about an hour after that, when the glow of the sun just peeks over the horizon and the sky gives way to a deep, rich blue. Believe it or not, the blue hour offers a setting for some of the best photography available. With a few simple adjustments, its easy to turn an ordinary scene into something extraordinary. A scene can become completely transformed into something unexpected. Click through to view some example photos as well as read some helpful tips on this topic. Continue reading…
What I Like About Prime Lenses
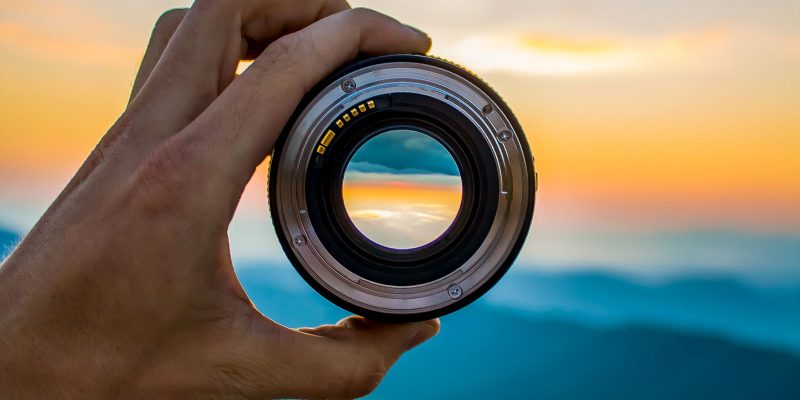
This single post consists of a few different posts I’ve written in the past. In these posts, I discuss prime camera lenses and their benefits, depth of field, I compare prime lenses to their zoom counterparts, the cost of prime lenses, and then I offer some demo photos that were taken with my Canon f/2.8 lens. If you’re in the market for one of these types of camera lenses, I encourage you to click through to read this post. It includes a lot of valuable information. Also, if you have experience with photography and with using various types of lenses, I’d appreciate any input you have. I love to learn, so I’m very open to what you have to share. Thanks! Continue reading…
What Is Camera Exposure?
If you’re interested in becoming involved with photography, you’ll want to learn as much as you can about its basic concepts. Far too many folks simply pick up their beautiful cameras and shoot away. Yes, cameras today can capture absolutely fantastic shots with little input from their users, but when it comes time to take deliberate photos, such as photos during the blue hour, making waterfalls smooth and silky, or capturing stillness or movement, you’ll want to know how and why things happen. Luckily, the concepts and settings necessary for success are straightforward and simple to grasp. In this post, I talk about the most basic concept; the exposure triangle. The exposure triangle consists of the three elements of exposure that allow lighting to properly hit a camera’s sensor. If this sounds foreign to you, please click through for an easy to understand explanation. Continue reading…

