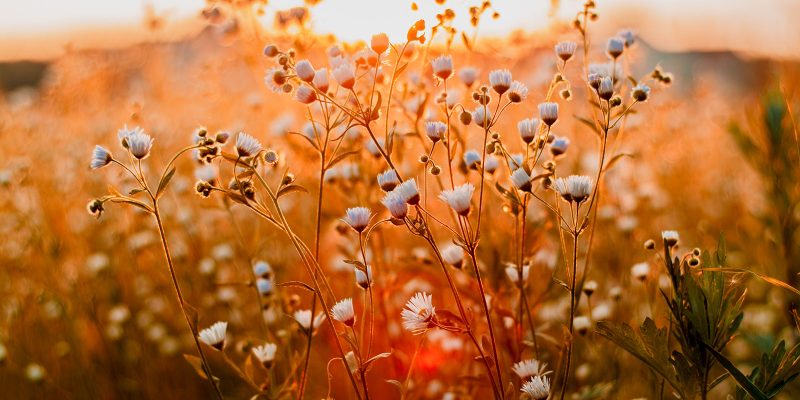
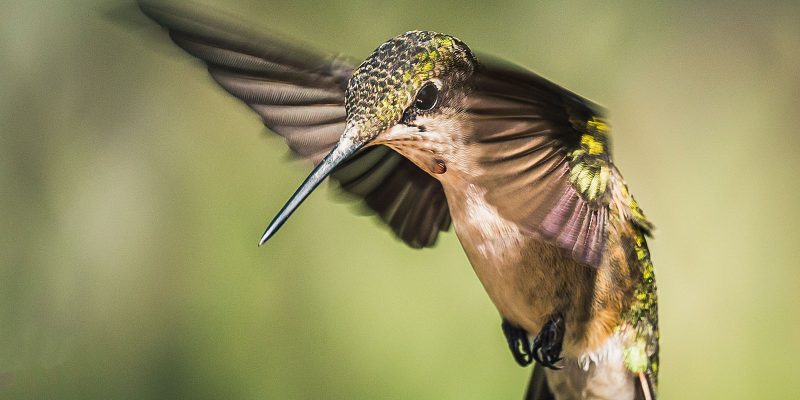
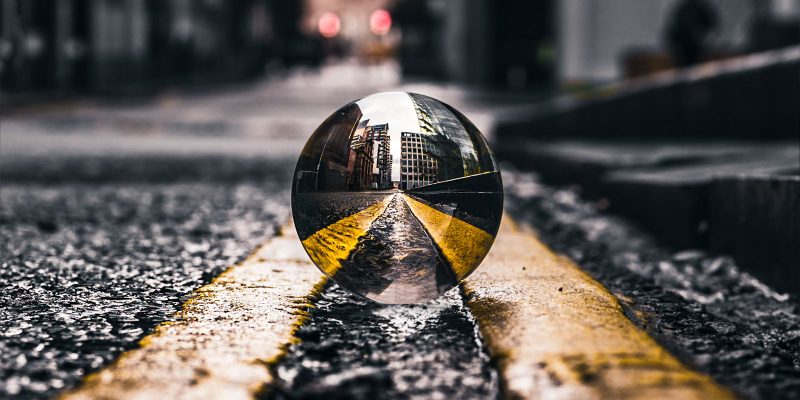
One of the first things new photographers want to learn how to do is to make the subjects of their photos sharp and the backgrounds (and/or foregrounds) blurry. This actually isn’t tough to do. Simply set the camera to auto and get real close to whatever it is that you’d like to be sharp. Then, take a picture. Because of the close proximity to the subject, the camera will automatically reduce its depth of field. Don’t know what depth of field is? This post will teach you about it. It’ll also teach about how to measure aperture, how to use aperture priority, what lens speed is, and how lens aperture size affects depth of field. Above, I mentioned that close proximity affects depth of field (sharp area of a photo). What also affects depth of field? Lens aperture size. Smaller apertures are great for deep depths of field and larger ones are great for shallow depths of field. Beyond all this, I also discuss the depth of field preview that’s available on many cameras and much, much more. If you’d like to learn more about aperture priority mode and how to manage it on your camera, click through to the post. Continue reading…
What’s the Most Common Camera Gear for a Beginner?
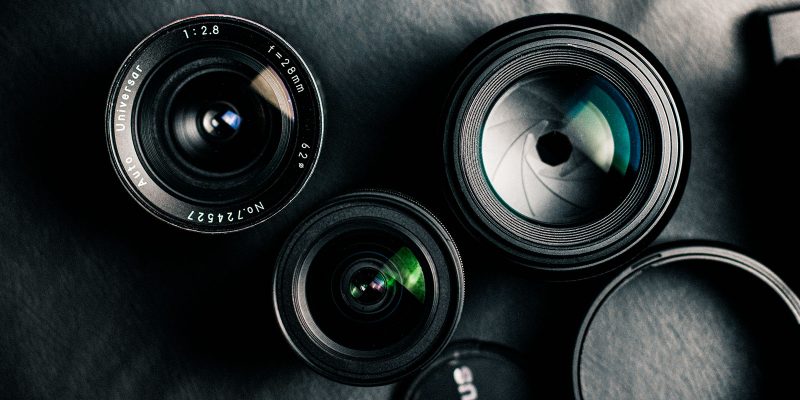
Most people who start out with photography want to jump right in and start taking photos. That’s good! That’s what I did when I bought my first real camera. I can remember having it delivered to me and after popping in the charged battery pack, I found myself in my front yard snapping away. It wasn’t long, however, before I discovered that I’d need a few more items beyond just my camera to really get into the hobby the way I wanted to. For instance, my first camera came with an 18-135mm kit lens. I knew I wanted to take some telephoto shots, but my lens wasn’t long enough. I asked myself, “Should I buy an additional lens?” I also wanted to take some wide angle shots. I asked myself the same question. Also, it didn’t take long after running out of battery power that I realized I’d need another battery to use as a spare. And it wasn’t long before I filled up the tiny memory card I bought with the camera. My point here is, yes, it’s great to start photographing right away, but there are some additional items beginners usually find they need almost immediately after buying a camera. In this post, I offer a list of those items. Read the post and tell me if you agree or disagree with my list. Photographers, whether they’re fresh or seasoned, tend to have strong opinions no matter the topic. So give me yours. Click through to read the post and to learn which pieces of camera gear you might need as a beginner. Continue reading…
Composition for Photography
Simply put, composition is what’s in your photo, where it is, and how it’s situated. Composition is an important element of what makes a photograph look good. Some people have a natural eye for pleasing composition while others need some help getting it right. In this post, I discuss the various parts of composition, such as the rule of thirds, guiding the viewer’s eye, foreground and background, as well as a summary of depth of field. I give example photos for some of these concepts. After that, I offer some basic rational for simplifying your photography and for why you might want to try different positions while photographing. While obtaining pleasing composition isn’t the most challenging of all aspects of photography, it’s one of those things people will see if it’s not right. One of the most effective methods for getting better as setting up a shot is to look at many other photographs that were taken by the pros and dissect what makes them so good. And then try to imitate those photos to the best of your ability. It’s a slow process, but if you keep at it, your photos should look very good in no time at all. Click through to learn about composition as it pertains to photography. Continue reading…
People Removal & Composites
As a photographer, you’re going to encounter cases where you’d like to do something, meaning, you won’t want to take a simple one-off photograph of a person, place, or thing. You’d like to take multiple photographs to later edit in post-processing. You’d like those images to not only represent one point in time, but rather multiple points, so the setting is better in your photo than it was in real life. Don’t concern yourself with being a photographic purist while reading this post. This one is all about manipulation and faking it in order to get a stellar final photo. In this post, I cover two topics. The first has to do with capturing a multitude of images at different times as to ultimately remove unwanted objects from those images. The second has to do with capturing a timed sequence of images of some action that’s taking place, in an effort to merge those images for a final composite. Photography needent be static. With a few tips and tricks, you can force your images to come alive to either remove action or add it. Both of the techniques I discuss in this post are straightforward and simple to pull off. Click through to read more. Continue reading…
Camera Lens Filters
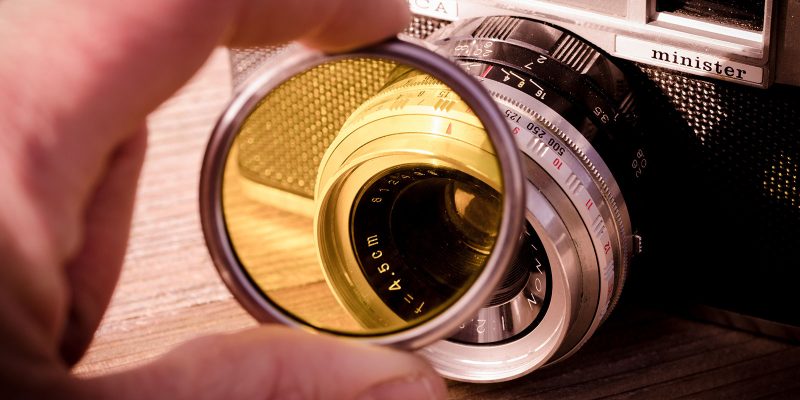
For around $35, you can immediately begin taking much better looking photographs. Interested in learning how to do that? I’ll give you a hint: it has to do with something you attach to the end of your camera’s lens. It’s called a lens filter. Not any lens filter, a filter that’s specific for the job at hand. The $35 I referenced above is for a beginner filter kit that’s available many places online. I actually purchased this kit and it’s worked wonders through the years. It contains a handful of different filters that do different things, such as magnify a scene, block UV rays, reduce the amount of light traveling through the lens, and alter the look of the scene entirely. For a tiny investment, you can really change how your photos look, for the better. Yes, you can do some of these things during post-processing in Adobe Lightroom, Camera Raw, or Photoshop, but you may need to trade some of the image’s quality for that. Why not enhance the photo right at the beginning? In this post, I discuss the common lens filters that are available as well as what each one accomplishes. I show photos of the filters themselves and even offer a brand name that will quicken your search. Click through to learn more. Continue reading…
Lighting for Photography
Have you ever taken an outdoor photograph at high noon on a sunny day and found that it just didn’t have the pizzazz you were looking for? That it felt flat? Have you taken a similar photo during the golden hour and found that it was actually very pleasing? And that you hardly even had to try? The difference between the two photos most likely had to do with lighting. For beginner photographers, after they’ve learned how their camera works and what exposure is, a common topic that creeps into the scene is lighting. This is one of those things that more advanced photographers focus on intently. They chase it down and kick and complain when they find some that’s beautiful, but don’t happen to have their cameras on hand. Light can make or break an image. It can add drama. It can add feeling to a photo. Nostalgia. Intensity. Romance. In this post, I discuss a few different types of light that a photographer might encounter under varying circumstances. I discuss portrait lighting, outdoor lighting, various gear photographers use to manipulate their lighting, and more. I even offer example photos to help drive the points home. If you’re interested in learning more about lighting and how it pertains to photography, click on through. Continue reading…
Exposure Compensation
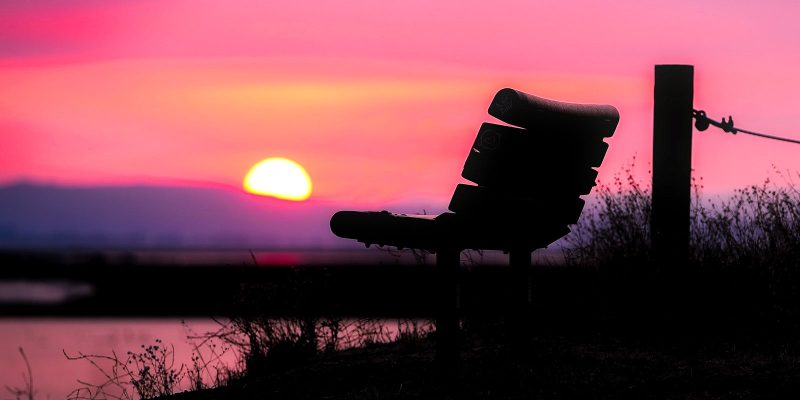
Modern cameras are very intelligent. So intelligent, in fact, that users don’t need to do much more than point and click. Cameras can scan, track, meter, focus, and perform pretty much anything else we need them to perform. One thing they can’t do, however, is predict which type of exposure the photographer thinks would look best for a scene. If you look at the uppermost photo for this post, you’ll see a bright background and a dark subject (a park bench). Let’s pretend that you, as the photographer, would like the park bench properly exposed, meaning, be bright enough that you can see detail. Properly exposing the bench would result in an overexposed sky. Now let’s pretend that I borrow your camera and take a picture of the same bench, but I’d like the sky to be properly exposed, which would result in a very dark underexposed bench. We both have different goals, so which is the camera supposed to satisfy? How is the camera supposed to know what to do? In cases like these, there’s a handy tool that can help out tremendously. It’s called exposure compensation and it’s available on most DSLR and mirrorless cameras. And probably even most phones. This tool allows the user to indicate his or her intent to the camera, so the camera can properly expose the shot every time. Click through to learn more about exposure compensation. Continue reading…
Tips for Carrying & Holding Your Camera
When I sat down to write this post, I asked myself if it was even necessary. After thinking about it for a bit, and after recalling how often I’ve had my own camera swing around to nearly damage whatever lens it was that I was using, I realized that some advice might be in order. We’ve all done it. We’ve all carried our cameras by hanging them from a strap around our necks. To give you a sneak peek of one of this post’s topics – don’t do that. Don’t hang your camera from your neck, unless, of course, you’d like your lens to strike something when you bend over. Hanging a camera from a neck is probably the worst way to carry a camera. It’s popular though, as evidenced by any tourist destination around the world. In this post, I discuss the pros and cons of each method for carrying a camera. I also offer some suggestions for quickly and efficiently accessing a camera, meaning, how best to get the camera from point a to point b, so it can be used to capture a scene. If you’re new to photography, this is one post you won’t want to miss. Continue reading…
What is Focus?
If you want to get serious about your photography, it might be a good idea to learn about focus. Not about how to focus or what type of focus your camera offers – more about what focus actually is. Yes, the technical, boring specifics of what it is exactly that allows a photo to result in being sharp or not so sharp. Focus is a strange thing. As I share in this post, no matter where your lens’s focus ring sits, something is in focus. It’s true. Even if you attached a lens that doesn’t offer any focal adjustments at all, it’d still be focused on something. What you’d have to do to see clarity through your camera’s viewfinder would be to move the physical camera closer or farther away from an object. In this post, I discuss focal planes, image points, and blur circles. I admit, it’s slightly technical reading, but again, if you’d like to get serious about taking the best photographs you can possibly take, it wouldn’t hurt to learn as much as you possibly can. Click through to check it out. Continue reading…
How to Take the Sharpest Photos
You may have guessed that taking sharp photos is important, but have you thought about just how important it is? Think of it this way; when was the last time you used a blurry photo…for anything? Sure, we can get away with using a photo that’s got some blur in it. Perhaps the area we’d have preferred to be in focus wasn’t, but at least some other areas were. We might use that. But what if the entire image is blurry? Sorry, can’t use it. So if this is the case, one might claim that taking sharp photos is the most important aspect of photography. It’s foundational, at least. In this post, I discuss what it means to have something in focus so the result is sharp. I discuss the focal plane and I break down what that is in an easy to understand way. Photography doesn’t need to be challenging, but it does require that you understand some core concepts. The benefit of understanding those concepts will usually manifest as better photographs. So there’s definitely an upside to the effort you put into your learning. Click through to read about how to best take sharp photos. Continue reading…

